
Subscribe to Our Youtube Channel
Related Manuals for Electrolux KOFEH70X


Summary of Contents for Electrolux KOFEH70X
- Page 1 KOFEH70X Oven User Manual Get the most out of your appliance For quick access to manuals, how-to guides, support and more through our photo registration visit electrolux.com/register...
-
Page 2: Table Of Contents
14. SAUDI ARABIA - CUSTOMER SERVICE ............. 32 WE’RE THINKING OF YOU Thank you for purchasing an Electrolux appliance. You’ve chosen a product that brings with it decades of professional experience and innovation. Ingenious and stylish, it has been designed with you in mind. So whenever you use it, you can be safe in the knowledge that you’ll get great results every time. -
Page 3: Safety Information
ENGLISH SAFETY INFORMATION Before the installation and use of the appliance, carefully read the supplied instructions. The manufacturer is not responsible for any injuries or damage that are the result of incorrect installation or usage. Always keep the instructions in a safe and accessible location for future reference. -
Page 4: Safety Instructions
Always use oven gloves to remove or put in • accessories or ovenware. Before carrying out any maintenance, disconnect the • appliance from the power supply. WARNING: Ensure that the appliance is switched off • before replacing the lamp to avoid the possibility of electric shock. - Page 5 ENGLISH niche below the appliance, especially when it operates or the door is hot. Height of the front of 594 mm • The shock protection of live and the appliance insulated parts must be fastened in Height of the back 576 mm such a way that it cannot be removed of the appliance...
- Page 6 2.4 Care and cleaning • Open the appliance door carefully. The use of ingredients with alcohol can cause a mixture of alcohol and WARNING! air. Risk of injury, fire, or • Do not let sparks or open flames to damage to the appliance.
-
Page 7: Product Description
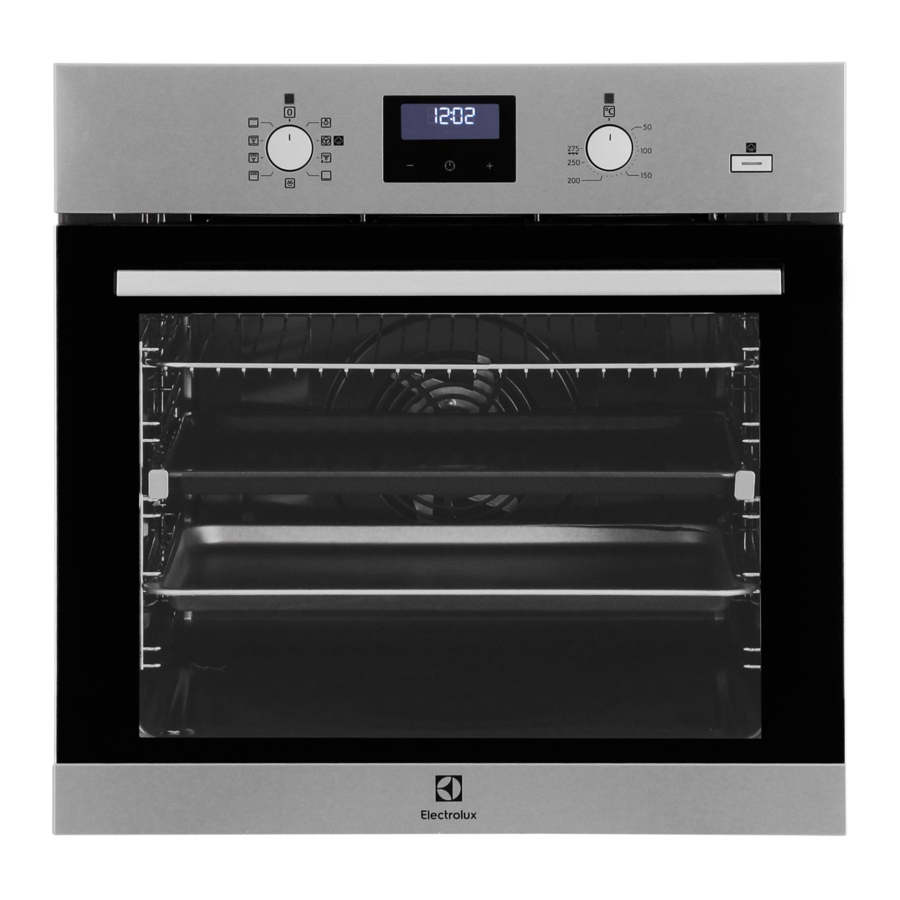
ENGLISH • Cut off the mains electrical cable • Remove the door catch to prevent close to the appliance and dispose of children or pets from becoming trapped in the appliance. 3. PRODUCT DESCRIPTION 3.1 General overview Control panel Knob for the heating functions Power lamp / symbol Display Control knob (for the temperature) -
Page 8: Control Panel
4. CONTROL PANEL 4.1 Sensor fields / Buttons To set the time. To set a clock function. To set the time. 4.2 Display A. Clock functions B. Timer 5. BEFORE FIRST USE Set the time before you use the oven. -
Page 9: Daily Use
ENGLISH 5.3 Initial preheating Preheat the empty oven before the first use. Step 1 Remove all accessories and removable shelf supports from the oven. Step 2 Set the maximum temperature for the function: Let the oven operate for 1 h. Step 3 Set the maximum temperature for the function: Let the oven operate for 15 min. -
Page 10: Clock Functions
Oven func‐ Application Oven func‐ Application tion tion To defrost food (vegeta‐ To roast large meat bles and fruit). The de‐ joints or poultry with frosting time depends bones on one shelf po‐ Defrost Turbo Grilling on the amount and size sition. -
Page 11: Using The Accessories
ENGLISH 7.2 How to set: Clock functions How to change: Time of Day - flashes when you connect the oven to the electrical supply, when there was a power cut or when the timer is not set. Step 1 - press repeatedly. - starts to flash. - Page 12 8.1 Inserting accessories devices. The high rim around the shelf prevents cookware from slipping of the A small indentation at the top increases shelf. safety. The indentations are also anti-tip Wire shelf: Push the shelf between the guide bars of the shelf support.
-
Page 13: Additional Functions
ENGLISH Wire shelf: Put the wire shelf on the telescopic runners. Deep pan: Put the deep pan on the telescopic runners. Wire shelf and deep pan together: Place the wire shelf and the deep pan together on the telescopic runner. 9. - Page 14 10.1 Cooking recommendations The temperature and cooking times in the tables are guidelines only. They depend on the recipes and the quality and quantity of the ingredients used. Your oven may bake or roast differently to the oven you had before. The tables be‐...
- Page 15 ENGLISH 10.4 Baking on one shelf level BAKING IN (°C) (min) TINS Flan base - True Fan Cooking 170 - 180 10 - 25 short pastry, preheat the empty oven Flan base - True Fan Cooking 150 - 170 20 - 25 sponge cake mixture Ring cake /...
- Page 16 CAKES / PASTRIES / (°C) (min) BREADS Rye bread: first: 230 then: 160 - 180 30 - 60 Buttered almond 190 - 210 20 - 30 cake / Sugar cakes Cream puffs / 190 - 210 20 - 35...
- Page 17 ENGLISH 10.5 Bakes and gratins Use the first shelf position. (°C) (min) Baguettes topped True Fan Cooking 160 - 170 15 - 30 with melted cheese Vegetables au gratin, Turbo Grilling 160 - 170 15 - 30 preheat the empty oven Lasagne Conventional Cooking 180 - 200...
- Page 18 BIS‐ CUITS / (°C) (min) 2 positions 3 positions SMALL CAKES / PAS‐ TRIES / ROLLS Puff pastries, 170 - 180 30 - 50 1 / 4 preheat the empty oven Biscuits made 160 - 170 30 - 60...
- Page 19 ENGLISH VEAL Use the function: Turbo Grilling. (kg) (°C) (min) Roast veal 160 - 180 90 - 120 Veal knuckle 1.5 - 2 160 - 180 120 - 150 LAMB Use the function: Turbo Grilling. (kg) (°C) (min) Lamb leg / Roast 1 - 1.5 150 - 170 100 - 120...
- Page 20 POULTRY Use the function: Turbo Grilling. (kg) (°C) (min) Poultry, portions 0.2 - 0.25 each 200 - 220 30 - 50 Chicken, half 0.4 - 0.5 each 190 - 210 35 - 50 Chicken, poulard 1 - 1.5 190 - 210...
- Page 21 ENGLISH PIZZA PIZZA Preheat the empty oven before Preheat the empty oven before cooking. cooking. Use the second shelf position. Use the second shelf position. (°C) (min) (°C) (min) Pizza, thin 200 - 230 15 - 20 Flammku‐ 230 - 250 12 - 20 crust, use a chen...
- Page 22 10.11 Frozen Foods DEFROSTING Use the function: True Fan Cooking. (°C) (min) Pizza, frozen 200 - 220 15 - 25 Pizza American, frozen 190 - 210 20 - 25 Pizza, chilled 210 - 230 13 - 25 Pizza snacks, frozen...
- Page 23 ENGLISH (kg) (min) (min) Defrosting Further de‐ time frosting time Chicken 100 - 140 20 - 30 Turn halfway through. Meat 100 - 140 20 - 30 Turn halfway through. Trout 0.15 25 - 35 10 - 15 Strawberries 30 - 40 10 - 20 Butter 0.25...
- Page 24 VEGETA‐ VEGETA‐ (min) (min) BLES (°C) BLES Cooking Continue Peppers 60 - 70 5 - 6 time until to cook at simmering 100 °C Vegetables for 60 - 70 5 - 6 soup Carrots 50 - 60 5 - 10...
- Page 25 ENGLISH 10.16 Moist Fan Baking For the best results follow suggestions listed in the table below. (°C) (min) Sweet rolls, 16 baking tray or dripping 45 - 55 pieces Pizza, frozen, wire shelf 45 - 50 0.35 kg Swiss roll baking tray or dripping 45 - 55 Brownie...
- Page 26 (°C) (min) Vegetarian ome‐ pizza pan on wire 40 - 50 lette shelf 10.17 Information for test institutes Tests according to: EN 60350, IEC 60350. BAKING ON ONE LEVEL. Baking in tins (°C) (min) Fatless sponge cake True Fan Cooking...
-
Page 27: Care And Cleaning
ENGLISH MULTILEVEL BAKING. Biscuits (°C) (min) Short bread / Pastry True Fan Cooking 25 - 45 1 / 4 strips Small cakes, 20 per True Fan Cooking 23 - 40 1 / 4 tray, preheat the empty oven Fatless sponge cake True Fan Cooking 35 - 50 1 / 4... - Page 28 Clean the cavity after each use. Fat accumulation or other residue may cause fire. Do not store the food in the oven for longer than 20 minutes. Dry the Everyday cavity with a soft cloth after each use. Clean all accessories after each use and let them dry. Use a soft cloth with warm water and a mild detergent.
- Page 29 ENGLISH 11.4 How to remove: Grill WARNING! There is a risk of burns. Step 1 Turn off the oven and wait un‐ til it is cold to clean it. Remove the shelf supports. Step 2 Grab the grill corners. Pull it forwards against the spring pressure and out of two hold‐...
- Page 30 Step 4 Hold the door trim (B) on the top edge of the door at the two sides and push in‐ wards to release the clip seal. Step 5 Pull the door trim to the front to remove it.
-
Page 31: Troubleshooting
ENGLISH Top lamp Step 1 Turn the glass cover to remove Step 2 Clean the glass cover. Step 3 Replace the lamp with a suitable 300 °C heat-resistant lamp. Step 4 Install the glass cover. 12. TROUBLESHOOTING WARNING! Problem Check if... Refer to Safety chapters. -
Page 32: Saudi Arabia - Customer Service
Use metal cookware to improve energy minimum 3 - 10 min before the end of saving. cooking. The residual heat inside the oven will continue to cook. When possible, do not preheat the oven before cooking. Use the residual heat to warm up other dishes. - Page 36 www.electrolux.com/shop...
Need help?
Do you have a question about the KOFEH70X and is the answer not in the manual?
Questions and answers