
Related Manuals for i-team i-vac 6


Summary of Contents for i-team i-vac 6
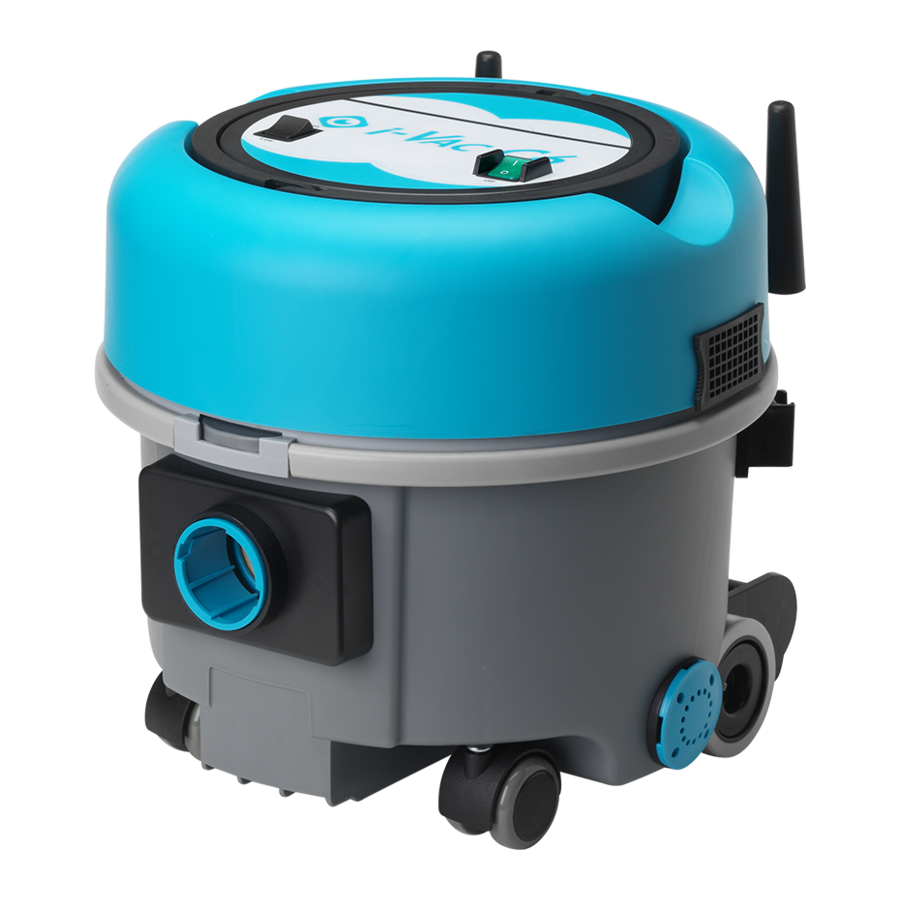
- Page 1 i-vac Vacuum cleaner User manual i-team Professional b.v. Hoppenkuil 27b, 5626 DD Eindhoven, The Netherlands T +31402662400 E hello@i-teamglobal.com I www.i-teamglobal.com...
- Page 2 Original user manual, written in the English Language Future Cleaning Technologies B.V. Hoppenkuil 27b, 5626 DD Eindhoven, The Netherlands T +31402662400 E info@i-teamglobal.com I www.i-teamglobal.com Model: I-VAC HI_FILTRATION 6.0 VERSION Date: 16/03/2020 Product code: C06. I-V. XXXXS Version: v.1.0...
-
Page 3: Preface
6. These instructions must be considered to avoid risks that could lead to physical and/or material damage. Target audience This user manual is intended for operators of the i-vac 6® and their supervisors, as well as partners and importers. -
Page 4: Operators Of The I-Vac 6
Operators of the i-vac The i-vac 6® may only be operated by a person that: has correctly read and understood the instructions in this manual; is trained by an experienced operator who has read and understood the instructions in this ... -
Page 5: Table Of Contents
Content Preface ..................................3 Purpose of the user manual ............................ 3 Target audience ..............................3 Operators of the i-vac 6 ............................4 Reading guide ................................4 Introduction ..............................7 Intended use of the product ........................7 Non-intended use of the product ......................8 Lifespan .............................. - Page 6 Replacing the filters and the fragrance tablet ..................25 7.2.1 Replacing the cassette filter ......................25 7.2.2 Replacing the motor filter ....................... 26 7.2.3 Replacing the silencer on top of the motor ..................27 7.2.4 Replacing the fragrance tablet ......................28 Tool condition ............................
-
Page 7: Introduction
1 Introduction The i-vac 6® is an easy and safe machine to use. It is equipped with several different accessories for vacuuming different surfaces and safety equipment like the Whizzo. This manual helps you get started and explains the operation and maintenance procedure. -
Page 8: Non-Intended Use Of The Product
hazardous or explosive substances; biological hazards; particulate matter. 1.3 Lifespan For a proper functioning and a long lifespan of the i-vac 6®, it is important to follow the recommended maintenance intervals mentioned in this manual. -
Page 9: Modifications
1.4 Modifications It is not permitted to make modifications to the design of the i-vac 6® without consultation and permission from the manufacturer. This affects the warranty, see section 1.6. 1.5 Specifications Figure 3 Product size (body unit): 400*380*360 mm... -
Page 10: Warranty
The warranty period Is 1 year. 1.7 Identification Each i-vac 6® has a unique serial number (see figure 4) that can be found underneath the can. Your i- team partner needs this number when you order parts. -
Page 11: Description
2 Description The body of the i-vac 6® is made of non-breakable material and the hose has an extra strong middle section for high endurance. The length of the wand is easy adjustable and can be combined with 4 different tools to use the i-vac 6® on different surfaces. -
Page 12: Safety
DO NOT use the i-vac 6® on damp or wet surfaces. This will cause damage to the i-vac 6® and is dangerous to the user. The damage caused by the use on a wet surface is not covered under the warranty. -
Page 13: Risks During Operation
3.3 Risks during operation When you vacuum on stairs or on an uneven surface, place the i-vac 6® on the two brackets for the cable storage. This way the i-vac 6® cannot roll or slide away (figure 6). Figure 6 4 Transport and storage DO NOT store the i-vac 6®... -
Page 14: Assembly And Installation
5 Assembly and installation The i-vac 6® is easy to assemble. The machine comes with 3 additional tools for vacuuming different surfaces. 5.1 Unboxing The i-vac 6® and all the components and accessories are packed in 1 box. Figure 7... -
Page 15: Assembly
5.2 Assembly Place the main power cable in the cable strain relief (fig 8, pos 2), at a cable length of approximately 10 to 12 centimeters from the machine. Place the main power cable plug (fig 8, pos 3) into the slot. Insert the hose (fig 8, pos 1) into the hose connector (fig 8, pos 5). -
Page 16: Replacing The Dust Bag
Only use original i-team dust bags. Make sure that the hose is removed from the i-vac 6® before removing the dust bag. This may cause damage to the dust bag and is potentially bad for your health as a result of dust. - Page 17 5. Place the head upside down, on an even surface (fig 11, pos 1). Figure 11 6. Turn the hose (fig 12, pos 4) anti clockwise and remove it from the hose connector. 7. Pull the cardboard tag (fig 12, pos 1) to seal the dust bag.
- Page 18 10. Slide the cardboard collar of the new filter bag (fig 13, pos 3) into the slots to fully insert the dust bag. 11. Push the cardboard tag (fig 13, pos 1) down to open the bag. 12. Unfold the dust bag (fig 13, pos 2). Figure 13 13.
- Page 19 (fig 16, pos 1). 15. Fasten the latch (fig 16, pos 2). Figure 16 ATTENTION Make sure that the head is correctly placed on the can, otherwise it can suck in false air and this affects the performance of the i-vac 6®.
-
Page 20: Operation
6 Operation 6.1 Before you start 1. Check that the main power cable is placed in the cable strain relief (fig 17, pos 1). 2. Check that the main power cable is not damaged. Pull it through a fiber cloth. 3. -
Page 21: Start
(fig 18, pos 2), on the head of the can, should go on. 2. Turn on the i-vac 6® by hand using the ON /OFF switch (fig 18, pos 2). 3. Take the wand form the holder (fig 18, pos 3). -
Page 22: Adjust Speed
6.2.3 Working on stairs or uneven surfaces Place the i-vac 6® on the two brackets for the cable storage. The hose can be placed in a special bracket. In this position the i-vac 6® cannot slide away. See section 3.3. figure 6. -
Page 23: After Operation
6.2.5 After operation 1. Press the ON /OFF switch (fig 21, pos 1) on the head of the i-vac 6® to turn it off. 2. Remove the main power cable from the wall socket. (fig 21, pos 2) 3. Wind the main power cable around the two cable storage hooks (fig 21, pos 3) on the side of the can, starting form the machine side. -
Page 24: Maintenance
Maintenance that is not described in this manual should be done by your i-vac 6® partner. Please make sure to have the model and serial number of the i-vac 6® available when you call a partner. For more Information please fill out the contact form on www.i-teamglobal.com. -
Page 25: Replacing The Filters And The Fragrance Tablet
7.2.1 Replacing the cassette filter CAUTION When you place the new cassette filter into the can of the i-vac 6®, make sure the arrows on the filter point upwards. 1. Pull out the cassette filter (fig 22, pos 1) from the head of the i-vac 6®. -
Page 26: Replacing The Motor Filter
7.2.2 Replacing the motor filter TIP: The lifespan of the motor filter can be extended to 8 months if it is vacuumed or gently beaten every 2,5 months 1. Release the latches (fig 23, pos 2). 2. Lift the head (fig 23, pos 1) under the grey rim, on the side of the latch. 3. -
Page 27: Replacing The Silencer On Top Of The Motor
7. Place the new silencer. 8. Place back the motor filter. Align the cut- outs of the filter with the cut-outs on the head of the i-vac 6® (see fig. 23). 9. Push the filter over the motor until it is completely down. -
Page 28: Replacing The Fragrance Tablet
Make sure to check the condition of the tool before use, change the tool only when the machine is turned off. 7.4 Damaged or worn parts Damaged or worn parts need to be replaced immediately. Contact your local i-team Professional partner or visit www.i-teamglobal.com for more information. 7.5 Maintenance frequency Make sure that routine and preventive maintenance is carried out periodically to ensure safe operation. -
Page 29: Trouble Shooting
8 Trouble shooting Problem Cause Solution No power/ green light in Main power cable broken Replace main power ONN/OFF switch does not burn cable. Main power cable not plugged in Plug in main power cable. No electricity in wall socket Check wall socket. -
Page 30: Decommissioning And Disposal
1. Remove all loose components like the tools, hose and wand. 2. Dispose all items according to your local laws and regulations. TIP: Contact you local i-team partner to explore all possibilities of returning components at the end-of- life of your i-vac® 6. -
Page 31: Attachments
10 Attachments 10.1 CE Certificate... - Page 32 This document is part of the technical file of the i-vac® 6 and will be available upon request.
Need help?
Do you have a question about the i-vac 6 and is the answer not in the manual?
Questions and answers