Advertisement
Quick Links
Advertisement

Related Manuals for ReSound ENZO 3D


Summary of Contents for ReSound ENZO 3D
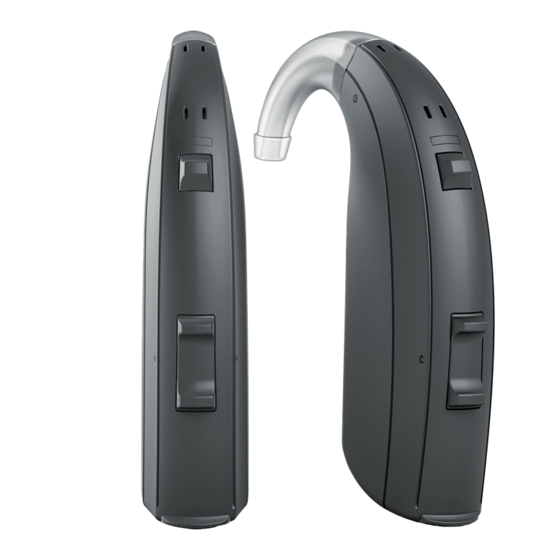
- Page 1 ReSound ENZO 3D fitting guide A guide for professionals...
- Page 2 2. Assign the hearing instruments to the right and left ears by choosing the appropriate This fitting guide gives an overview of how to fit ReSound ENZO 3D wireless hearing radio button for the right and left sides. It is recommended to beep the instrument instruments with ReSound Smart Fit 1.1.
- Page 3 Connection flow 3. Verify the correct connected hearing instruments. Click ‘Continue’ to proceed to the Patient Profile screen or pair accessories by clicking ‘Accessories’. Once the hearing instruments have been selected, the connection process will begin. 1. Select the Physical Properties of the instrument. 2.
- Page 4 3. Click ‘Fit Patient’ button in the lower right corner to move to Fitting Screen. Note the ReSound Assist feature tab in the lower level navigation under the red upper navigation, where you can activate online remote services if desired.
- Page 5 DFS Ultra II Directionality Binaural Directionality III: Uses ReSound 2.4 GHz ear-to-ear wireless technology to allow the hearing This is the feedback control. It is activated when the devices have been calibrated for DFS Ultra. The default setting is Mild. Adjust the setting to a stronger level (Moderate or Strong) if concerns for feedback arise. The...
- Page 6 Wind Guard Device Controls Wind Guard applies noise reduction specifically for windy situations. The default setting is Off. If a patient This screen allows you to view, alter and demonstrate the settings of the program button to your patient. It is experiencing too much wind noise, increase the setting to a stronger level.
- Page 7 1. Insert the battery and close the battery door of each hearing instrument to be programmed. 1. Click the ‘Go to Smart Fit’ button in the left navigation panel to close ReSound Aventa and arrive at the 2. Select the desired interface and click ‘Connect’ in the collapsible side bar panel.
- Page 9 © 2017 GN Hearing A/S. All rights reserved. ReSound is a trademark of GN Hearing A/S. Apple, the Apple logo, iPhone, iPad and iPod touch are trademarks of Apple Inc., registered in the U.S. and other countries. The Bluetooth word mark and logos are...
Need help?
Do you have a question about the ENZO 3D and is the answer not in the manual?
Questions and answers