Table of Contents
Advertisement
Quick Links
SUNFORGE LLC
2598 FORTUNE WAY • SUITE K
VISTA, CA 92081 • USA
h ttps ://s unfo rg ellc .com
IMPORTANT SAFETY INSTRUCTIONS | SAVE THESE INSTRUCTIONS
GV-10 Manual
Solar Charge Controllers with Maximum Power Point Tracking
For models:
GV-10-Pb-12V:
GV-10-Pb-CV:
GV-10-Li-12.5V:
GV-10-Li-14.2V:
GV-10-Li-16.7V:
GV-10-Li-CV(**.*V):
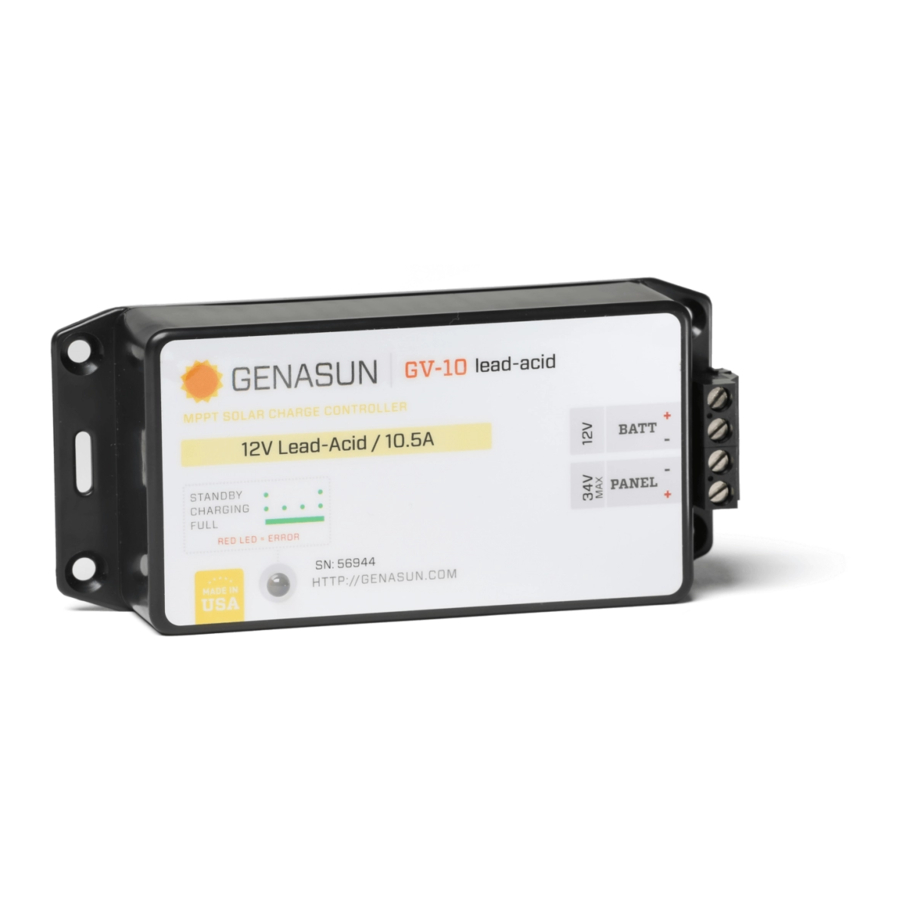
10.5A / 140W
GENASUN GV-10 (ALL MODELS) MANUAL, REVISION 5.0 | 2020
12V Lead-Acid/AGM/Gel/Sealed/Flooded
12V Custom Multi-Stage Lead-Acid/AGM/Gel/
Sealed/Flooded
11.1V (3s) Lithium Cobalt/Manganese/Nickel
12V (4s) Lithium Iron Phosphate
14.8V (4s) Lithium Cobalt/Manganese/Nickel
Custom CC/CV or Multi-Stage Lithium
Advertisement
Table of Contents

Related Manuals for Genasun GV-10 Series


Summary of Contents for Genasun GV-10 Series
- Page 1 Custom CC/CV or Multi-Stage Lithium 10.5A / 140W SUNFORGE LLC 2598 FORTUNE WAY • SUITE K VISTA, CA 92081 • USA h ttps ://s unfo rg ellc .com GENASUN GV-10 (ALL MODELS) MANUAL, REVISION 5.0 | 2020 IMPORTANT SAFETY INSTRUCTIONS | SAVE THESE INSTRUCTIONS...
-
Page 2: Safety Instructions
Safety Instructions: This manual contains important instructions for the GV-10-Pb and GV-10-Li solar charge controllers that shall be followed during installation and maintenance. Various models of the GV-10 are available to charge different battery types as follows: • GV-10-Pb-12V: 12V Lead-Acid/AGM/Gel/Sealed/Flooded •... -
Page 3: Product Certifications
LITHIUM WARNING: Use caution when working with lithium systems. Genasun Li controllers use the CC/CV charging profile indicated on the controller. CHECK the specifications of the battery pack to ensure that the CV voltage is correct. Further check that the power supplied by the solar array and Genasun controller is within the battery specified design limits. -
Page 4: Selecting The Battery Type
Installation & System Connections: • Connections should be made according to Article 690 of the National Electrical Code (NFPA 70) or the standards in force at the installation location. • Electrical connections may be made in any order; however the sequence below is recommended. SUPPLIED JUMPER SELECTING THE BATTERY TYPE... -
Page 5: Connecting The Battery
CONNECTING THE SOLAR PANEL Connect the solar panel to the PANEL+ and PANEL- terminals. While connecting the battery first will not BATTERY PANEL damage the GV-10, we recommend connecting the panel first. This eliminates the risk of short-circuiting the panel while the GV-10 is operating, which can cause damage. •... -
Page 6: Status Indication
Status Indication: ERROR INDICATION Over-temperature: The controller’s internal temperature is too high. The GV-10 has a MULTICOLOR LED. SETS OF 2 RED BLINKS. RUN/CHARGE INDICATION Overload: This could be caused by changing the solar panel Standby: The battery is connected properly and ready to charge when connections while the controller is operating. -
Page 7: Specifications
Troubleshooting Note: The most common causes of blown fuses are: • Connecting the GV-10 to the battery backwards; If the LED Indicator will not light, or displays an indication not listed in this manual: • Shorting the solar panel input while the GV-10 is charging; •... - Page 8 Specifications (cont.): GV-10-Li-**.*V GV-10-Pb-12V Charge Profile: Multi-Stage with Temperature Compensation CC-CV Charging Voltages: FLOODED Setting SEALED Setting Equalization Voltage: 15.0V – – Equalization Time: 2 Hours – – Equalization Interval: 30 Days – – Bulk Voltage: 14.6V 14.3V – Absorption Voltage: 14.4V 14.1V –...
Need help?
Do you have a question about the GV-10 Series and is the answer not in the manual?
Questions and answers