Sign In
Upload
Download
Table of Contents
Contents
Add to my manuals
Delete from my manuals
Share
URL of this page:
HTML Link:
Bookmark this page
Add
Manual will be automatically added to "My Manuals"
Print this page
×
Bookmark added
×
Added to my manuals
Manuals
Brands
Marey Manuals
Water Heater
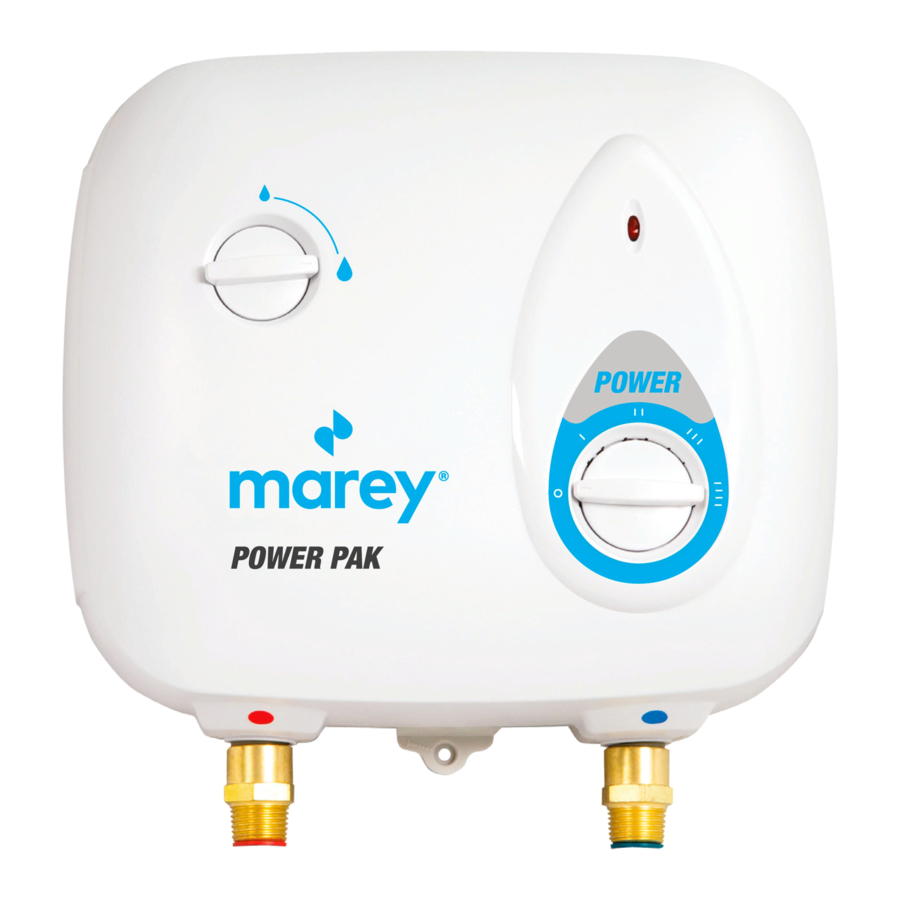
POWER PAK
Instructional manual
Marey POWER PAK Instructional Manual
Gas tankless
Hide thumbs
1
2
Table Of Contents
3
4
5
6
7
8
9
10
11
12
13
14
15
16
page
of
16
Go
/
16
Contents
Table of Contents
Troubleshooting
Bookmarks
Table of Contents
Table of Contents
Quick Start Guide
Warning
Pack Contents
Technical Specifications
Electrical Requirements
Wiring Diagram
Installation Options
Internal Components
Safety
Site Requirements
Connecting to Services
How to Use - How It Works
Temperature Control
Energy Saving Tips
Spare Parts
Fault Finding (Troubleshooting)
Special Equipment and Advice to Users
Temperature Increase Chart Per Gpm
Customer Service
Advertisement
Quick Links
1
Technical Specifications
2
Electrical Requirements
3
Installation Options
4
Wiring Diagram
5
How to Use - How It Works
6
Temperature Control
7
Spare Parts
8
Fault Finding (Troubleshooting)
Download this manual
POWER PAK
MODEL
GAS TANKLESS WATER HEATER
INSTRUCTIONAL
MANUAL
Keep this manual with you after your unit has been installed, you
may need it for further technical information.
USA (855) 627-3955
www.Marey.com
PR (787) 727-0277
Table of
Contents
Previous
Page
Next
Page
1
2
3
4
5
Advertisement
Table of Contents
Need help?
Do you have a question about the POWER PAK and is the answer not in the manual?
Ask a question
Questions and answers
Related Manuals for Marey POWER PAK
Water Heater Marey GA5PORT Instruction Manual
Portable tankless gas water heater (6 pages)
Water Heater Marey power gas Instruction Manual
Tankless (10 pages)
Water Heater Marey PP110 Instructional Manual
Gas tankless (16 pages)
Water Heater Marey GA5FLP Instruction Manual
Gas tankless water heater (22 pages)
Water Heater Marey Gas Models Instruction Manual
Power gas water heater (11 pages)
Water Heater Marey ECO150 Instructional Manual
Electric tankless water heater (16 pages)
Water Heater Marey ECO110 Instruction Manual
Electric tankless water heater (16 pages)
Water Heater Marey ECO180 Instruction Manual
Electric instant water heater (12 pages)
Water Heater Marey ECO180 Instructional Manual
Electric tankless water heater (25 pages)
Water Heater Marey 26HW70 A Instructional Manual
Gas 26l outdoor ng/lp gas (34 pages)
Water Heater Marey ECO240 Instruction Manual
Electric instant water heater (11 pages)
Water Heater Marey G6FLP Instruction Manual
Gas tankless water heater (25 pages)
Water Heater Marey ECO150 Faq Manual
Electric tankless water heater (4 pages)
Water Heater Marey ECO 110 Troubleshooting Manual
Electric tankless water heaters (5 pages)
Water Heater Marey POWER GAS 5L Instruction Manual
Power gas water heater (10 pages)
This manual is also suitable for:
Pp110
Pp220(ppex5)
Pp220
Ppex5
Table of Contents
Save PDF
Print
Rename the bookmark
Delete bookmark?
Delete from my manuals?
Login
Sign In
OR
Sign in with Facebook
Sign in with Google
Upload manual
Upload from disk
Upload from URL


Need help?
Do you have a question about the POWER PAK and is the answer not in the manual?
Questions and answers