Advertisement
Quick Links
Advertisement

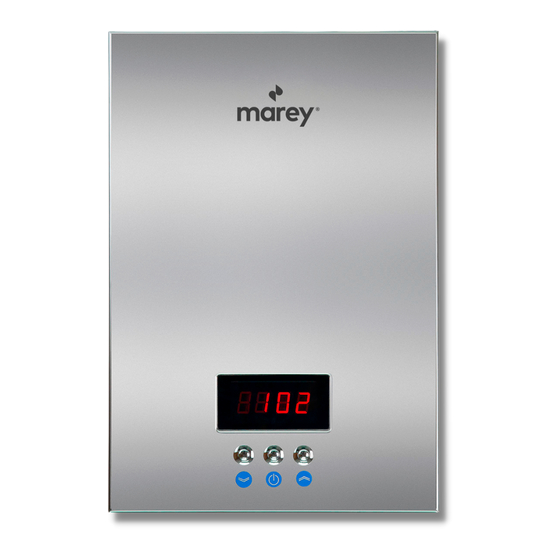
Summary of Contents for Marey ECO240
- Page 2 IMPORTANT SAFETY INFORMATIONS Take the time to thoroughly read and understand this safety and installation PRODUCT FEATURES manual in its entirety before you attempt to install your new ECO240 tankless PRODUCT ADVANTAGES water heater, as it contains important safety tips and instructions.
- Page 3 Under no circumstances should you attempt to install, repair or disassemble the Marey Heater tankless electric water heater without first shutting off all power to the 14. This water heater must be installed vertically, per the mounting instructions. unit directly at the circuit breaker panel.
- Page 4 Marey heating element is made from a single piece of cast aluminum, so there will never be water leakage nor the electric leakage in the heating chamber. Marey also have an extra stainless steel water flow channel instead of the old aluminum, so no matter how is your water quality inside the heating element, the heat element will service a long life.
- Page 5 Buttom Case Control Board Display Screen On/Off Down Display Screen Temp. Sensor Terminal Blocks Flowmeter Fig. 03 Air Switch Power Supply Sealer Release Valve Wash with Filer Inlet Water Height to the Ground Fig. 04...
-
Page 6: Installation
Front and back of the appliance (please see Fig. 05). NOTE: Installation must be in compliance with the National Electrical Code and your local electrical and plumbing codes. 1. Do not install the unit in a room where there is a chance of freezing. 2. - Page 7 Hold the back bracket hanger in position against the wall in the desired hanging location. Check to make sure that the bracket is level. Mark the wall where the three mounting holes should be located. Drill holes of ¼” diameter in the marked locations.
- Page 8 Connect the power cable at the lower right side of the unit to the terminal block. Reattach the cable for the LCD panel if disconnected and reinstall the front cover Each wire in the cable is labeled to correspond with spaces in the terminal block. using the screws and washers previously removed.
- Page 9 Important Notes About Water Connections: 4. After the unit is supplied with power, a beep sound can be heard and an LED lights up for 2 seconds. If no other function is turned on, the unit stands by in this 1.
-
Page 10: Normal Maintenance
Water faucet must be turned off before cleaning the screen. WARNING: Corrections to problems 8, 9 and 10 should only be performed by qualified electrician. The person who initially installed the unit is the best one to contact for help, or contact Marey for service. -
Page 11: Power Pak
At Marey, we pride ourselves on the excellence of our customer service and support Please visit our website to get to know more about other Marey products. team. Please feel free to contact us if you have any questions about our products, warranty service, or if you need assistance installing a unit.


Need help?
Do you have a question about the ECO240 and is the answer not in the manual?
Questions and answers
Where is reset button
The location of the reset button on the Marey ECO240 is not specified in the provided context.
This answer is automatically generated