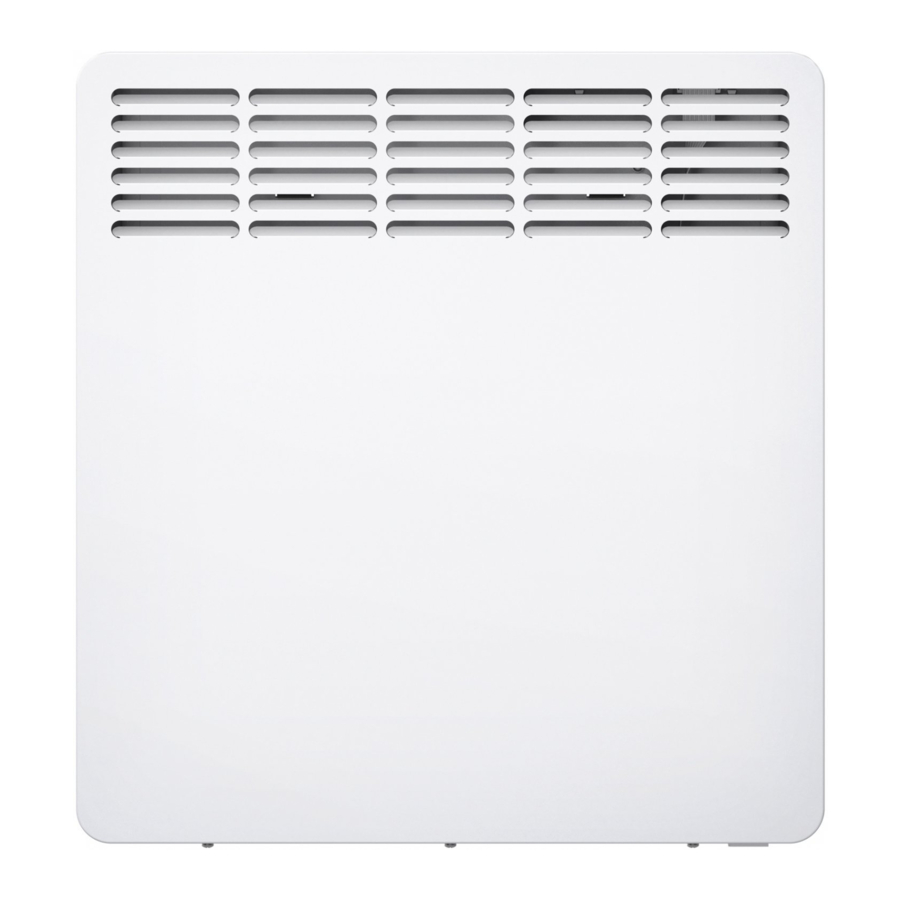
STIEBEL ELTRON CNS 50 Trend NC Operation And Installation
Wall mounted convector
Hide thumbs
Also See for CNS 50 Trend NC:
- Operation & installation (100 pages) ,
- Operation and installation instructions manual (96 pages) ,
- Operation and installation manual (80 pages)
Summary of Contents for STIEBEL ELTRON CNS 50 Trend NC
- Page 1 OPERATION AND INSTALLATION Wall mounted convector » CNS 50 Trend NC » CNS 75 Trend NC » CNS 100 Trend NC » CNS 150 Trend NC » CNS 200 Trend NC...
-
Page 2: Table Of Contents
TABLE OF CONTENTS | SpECiAL iNFOrmATiON SpECiAL iNFOrmATiON SPECIAL INFORMATION OPERATION General information �����������������������������������������3 Safety instructions ����������������������������������������������� 3 - Keep children under the age of 3 away from Other symbols in this documentation ����������������������� 3 the appliance if constant supervision cannot Information on the appliance ���������������������������������... -
Page 3: Operation
OpErATiON General information - The power cable must only be replaced (for Other symbols in this documentation example if damaged) by a qualified contrac- Note tor authorised by the manufacturer, using an General information is identified by the adjacent symbol. original spare part. -
Page 4: General Safety Instructions
OpErATiON Appliance description General safety instructions CAUTION Burns Parts of the appliance can get very hot and may cause WARNING Injury burns. Particular caution is advised when children or - Keep children under the age of 3 away from the vulnerable persons are present. appliance if constant supervision cannot be guar- anteed. -
Page 5: Operation
OpErATiON Operation Operation Symbol Description Setback mode: The appliance maintains the selected setback temperature. The appliance can be controlled either via the programming unit Standard setting: 18.0 °C. Use this setting e.g. at night or when or via room control mode, in which case the adjustment options absent for several hours. -
Page 6: Room Control Mode
OpErATiON Settings Room control mode Action Description Display f Press the "–" button The appliance switches to setback Room control mode can be configured and activated only via a again. mode. service tool – for example, by the caretaker in a student hall of residence. -
Page 7: Standard Menu
OpErATiON Settings Standard menu 6.3.1 Actual values The following actual values can be called up: To access the standard menu, briefly press "Menu". You can now call up the following menu items: Display Description Unit Actual room temperature [°C] | [°F] Display Description Relative heating time... - Page 8 OpErATiON Settings 6.3.3 Parameter Note You can call up the following parameters: When time program Pro2 is enabled, the appliance oper- ates at weekends exclusively in setback mode. Display Description Options Room temperature offset ±3 °C | ±5 °F To adapt time programs Pro1 and Pro2 according to your needs, Time format 12 h | 24 h proceed as follows:...
-
Page 9: Cleaning, Care And Maintenance
OpErATiON Cleaning, care and maintenance Cleaning, care and maintenance problem Cause remedy "Adaptive start" func- This function is only ef- Use the timer mode for opti- tion does not work as fective in timer mode. mised heating convenience. The appliance contains no user serviceable parts. required. -
Page 10: Installation
iNSTALLATiON Safety iNSTALLATiON 11. Installation 11.1 Minimum clearances Safety Only a qualified contractor should carry out installation, commis- sioning, maintenance and repair of the appliance. General safety instructions ≥100 ≥100 ≥500 We guarantee trouble-free function and operational reliability only if original accessories and spare parts intended for the appliance are used. -
Page 11: Appliance Installation
iNSTALLATiON Commissioning f Unhook the wall mounting bracket from the appliance. 11.4 Removing the appliance f Place the centred wall mounting bracket horizontally on the f Undo and remove the locking screw from the wall mounting floor. Mark holes 1 and 2. bracket. -
Page 12: Specification
Specification 16. Specification 16.1 Dimensions and connections CNS 50 Trend NC CNS 75 Trend NC CNS 100 Trend NC CNS 150 Trend NC CNS 200 Trend NC Appliance Width Entry electrical cables Wall mounting Horizontal hole bracket spacing 16.2 Energy consumption data The product data complies with EU regulations relating to the directive on the ecodesign of energy related products (ErP). -
Page 13: Data Table
Specification 16.3 Data table CNS 50 Trend NC CNS 75 Trend NC CNS 100 Trend NC CNS 150 Trend NC CNS 200 Trend NC 202001 202002 202003 202004 202005 Electrical data Connected load 1000 1500 2000 Power supply 1/N/PE ~ 240 V 1/N/PE ~ 240 V... -
Page 14: Guarantee
GUARANTEE | ENVIRONMENT AND RECYCLING Guarantee The guarantee conditions of our German companies do not apply to appliances acquired outside of Germany. In countries where our subsidiaries sell our products a guarantee can only be issued by those subsidiaries. Such guarantee is only grant- ed if the subsidiary has issued its own terms of guarantee. - Page 15 NOTES www.stiebel-eltron.com CNS Trend NC |...
- Page 16 Deutschland Verkauf Tel. 05531 702-110 | Fax 05531 702-95108 | info-center@stiebel-eltron.de STIEBEL ELTRON GmbH & Co. KG Kundendienst Tel. 05531 702-111 | Fax 05531 702-95890 | kundendienst@stiebel-eltron.de Dr.-Stiebel-Straße 33 | 37603 Holzminden Ersatzteilverkauf Tel. 05531 702-120 | Fax 05531 702-95335 | ersatzteile@stiebel-eltron.de Tel.


Need help?
Do you have a question about the CNS 50 Trend NC and is the answer not in the manual?
Questions and answers