Table of Contents
Advertisement
Advertisement
Table of Contents

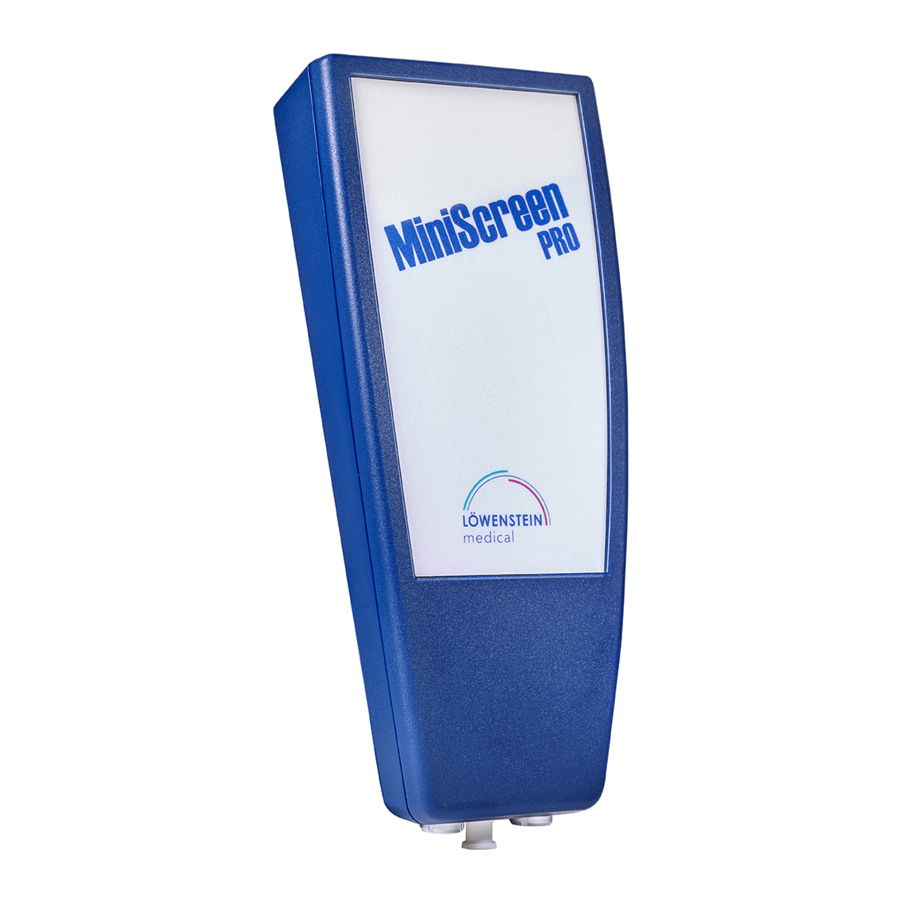
Summary of Contents for Lowenstein Medical MiniScreen Pro
-
Page 3: Table Of Contents
2.1. Safety-related information........3 2.2. General information...........3 2.3. Technical inspection...........4 2.4. Liability for functioning or damage.....4 3. Recording measurement data using the MiniScreen Pro unit..........4 3.1. Sensors..............4 3.1.1. Sensors for flow and snoring noises......4 3.1.2. Thermistor sensor for breathing......4 3.1.3. Sensor for CPAP/Bilevel-pressure......4 3.1.4. -
Page 4: Introduction
Printer with Windows driver • 1.2. Accessories This manual is intended to give the operator and user The MiniScreen Pro system as a whole contains two general information on how to safely handle and components: operate the MiniScreen Pro device. It also explains The microprocessor controlled MiniScreen Pro •... -
Page 5: Information
2. Information Warning: Applying the device to more than one patient at any 2.1. Safety-related information one time is not allowed. Observe the instruction manual: Warning: Every use of the device requires exact knowledge When applying sensors to the patient, please ensure and observance of this instruction manual. -
Page 6: Technical Inspection
No additional sensor is required for respiratory and conducted once a month. snoring detection. Respiratory sounds are trans- mitted to the MiniScreen Pro via the flow prong. The Upon reaching the end of its service life, the device built in microphone detects the sounds which are and its accessories should be disposed of in then electronically analysed. -
Page 7: Sensor For Oxygen Saturation And Pulse Frequency
The supplied ECG cable (optional) is compatible with nal movement consists of small rubber pressure all commonly available adhesive electrodes and can pads that are connected to the MiniScreen Pro via be used as consumables. measuring hoses. The sensor for recording thorax... -
Page 8: Sensors For Eeg / Eog / Emg
The MiniScreen Pro is now ready for use. The 3.1.10. Sensors for EEG / EOG / EMG unit can now be disconnected from the PC. For the neurological channels (EEG, EOG, EMG) all Note: remove cable by pulling on the plug - not commonly available types of electrodes with 1.5mm... -
Page 9: Online Measurements (Inpatient)
5. Complete the Patient data fields in the menu item ”Device Connection / Online / Record“ and start the transfer. 6. Switch on the MiniScreen Pro unit by sliding the switch to the right position. The device can be switched on also direct after attaching the device to the patient. -
Page 10: Service And Maintaining The Device
4. Service and Maintaining the device avoided. 4.1. Charging the battery 5. Evaluation software for PC The MiniScreen Pro unit is equipped with a special fast-charge Li-Ion battery. The battery charging 5.1. Installing the software adaptor included with your device is specially... - Page 11 Signal amplitudes are very small or do not appear. Check the corresponding sensors on the patient and their connections to the MiniScreen Pro unit. Whilst doing so, check that the tube hoses and the black pressure pads of the thorax sensors are intact. A leaking sensor can cause inaccurate readings in the thorax channel.
-
Page 12: Technical Specifications
7. Technical specifications Dimensions : 35mm x 75mm x 168mm (H x W x L, without bag) Weight : 260 g including storage battery, without bag Housing : metallized plastic (ABS, UL 94HB) Temperature range : +5°C...+45°C Moisture : 25% - 95% Storage media : Internal flash memory Storage capacity... -
Page 13: Index
9. Index Abdominal sensor...........5 Accessories............2f. Assigned Purpose...........2 Attaching the MiniScreen........6 Attaching the sensors..........5 Battery charging............6 Charging the battery..........8 Cleaning instructions..........8 CPAP sensor............4 Disposal..............4 EEG................6 EMG................6 EOG................6 Equipment...............2 Finger sensor............5 Flow prong..............4 Flow sensor............4 Functional testing............4 Information..............3 Installing the software..........8 Leg movement............5 Maintenance............8 Optical isolator............3 Pacemaker..............3... -
Page 14: Ec-Declaration Of Conformity
10. EC-Declaration of conformity - 12 -...


Need help?
Do you have a question about the MiniScreen Pro and is the answer not in the manual?
Questions and answers