Table of Contents
Advertisement
Available languages
Available languages
INSTALLATION INSTRUCTIONS
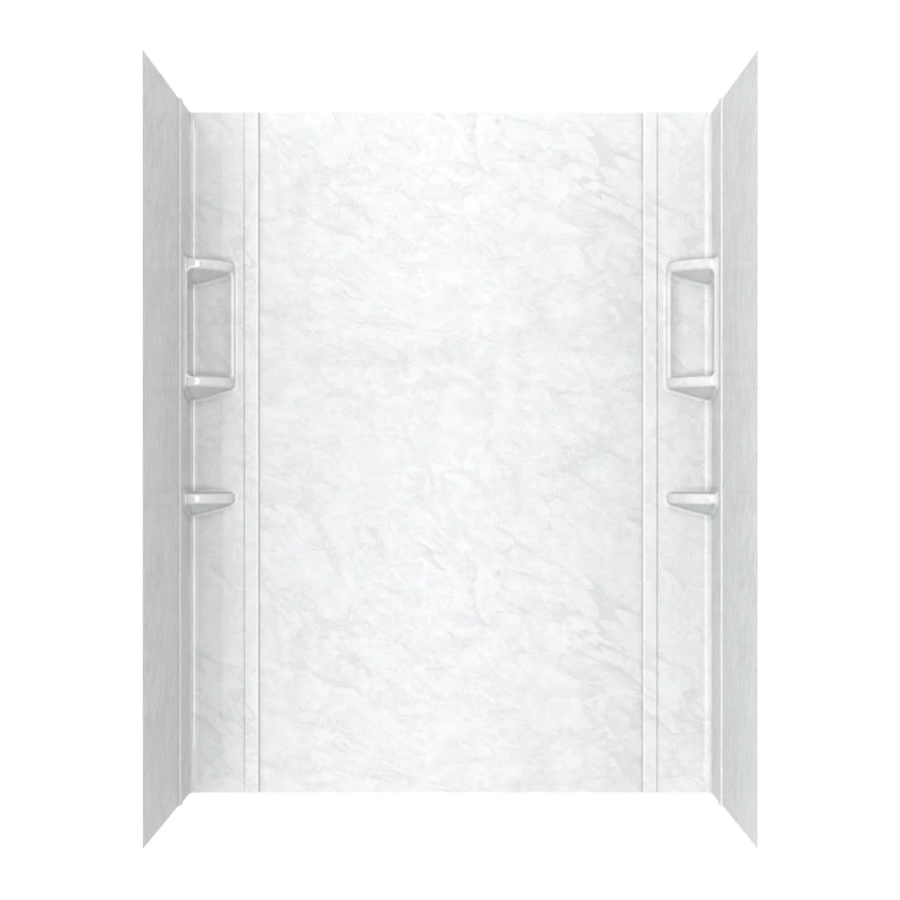
OVATION
BATH AND SHOWER
®
WALL SETS
MODELS: 2968BWT60, 2968SWT60
Visit www.americanstandard.com for coordinating products.
Thank you for selecting American Standard - the benchmark of fine quality for over 140 years. To ensure this product is installed
properly, please read these instructions carefully before you begin. (Certain installations may require professional help.)
BEFORE YOU BEGIN....
Local building codes vary by location. Observe all local plumbing and building codes.
Unpack your new walls and inspect them carefully for damage. Verify that the walls are the correct size for your installation.
Refer to American Standard roughing-in information for specific dimensions for each model.
NOTE: Remove protective plastic coating material from surface of panel before installation.
Take extra care in handling the front surfaces of the walls. Use only non-abrasive cloths to avoid scratching.
TOOLS:
Pencil
Drill
Square
Level
PREPARATION:
Must be installed over SHEETROCK/GREENBOARD.
Illustration 1
A) WALL SURFACE PREPARATION
NOTE: For best adhesion, we suggest priming walls prior
to installation.
Ensure wall surface is dry, smooth, and free of dust, soap
scum, mold or other contaminants. Wipe wall surfaces with
a damp cloth and allow to dry.
Wall surface must be dry before panels can be applied.
Ensure that alcove is plumb and square. See Illustration 1.
Product names listed herein are trademarks of AS America Inc.
© AS America Inc. 2020
REQUIRED TOOLS AND MATERIALS
Tape Measure
Caulking Gun
Hole Saw or Jig Saw
with fine tooth blade
MATERIALS:
Waterproof Adhesive
Tub & Tile Sealant
Mineral Spirits
B) ROUGH PLUMBING & FITTINGS MUST BE INSTALLED
BEFORE WALLS
Turn off hot & cold water supplies.
Remove faucet handles, escutcheons, filler spouts and any
other fixtures & fittings (e.g. towel bars, soap dishes, etc.).
C) IF YOU PLAN TO INSTALL A SHOWER DOOR
Follow manufacturer's instructions and prepare stud wall
accordingly.
Safety Glasses
Masking Tape
EACH ALCOVE STUD MUST
BE PLUMB AND SQUARE.
7 55 5 78 -10 0 Rev. 4 0 2 /2 0
Advertisement
Table of Contents

Related Manuals for American Standard OVATION 2968BWT60


Summary of Contents for American Standard OVATION 2968BWT60
- Page 1 Visit www.americanstandard.com for coordinating products. Thank you for selecting American Standard - the benchmark of fine quality for over 140 years. To ensure this product is installed properly, please read these instructions carefully before you begin. (Certain installations may require professional help.) BEFORE YOU BEGIN..
- Page 2 DRY FITTING THE PANELS ON THE WALL A) Dry fit the panels starting with the rear panel first, keeping it centered, equidistant between the 2 rear corners of the wall. Use masking tape to hold panel in position. Mark a vertical line top to bottom at the corner edges of the panel on the rear wall to ensure panel is centered between the 2 corners as a reference.
- Page 3 INSTALLING BACK AND SIDE WALLS NOTE – INSTALL ONLY ONE WALL AT A TIME AND REMOVE FILM FROM WALLS PRIOR TO INSTALLATION. A) Wipe all back side of panels and walls with a damp cloth to remove any dust or debris and allow to fully dry.
- Page 4 AS America, Inc. 10 Year Limited Warranty for Ovation Bath and Shower Walls AS America, Inc. (“American Standard”) warrants to the original consumer purchaser that it will, at its option, repair or replace the walls or any of its parts that are found by American Standard, in its sole judgment, to be defective under normal residential use and maintenance so long as it is owned by the original consumer purchaser.
- Page 5 Visite www.americanstandard.com para ver los productos que hacen juego. Gracias por elegir American Standard, el parámetro de excelente calidad por más de 140 años. Para asegurar que este producto se instale de manera adecuada, lea las instrucciones con atención antes de comenzar. (Para algunas instalaciones puede necesitarse ayuda profesional).
- Page 6 MONTAJE A SECO DE LOS PANELES EN LA PARED A) Monte a seco los paneles comenzando con el panel posterior primero, manteniéndolo centrado, equidistante entre las 2 esquinas de la pared. Use cinta protectora para mantener el panel en su lugar. Marque una línea vertical de arriba a abajo en los bordes de esquina del panel en la pared posterior para asegurarse de que el panel esté...
- Page 7 INSTALACIÓN DE PARED POSTERIOR Y LATERALES NOTA - INSTALAR SOLO UNA PARED A LA VEZ Y RETIRAR LA PELÍCULA DE LAS PAREDES ANTES DE LA INSTALACIÓN. A) Limpie el lado posterior de todos los paneles laterales con un paño húmedo para retirar polvo o residuos y deje secar por completo.
- Page 8 3. La aplicación comercial. 4. Las opciones y los accesorios. La garantía limitada de American Standard sobre estos artículos es de un año para las piezas únicamente y excluye la mano de obra. Esta garantía limitada de un año cubre los accesorios fabricados por American Standard (p. ej. faldones, desagües, barras de sujeción, calentadores, juegos de accesorios) por defectos en el material o la mano de obra.
- Page 9 Pour trouver des produits associés, visitez www.americanstandard.com. Merci d’avoir choisi American Standard, la référence en matière de qualité depuis plus de 140 ans. Pour vous assurer que le produit a été installé correctement, lisez ces instructions avec attention avant de commencer.
- Page 10 MONTAGE À SEC DES PANNEAUX SUR LE MUR A) Fixez à sec les panneaux en commençant par le panneau arrière, en le maintenant centré et équidistant entre les deux coins arrière du mur. Utilisez du ruban masque pour maintenir le panneau en place. Marquez une ligne verticale de haut en bas sur les bords des coins du panneau sur la paroi arrière pour vous assurer que le panneau est centré...
- Page 11 INSTALLATION DE MURS ARRIÈRES ET LATÉRAUX REMARQUE – APPLIQUEZ L’ADHÉSIF SUR UN SEUL MUR À LA FOIS ET RETIREZ LE FILM DES MURS AVANT L’INSTALLATION. A) Essuyez l’arrière des panneaux et des murs avec un chiffon humide afin d’éliminer la poussière ou les débris et laissez sécher.
- Page 12 4. Les articles en option et les accessoires. La garantie limitée d’ A merican Standard sur ces articles est pour une durée d’un an sur les pièces seulement, et ne couvre pas la main-d’œuvre. Cette garantie limitée d’un an couvre les accessoires fabriqués par American Standard (p. ex. les tabliers, les renvois, les barres d’appui, les systèmes de chauffage, et les ensembles de garniture) en ce qui a trait à...
Need help?
Do you have a question about the OVATION 2968BWT60 and is the answer not in the manual?
Questions and answers