Table of Contents
Advertisement
Quick Links
Advertisement
Table of Contents

Subscribe to Our Youtube Channel
Summary of Contents for Yard force HM A30
- Page 1 Model HM A30 Hand Push Mower Instruction Manual IMPORTANT: Read instruction manual carefully before use. Keep for future reference Hotline:1300 418 640 Monday/Friday: 9.00am to 4.30pm Saturday: 9.00am to 3.00pm Email: service@actionspares.com.au...
-
Page 2: Table Of Contents
HM A30 Instruction Manual TABLE OF CONTENTS DESCRIPTION OF PRODUCT PARTS TECHNICAL SPECIFICATIONS INTENDED USE SAFETY INFORMATION ASSEMBLY OPERATION CLEANING, MAINTENANCE AND STORAGE DISPOSAL TROUBLESHOOTING WARRANTY... -
Page 3: Description Of Product Parts
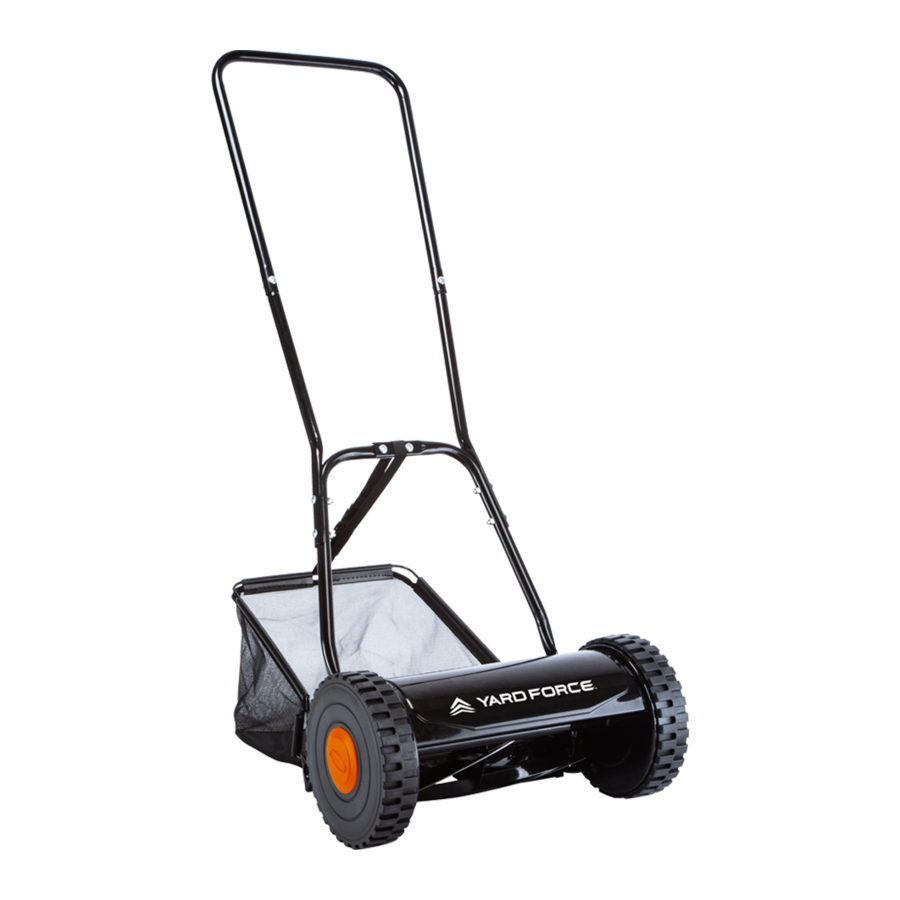
DESCRIPTION OF PRODUCT PARTS As shown in Fig. 1 Upper handle Handle extension Lower handle Blade guard Wheels Height adjustment lock Grass collection catcher Grass collection catcher strap Fig. 1 WARNING: If any parts are damaged or missing, please contact Action Spares 1300 418 640. -
Page 4: Technical Specifications
Screw M6 x 30 (4x) d. Lower handle A i. Screw M6 x 25 (4x) e. Lower handle B j. Hex nut M6 (8x) TECHNICAL SPECIFICATIONS Model HM A30 Cutting Width 300 mm 20 L Grass Catcher Capacity Net Weight 6.5 kg... -
Page 5: Safety Information
SAFETY INFORMATION Warning symbols WARNING! Read instruction manual WARNING! Risk of injury from the cutting blades. Keep hands and feet clear. Do not open or remove safety shields while using the mower Debris can be thrown by the cutting blades Keep bystanders away Dispose of mower according to the regulation and requirement of local council... -
Page 6: Assembly
SAFETY INFORMATION Stay alert, watch what you are doing and use common sense when operating this mower. Do not use this mower while you are tired or under the influence of drugs, alcohol or medication. A moment of inattention while operating this mower may result in serious personal injury. - Page 7 ASSEMBLY Fig. 4 Fig. 5 Fig. 6 Attaching the grass collection catcher to the mower (Fig. 7-8) 1. Insert the hook (13) of the grass collection catcher frame (f) to the slots (14). 2. Use the strap (8) to tie the grass collection catcher to the lower handle (4) Fig.
-
Page 8: Operation
OPERATION Adjusting the cutting height 1. Loosen the height adjustment locks (6) on both sides of the mower. 2. Move the support roller (15) to different height level as desired. 3. Re-tighten the height adjustment locks (6) and make sure the support roller (15) is secured in position. -
Page 9: Cleaning, Maintenance And Storage
CLEANING, MAINTENANCE AND STORAGE WARNING! Blades are sharp, always wear protective gloves when cleaning and maintenance of the mower Cleaning 1. Remove the grass from the grass collection catcher after mowing. 2. Use a brush and plastic scraper (if required) to remove the grass on the mower. 3. -
Page 10: Disposal
CLEANING, MAINTENANCE AND STORAGE Storage 1. Clean the mower before storage. 2. Grease the blades lightly if the mower is not be used for a long period of time. 3. Store the mower in a dry place, out of reach of children. DISPOSAL Dispose of the mower according to the regulations and requirements of your local council. -
Page 11: Warranty
WARRANTY WARRANTY This product is covered by a 1 year parts and labour warrant against manufacturing defects. Our goods come with guarantees that cannot be excluded under the Australian Consumer Law. You are entitled to a replacement or refund for a major failure and for compensation for any other reasonably foreseeable loss or damage.


Need help?
Do you have a question about the HM A30 and is the answer not in the manual?
Questions and answers
Won’t push forward and blades won’t turn
If the Yard Force HM A30 does not push forward and the blades do not turn, possible causes include:
1. The contact between the blades and the lower cutting blade is too tight, making the mower hard to push and noisy.
2. The blades may be jammed or improperly adjusted, preventing rotation.
3. Debris or damage could be obstructing blade movement.
Adjusting the blade contact using the adjustment nuts may resolve the issue.
This answer is automatically generated