Advertisement
Quick Links
Advertisement

Related Manuals for Childcare Trevi 044283


Summary of Contents for Childcare Trevi 044283
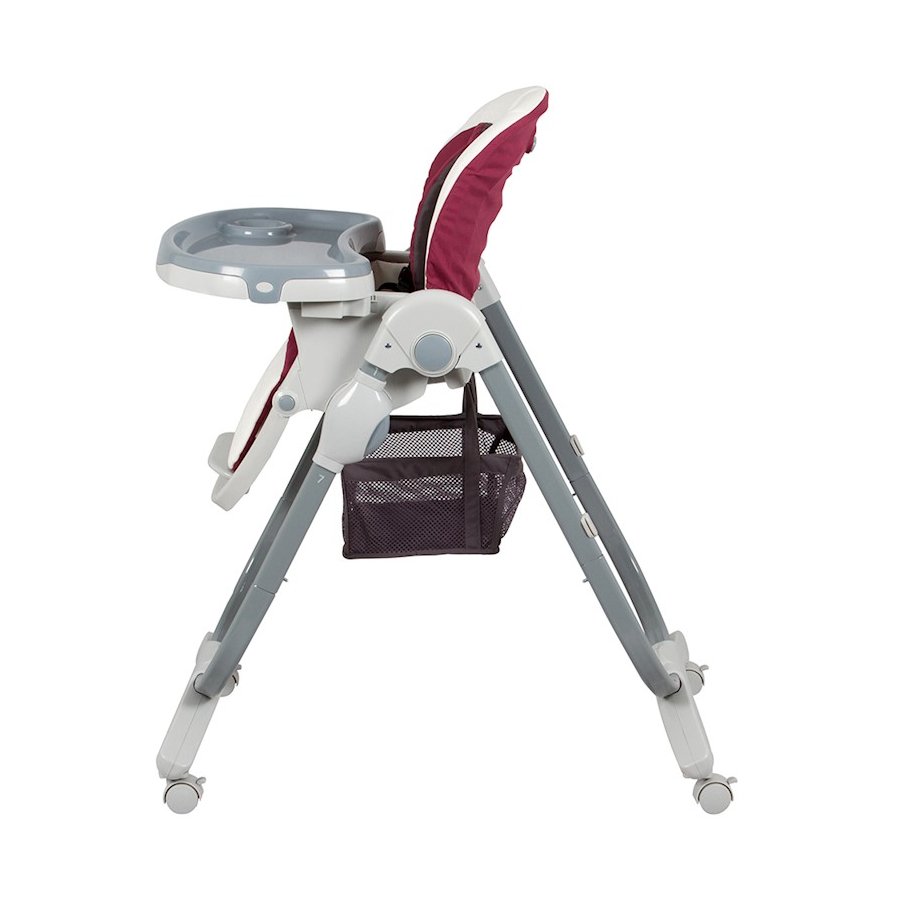
- Page 1 Trevi HIGH CHAIR #044283 IMPORTANT: RETAIN FOR FUTURE REFERENCE, READ CAREFULLY...
-
Page 2: Safety Precautions
SAFETY PRECAUTIONS Read all instructions before assembly and use of the high chair. Keep instructions for future use. WARNING FOLLOW THE MANUFACTURER’S INSTRUCTIONS. DO NOT LEAVE CHILDREN UNATTENDED. THE HARNESS MUST ALWAYS BE USED AND CORRECTLY FITTED - MOST INJURIES FROM HIGHCHAIRS ARE CAUSED BY FALLS. - Page 3 CONGRATULATIONS Congratulations on your purchase of the Trevi High Chair. This product has been designed and developed with safety, comfort and functionality in mind. Please take the time to read this manual carefully before using this product and keep it in a safe place for future reference.
- Page 4 Point Harness & Shoulder Pads pre- assembled) Tray (Includes Main Shopping Basket & Inner Tray pre- assembled) Height Adjuster Front & Rear Leg (L+R) Footrest Height Seat Footrest Extension There are no accessories recommended for use with this Childcare Trevi High Chair.
- Page 5 ASSEMBLY / OPERATING INSTRUCTIONS To assemble High Chair... Line up the tubing of the height adjusters with the holes in the seat as per image. Ensure the orientation (L/R) corresponds to the “L/R” marked on the inner side of the frame bracket. Push in the two spring loaded pins on each side firmly.
- Page 6 ASSEMBLY / OPERATING INSTRUCTIONS To assemble High Chair continued... Ensure all four wheel locks are locked and secure by pushing down on the locks to engage. To assemble Shopping Basket... The basket has 2 velcro straps and 2 fabric loops. The 2 fabric loops will be at the back of the highchair, with the 2 velcro straps at the front.
- Page 7 ASSEMBLY / OPERATING INSTRUCTIONS To assemble Footrest... Insert footrest into the slot at the front of the seat. Line up the two slots on the sides of the seat footrest. Also ensure that the three slots are lined up. Push down gently until you hear a ‘click’. This will indicate that the seat footrest is in position.
- Page 8 ASSEMBLY / OPERATING INSTRUCTIONS To adjust height of Seat... Squeeze the grey buttons on each seat height adjuster to lower the seat. Pull the seat height adjusters upwards to raise the seat. The seat has 7 height positions, position 1 being the highest.
- Page 9 ASSEMBLY / OPERATING INSTRUCTIONS To remove Inner Tray... To remove the inner tray pull the two side clips outwards on both sides of the tray. Release the rear clip of the inner tray and lift the tray upwards. To refit the inner tray place over the tray and push down on the outer clips until the inner tray locks into place.
- Page 10 ASSEMBLY / OPERATING INSTRUCTIONS To store High Chair... Lower the seat (See page 7). It is recommended to lower the seat to the lowest height position for storage purposes. Fit the tray to the rear legs (See page 8). Press buttons (a) on each hinge then push the rear legs towards the front legs (b) until they lock in the folded position.
-
Page 11: Maintenance
HOW TO CARE FOR YOUR CHILDCARE HIGH CHAIR Cleaning This product has been designed and developed with safety, comfort and functionality in mind. Please take the time to read this manual carefully before using this product and keep it in a safe place for future reference. - Page 12 Distributed in Australia by CNP Brands Distributed in New Zealand by Wainhouse 20 Calarco Drive, Distribution Derrimut, VIC, 3030 2-6 Argyle St, Morningside, Customer Service 1300 667 137 PO Box 41-014, St Lukes, Auckland, New Zealand W: www.cnpbrands.com.au Customer Service: 0800 567 5000 E: info@cnpbrands.com.au F: www.facebook.com/CNPBrands E: helpline@wainhousedist.co.nz...
Need help?
Do you have a question about the Trevi 044283 and is the answer not in the manual?
Questions and answers
Can I purchase the seat insert/padding for smaller babies?
There are no accessories recommended for use with the Childcare Trevi High Chair, and the manual does not mention the availability of a separate seat insert or padding for smaller babies.
This answer is automatically generated