
Related Manuals for DoorBird D1812 Series


Summary of Contents for DoorBird D1812 Series
- Page 1 Page 2-18 Installation Manual IP Video Door Station D1812 Series D1812 VERSION 1.1, MIN. HW 1.1...
- Page 2 To make things easier we use the term “device” for • Devices with 110-240 V connection: The device the product “IP Video Door Station D1812 series” and may only be connected to an easily accessible “mobile device” for a smartphone or tablet.
- Page 3 ̵ Places where the temperature is very low, such WARNING as inside a refrigerated area or in front of an air conditioner. shock could result. ̵ Places subject to steam or smoke (e.g. near • High voltage may be present internally. Do not heating or cooking surfaces).
- Page 4 (12‘‘) away from AC 100-240 V wiring. AC induced noise and/or device malfunction For information about the device warranty, see could result. www.doorbird.com/warranty • Install the device in an area that will be accessible for future inspections, repairs and maintenance.
- Page 5 COMPONENTS* 1x Main Electrical Unit with call 1x Installation manual 1x Quickstart guide button and front panel with Digital Passport 1x Metal bar for DoorKing 1x Power supply unit (mains adaptor) with four ® 1812 Plus Flush Mount country-specific adaptors 1x Screw connection terminal plugs with cables Small parts 1x WIFI antenna with extension cable...
-
Page 6: Installation
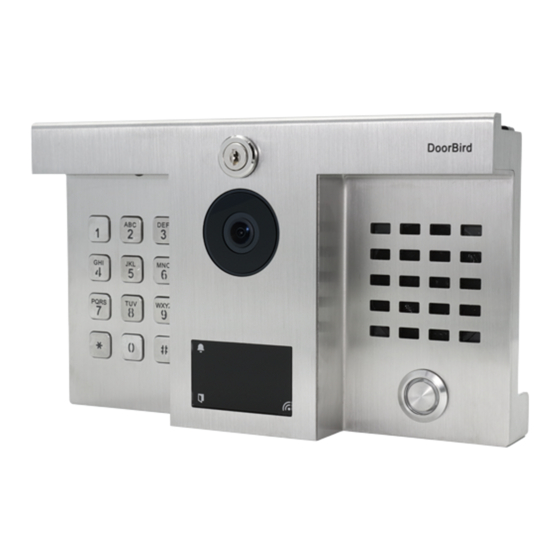
3) Keypad Lights up a few seconds after 4) Front panel connecting the device to power 5) HDTV Video 14) Clips to mount optional DoorBird 2-Wire Ethernet 6) Speaker PoE Converter A1071 or DoorBird AC/DC 7) Illuminated call button Converter A8004... - Page 7 ® on the DoorKing 1812 control board on the top left ® analog telephone settings at a later time (the DoorBird (relays control). D1812 keypad PIN codes, RFID transponders etc. can be programmed remotely through the DoorBird App). PREPARATION FOR THE FRONT PANEL (FLUSH MOUNT ONLY) APPLIES TO “DoorKing...
-
Page 8: Network Connection Options
There is a holder with clips on the back of the DoorBird D1812 Main Electrical Unit to mount the DoorBird 2-Wire Ethernet PoE- Converter A1071 A8004 conveniently. -
Page 9: Prepare Power Supply
To power the device via a PoE-Switch (e.g. D-Link adapter, 2 insulated wires are required. The power DGS-1008P) or PoE-Injector (e.g. DoorBird Gigabit supply unit has a 300 cm (9.8 ft) long cable with PoE Injector A1091), use a CAT.5 cable or higher two insulated wires. -
Page 10: Connecting The Device
6.1 RELAYS At first you must connect your gate(s) / door opener(s) to the DoorBird D1812 Main Electrical Unit by using the same order as you have removed them from the main terminal connector (18 pin jack) of the DoorKing control ®... - Page 11 6.2 PHONE LINE & RELAY MONITORING Connect the cable “Phone line cable (Part #D1812G)” and the cable “Relay monitoring cable (Part #D1812J)” from the DoorBird D1812 Main Electrical unit to the main terminal connector (18 pin jack) of the DoorKing 1812 control board.
-
Page 12: Interface Cable
6.3 INTERFACE CABLE Interface cable For the next step you must determine the revision of the DoorKing 1812 control board. You can find the ® revision written on a sticker or printed on the bottom right on the control board as marked in the drawing. It is either “1871-010”... - Page 13 D0 WIEGAND Data Low. For Wiegand output (RFID reader, Keypad). Max. 5 mA per output (data line). Wiegand can be turned on/off and configured via the DoorBird App. (DK) PHOUT Plug in the cable “Phone line cable (Part #D1812G)” and connect it to the...
- Page 14 (mains adaptor) and the power supply via PoE. WIFI The DoorBird D1812 can be connected to the Internet router using a network ANTENNA cable or using WiFi. If you want to use WiFi you must assemble the WiFi...
-
Page 15: Activate The Device
ASSEMBLE THE FRONT PANEL TO ACTIVATE THE DEVICE THE BACK HOUSING Switch on the power to all wires leading to the The DoorBird D1812 is designed in such a way that no assembly location and to your DoorKing 1812 control ®... - Page 16 Stainless Steel MOTION SENSOR Only high-quality stainless steel is used for all available DoorBird door stations. However, high-quality stainless steel can also rust, as approx. 70 % of stainless steel The device has a built-in Motion Sensor with 4D is made of iron. Rust resistance is only achieved by Technology.
-
Page 17: Troubleshooting
(loose contact). If the problem still exists, please check if your PoE-Switch / PoE Injector supports the PoE Standard IEEE 802.3af Mode A, see also www.doorbird.com/poe If the device is to be supplied with power by a DIN-rail power supply, switch on the DIN-rail... -
Page 18: Legal Notes
Installed firmware General remarks updates cannot be undone. Since the products and software of 1. DoorBird is a registered trademark of Bird Home Automation Bird Home Automation GmbH are not explicitly customer-specific GmbH. - Page 20 www.doorbird.com...
Need help?
Do you have a question about the D1812 Series and is the answer not in the manual?
Questions and answers