Advertisement
Quick Links
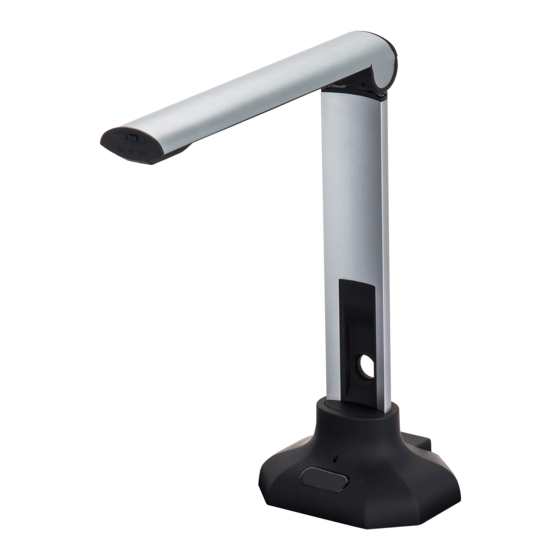
QOMO QPC20 Document Camera Basics
This quick guide gives you the basic information to begin using your QPC20 document camera.
Beginning Your QPC20 Experience
1. Install the QOMO Visualizer software from the CD provided.
2. Connect your QPC20 to your computer using the USB cable provided. This cable provides the
connection to your computer, as well as, supplying power to the document camera.
3. Open your QOMO Visualizer software and place the desired item or object under the camera.
Operation Menu
To exit out of Full
Screen mode, press
the esc button on your
keyboard.
To use the Prepare Lesson Copy and Paste Tool:
*
o Set up your desired object under the document camera.
o Click the "Prepare Lesson" button under the operation menu tab.
o Left click and drag a box around the part of the image you would like to copy and then
right click.
o Open the application you would like to paste your image into.
o Paste the image in the application (you can use ctrl+v for a shortcut.)
Version 2.1 Doc 1.1
These buttons allow you
These buttons allow you
to zoom in, zoom out, and
recover your image
to rotate your image.
To exit out of your QOMO
Visualizer software, click the
Exit button.
This button is a copy and
paste tool
*
Advertisement

Subscribe to Our Youtube Channel
Related Manuals for Qomo QPC20


Summary of Contents for Qomo QPC20
- Page 1 Beginning Your QPC20 Experience 1. Install the QOMO Visualizer software from the CD provided. 2. Connect your QPC20 to your computer using the USB cable provided. This cable provides the connection to your computer, as well as, supplying power to the document camera.
- Page 2 “Preview” annotate over it. To annotate over your QPC20 Document Camera image: o Set up your desired object under the document camera. o Select the “Annotate” menu tab. o Click the “Static” button. This will hold your image still while you annotate.
Need help?
Do you have a question about the QPC20 and is the answer not in the manual?
Questions and answers