Advertisement
Quick Links
THANK YOU FOR
CHOOSING ROBOTIQ
This step-by-step guide will allow you to install and
use your FT 300-S Force Torque Sensor on Universal
Robots with a CB3.1 controller.
1.WHAT IS SUPPLIED?
Standard upon delivery of a Universal Robots kit
(FTS-300-S-UR-KIT)
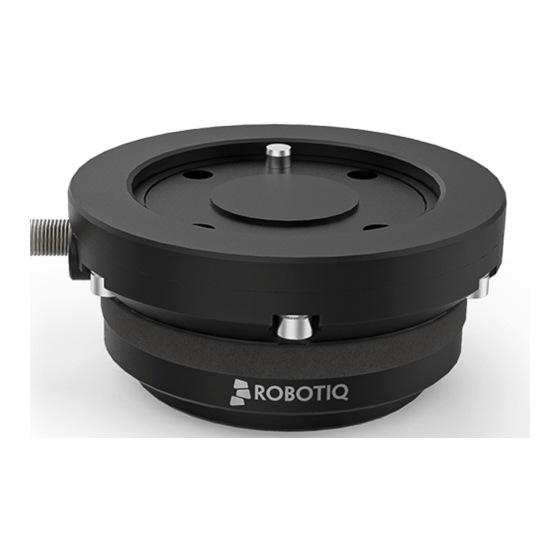
FT 300-S Force Torque Sensor
FTS-300-S-SEN-001
Mechanical Coupling
FTS-300-S-CPL-014
Device cable
CBL-COM-2073-10-HF
USB to RS485 Adapter
ACC-ADT-USB-RS485
USB Stick
ACC-USB-16G
Required hardware
2.TOOLS NEEDED
3 mm
2 mm slotted
4 mm
hex key
hex key
screwdriver
3.GET THE LATEST
robotiq.com/support
Visit:
D
URCAP
OWNLOADING THE
1. Browse by product > Select product > FT 300-S
Force Torque Sensor > Universal Robots > Software
> Force Copilot software > URCap (UCS-X.X.X.)
2. Select DOWNLOAD ZIP.
3. Decompress the zip file on a USB stick.
4.MOUNTING
For easier mounting, move the robot tool
flange to make it point upwards.
1. Place the provided dowel pin in the robot tool flange hole.
2. Mount the mechanical coupling (FTS-300-S-CPL-014) on
your robot arm. Align marked hole #1 with the dowel pin.
Use hole #1 for Dowel pin
Bottom view - Mechanical coupling
3. Secure by inserting the M6 screws and tooth lock washers.
4. Mount the Force Torque Sensor on the mechanical
coupling.
5. Secure by inserting the M4 screws and the Belleville washers
(with the convex side upward) in a cross pattern to properly
compress the O-ring.
6. Plug the device cable into the sensor's pigtail and attach the
cable along the robot arm using a cable routing system.
BEFORE OPERATING THE FORCE SENSOR,
PLEASE READ THE INSTRUCTION MANUAL.
The Force Torque Sensor must be aligned with the robot
arm using the dowel pin. This ensures that the feature
will work correctly.
The IP rating of the FT 300-S Force Torque Sensor is
IP65. It is strongly recommend to cover the sensor and
the robot when it is used with an application that requires
a higher rating.
LEAVE ENOUGH EXCESS CABLE TO
ALLOW FULL ROBOT MOVEMENT.
5.WIRING
The red (24V) and black (0V) wire of the device cable
(CBL-COM-2073-10-HF) provide power to the sensor.
1. Connect the red wire to a 24V pin.
2. Connect the black wire to a 0V pin.
M4 screws and
3. Connect the white (1), green (2) and blue (3) wires to the
Belleville washers
USB converter (ACC-ADT-USB-RS485) as shown.
FT300-S
Force Torque Sensor
M6 screws and
tooth lock washers
4. Connect the USB converter to the UR controller.
Mechanical coupling
6. SOFTWARE INSTALLATION
1. Have a USB stick that contains the .urcap file (see step 3).
Dowel pin
2. Insert the USB stick in the robot's teach pendant.
3. Tap Setup Robot.
4. Tap URCaps.
5. Tap the + sign.
6. Open Robotiq_Copilot-X.X.X.urcap.
7. Tap the Restart button to restart PolyScope and activate
the URCap.
Advertisement

Summary of Contents for ROBOTIQ CB Series
- Page 1 THANK YOU FOR For easier mounting, move the robot tool The IP rating of the FT 300-S Force Torque Sensor is CHOOSING ROBOTIQ flange to make it point upwards. IP65. It is strongly recommend to cover the sensor and 1. Place the provided dowel pin in the robot tool flange hole.
- Page 2 2. Go to the Installation tab. 3. Tap Copilot. 4. Tap the Dashboard button. 5. Force and moment values will be displayed in real time. elearning.robotiq.com New product has a one (1) year warranty. Refer to your product instruction manual for details. robotiq.com/support support@robotiq.com March 2021 T: 1.418.380.2788 ext.


Need help?
Do you have a question about the CB Series and is the answer not in the manual?
Questions and answers