Advertisement
Advertisement

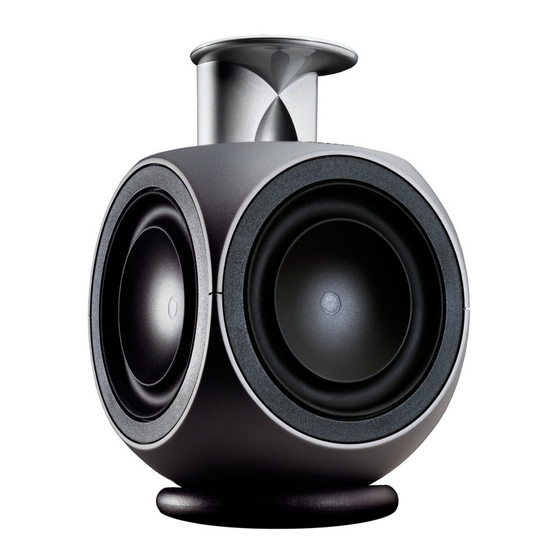
Summary of Contents for Bang & Olufsen BeoLab 3
- Page 1 BeoLab 3 Guide...
- Page 2 To get access to the approval labels, remove the BeoLab 3 top cap. NOTE! Prolonged listening at high volume levels may cause hearing damages Acoustic Lens Technology –...
-
Page 3: Daily Use
fi rmly. Never use alcohol or other solvents to clean any parts of the loudspeaker! Caution: Do not touch the BeoLab 3 top speaker membrane! Indicator light: In daily use the indicator light shines either red (standby) or greAen (playing). -
Page 4: Setting
‘Cable connections’ (pp. 6–7). – Set the POSITION switch to the correct setting on each loudspeaker. This is explained in ‘Adapt BeoLab 3 to your room’ (pp. 8–10). – Connect the entire system to the mains again. Setting up BeoLab 3 The loudspeaker must be placed on either the black rubber base, a floor stand, a table stand, or a wall bracket. - Page 5 150 cm (60") 90 cm (35") 30 cm (12") ~ 3 m (10') The mounting holes (b and c) are blocked by two small screws, and before you can use either of these holes, the screw must be removed. Note: When mounting the loudspeaker on the floor stand, use mounting hole (a) only! For optimal sound performance...
-
Page 6: Cable Connections
The socket panel is located on the bottom part of the loudspeaker. POSITION switch This switch has three settings: FREE, WALL, and CORNER. Which setting to use is explained in ‘Adapt BeoLab 3 to your room’ (pp. 8–10). SETUP switch This switch has three settings: RIGHT, LEFT, and LINE. - Page 7 LEFT RIGHT Cable Clamp: For safety reasons, the mains lead must be secured to the loudspeaker. Use the enclosed small cable clamp and screw. LEFT RIGHT Power Link Mk 3 Power Link cables: The enclosed Power Link cables are of a new type.
-
Page 8: The Position Switch
SETUP switch to the correct setting on each of the loud speakers – as explained on page 6. Adapt BeoLab 3 to your room The POSITION switch When a loudspeaker is placed in a corner, the bass level is boosted compared to the bass level from a loudspeaker placed in a more free-standing position. - Page 9 FREE WALL CORNER How to measure? The distances referred to, are measured as shown here (the loudspeaker seen from above). The distances are meant as guidelines, and you may, of course, set the POSITION switch to any of the three settings you prefer. ~ 3 m ~ 3 m To obtain the most natural sound...
- Page 10 BeoLab 2 to the sensitivity levels of different BeoLab loudspeakers. If you connect a pair of BeoLab 3 loudspeakers to the BeoLab 2 subwoofer, we recommend that you set the BeoLab 2 SETUP switch to...
- Page 11 This product fulfils the conditions stated in the EEU directives 89/336 and 73/23. Technical specifi cations, features and the use thereof are subject to change without notice! For the US-market only! NOTE: This equipment has been tested and found to comply with the limits for a class B digital device, pursuant to part 15 of the FCC Rules.
- Page 12 www.bang-olufsen.dk...


Need help?
Do you have a question about the BeoLab 3 and is the answer not in the manual?
Questions and answers