
Related Manuals for Bang & Olufsen Beoplay A9 3rd generation


Summary of Contents for Bang & Olufsen Beoplay A9 3rd generation
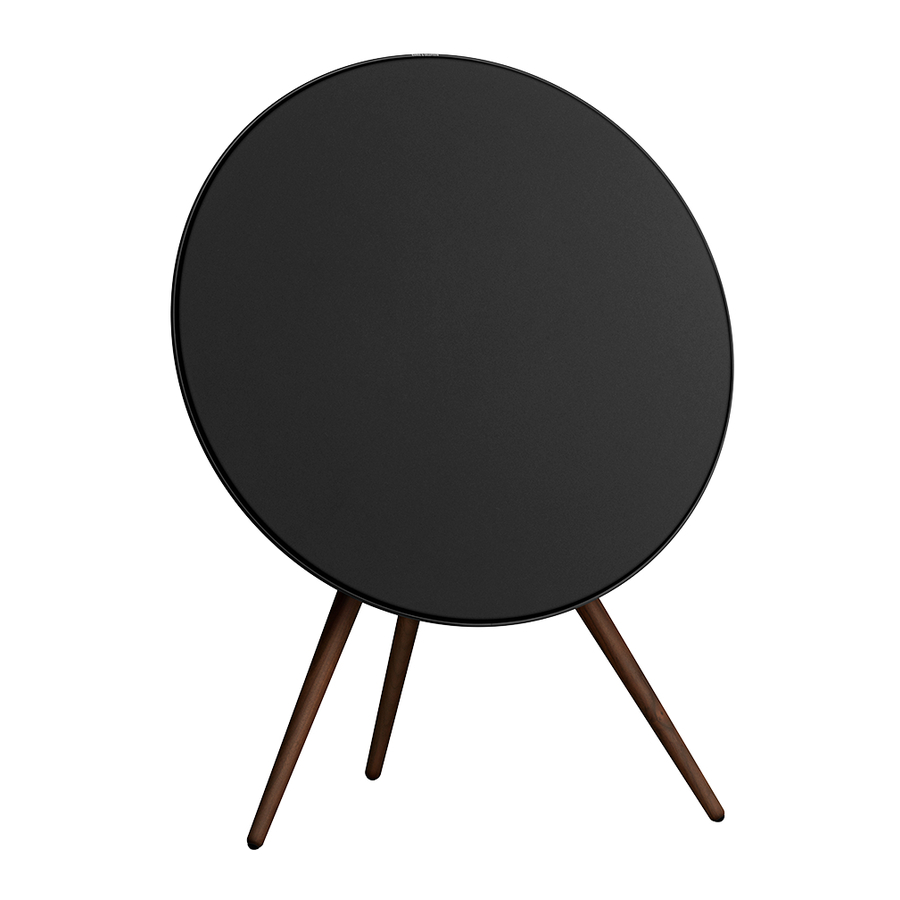
- Page 1 BeoPlay A9 3rd generation Type 3034 – 3038 Service Manual - version 1.0 English 70.1 41.1 70.1 90.8...
-
Page 2: Table Of Contents
CONTENTS Survey of modules ..............1.1 How to service ................. 1.2 Service tips ................2.1 Fault flow chart ................ 2.5 Final check after repair ............. 3.1 Replacement of modules ............4.1 Specification guidelines for service use ........5.1 Block diagram ................6.1 Wiring diagram ................ -
Page 3: Survey Of Modules
Survey of modules BeoPlay A9 3rd generation 82.1 82.2 48.1 48.2 48.3 02.2 02.1 48.5 48.4 PCB02.1 Connector - Ethernet PCB02.2 Connector - Line In PCB04 Power Supply PCB48.1 NTC - Woofer PCB48.2 NTC - Midrange Right PCB48.3 NTC - Midrange Left PCB48.4... -
Page 4: How To Service
How to service How to service Strategy For informations about how to service and list of recommended assisting tools for service, refer to the specific Service Profile for this product on BeoWise. Preparations before service Fault explanation and demonstration Before troubleshooting is initiated, let the customer demonstrate the fault, if possible. - Page 5 How to service Warnings when handling Static electricity Static electricity may damage the product. STATIC ELECTRICITY MAY DESTROY THE PRODUCT Static-protective field service kit A static-protective field service kit must always be used when the product is disassembled or modules are being handled, since the internal electronics are very sensitive to static electricity.
-
Page 7: Fault Flow Chart
Repair tips - Fault flow chart Repair tips LED indications ................. 2.2 Factory reset ..................2.4 Check for newest software ............... 2.4 System info - Service counters ............2.5 Log file ..................... 2.5 Speaker unit test ................2.6 NTC module test ................2.6 Mechanical cracking sound(s) ............ -
Page 8: Repair Tips
Repair tips Repair tips LED indications The LEDs indicates the state of the product by changing colour (white/orange/red/ blue), flashing or solid. If errors occur during operation, the product will enter an error state and give LED indications as described in the following. Network/Bluetooth indicator Product indicator Product status... - Page 9 Fault flow chart Network Connectivity Product indicator Network/Bluetooth indicator Ethernet First 5min No change White (Solid) idle after 5min No change Transition to dim Wi-Fi setup/connecting Setup (WAC Open) In progress No Change Amber (Pulse, repeat) Reconnect In progress No Change Amber (Flash, repeat) Wi-Fi Connection status (X>25%) In general (for 5min)
-
Page 10: Factory Reset
Fault flow chart Other status Product indicator Network/Bluetooth indicator Software Updating Red (Pulse, repeat) Red (Pulse, repeat) Product/Critical FW Error Red (Quick flash, Transition to off repeat) Hardware Overheated Amber (Pulse, repeat) Not required Factory Reset (reset afterward) Red (Transition, 5sec) Red (Transition, 5sec) Short Press/ Single rotate/ Change track/ Slide White (Quick flash,... -
Page 11: System Info - Service Counters
Repair tips System info - Service counters Usage data is logged in the product. These data can be very useful information in troubleshooting situations. Use the ServiceTool to read out the system info and the service counters. Log file If an error occurs in the product, it is recorded and saved as a log file. The log file may be helpful in troubleshooting situations. -
Page 12: Speaker Unit Test
Repair tips Speaker unit test Measure the DC resistance of the speaker unit to determine if the fault is caused by a defective speaker unit. It is recommended to measure on the terminals on the speaker unit. The speaker units must be disconnected from the product. Speaker unit Nominal value Limits... -
Page 13: No Function
Fault flow chart Fault flow chart Fault symptom: No function Possible causes: Defective PCB04, Power Supply Defective 999module, chassis Is it possible to connect to the Confirm mains Switch On/repair/ product via voltage on replace ServiceTool, PCB04, CN1 connection or Web interface or mains cable Bang &... -
Page 14: No Light In Product Indicator Or
Fault flow chart Fault symptom: No light in Product indicator or No light in Network/Bluetooth Indicator (See LED indication table page 2.2) Possible causes: Defective PCB55, Touch Board Defective 999module, Chassis Check connector and cable between Connect or replace PCB35 CN402 and defective cable PCB55 J900 Replace... -
Page 15: No Sound Or Poor Sound
Fault flow chart Fault symptom: No sound or poor sound Possible causes: Defective PCB04, Power Supply Defective 999module, Chassis Defective Speaker units Perform test of Is sound missing or speaker units, see Replace defective poor in all page 2.6 speaker unit speakers? Are speaker units Confirm +14V on... -
Page 16: Wifi And/Or Bluetooth Are Not Working
2.10 Fault flow chart Fault symptom: WiFi and/or Bluetooth are not working Possible causes: Defective PCB82.1, Wireless - Bluetooth Antenna Defective PCB82.2, Wireless - Antenna Defective 999module, Chassis Confirm that the customers router and wireless network is working properly Confirm that cable from PCB82.1 and Connect Wireless PCB82.2, Wireless - Bluetooth Antenna is connected to... - Page 17 Adjustments - Final check after repair Adjustments Information ..................3.2 Woofer, Midrange, Full Range or Tweeter ......... 3.2 Software update ................3.3 Final check after repair Insulation test ................... 3.4 Software update ................3.4 Check sound ..................3.4 Cleaning ................... 3.4 Restore setup ..................
- Page 18 Adjustments Adjustments Information Depending on the repair there might be different kinds of adjustments/alignment to be performed, after maintenance of the product. Some adjustments has to be done with ServiceTool. After a repair it is very important that the product is updated to the latest software version.
- Page 19 Adjustments Software update It is very important that the product is updated to the latest software version before it is returned to the customer. This is to ensure the customer receives the best possible experience. Software can be updated via the ServiceTool, the internet or the Bang &...
-
Page 20: Final Check After Repair
Final check after repair Final check after repair The final check after repair describes the activities that are needed to ensure the product will be returned in perfect condition to the customer. Follow the procedures below: Insulation test The product must be insulation tested after having been dismantled. Make the test when the product has been reassembled and is ready to be returned to the customer. - Page 21 Replacement of modules Replacement of modules BeoPlay A9 in service position ..............4.2 Replace 999Module, Chassis ................ 4.6 Replace PCB02.1, Connector - Ethernet ............4.8 Replace PCB02.2, Connector - Line-In ............4.10 Replace PCB04, Power Supply ..............4.12 Replace PCB48.1, NTC ................4.13 Replace PCB48.2, NTC or PCB48.3, NTC ............
-
Page 22: Replacement Of Modules
Replacement of modules BeoPlay A9 in service position - Disconnect all cables - Pull off front cover - Gently release cover, use peeler - Remove screws 13mm TX10 - Remove screws 12mm TX20... - Page 23 Replacement of modules - Remove screws 16mm TX20 - Remove screw and washer ! Support baffle while removing screw - Gently lift off baffle 12mm TX20 - When reassembling, mount screws in the following order - Mount screw 12mm TX20...
- Page 24 Replacement of modules - Mount screws 13mm TX10 - Mount screws 12mm TX20 - Mount screws in the following order ➀ - ➅ ➃ ➁ ➄ ➅ 16mm TX20 ➂ ➀...
- Page 25 Replacement of modules - Mount screws 16mm TX20...
-
Page 26: Replace 999Module, Chassis
Replacement of modules Replace 999Module, Chassis + 4.2 BeoPlay A9 in service position - Placement of 999Module, Chassis - Disconnect antenna wires with the special tool, Extraction jig, U.Fl. Series. Pull gently perpendicular to the PCB01 via the chain ! Attention: When disconnecting, be careful not to damage the antenna plugs or wires ! Attention: When reconnecting, note correct placement of cables from PCB82.1 and PCB82.2... - Page 27 Replacement of modules - Disconnect cables 35CN401 35J401 35J1 35J8 35J3 35J7 35CN402 - Support 999Module, Chassis while removing screws TX20 Connect Wireless Antenna wire - Connect antenna wire by placing the wire connector in correct position on top of the PCB connector and press gently until it snaps in.
-
Page 28: Replace Pcb02.1, Connector - Ethernet
Replacement of modules Replace PCB02.1, Connector - Ethernet + 4.2 BeoPlay A9 in service position - Placement of PCB02.1, Connector - Ethernet - Remove screws 10mm TX10 - Disconnect cable 48J101... - Page 29 Replacement of modules - Remove screws 10mm TX10 - Disconnect cable 02.1J603...
-
Page 30: Replace Pcb02.2, Connector - Line-In
4.10 Replacement of modules Replace PCB02.2, Connector - Line-In + 4.2 BeoPlay A9 in service position - Placement of PCB02.2, Connector - Line-In - Remove screws 10mm TX10 - Disconnect cable 48J101... - Page 31 Replacement of modules 4.11 - Remove screws 10mm TX10 - Disconnect cable 02.2J402...
-
Page 32: Replace Pcb04, Power Supply
4.12 Replacement of modules Replace PCB04, Power Supply + 4.2 BeoPlay A9 in service position - Placement of PCB04, Power Supply - Disconnect cables 04CN3 04CN2 04CN1 - Support PCB04, Power Supply while removing screws 16mm TX20... -
Page 33: Replace Pcb48.1, Ntc
Replacement of modules 4.13 Replace PCB48.1, NTC + 4.2 BeoPlay A9 in service position - Disconnect cable 48J101 - Remove screw and replace PCB48.1, NTC TX10... -
Page 34: Replace Pcb48.2, Ntc Or Pcb48.3, Ntc
4.14 Replacement of modules Replace PCB48.2, NTC or PCB48.3, NTC + 4.2 BeoPlay A9 in service position - Remove screws 12mm TX20 - Disconnect cables 48J101 - Remove screw TX10... -
Page 35: Replace Pcb55, Touch Board
Replacement of modules 4.15 Replace PCB55, Touch Board + 4.2 BeoPlay A9 in service position - Disconnect ground cable ! When reassembling remember to remount the cable - Gently pull off aluminium profile - Gently pull off sealing ! When reassembling, mount new sealing... - Page 36 4.16 Replacement of modules - Remove screws 12mm TX20 - Gently pull off support for PCB55, Touch Board - Disconnect cable 55P1...
- Page 37 Replacement of modules 4.17 - Gently remove PCB55, Touch Board ! Attention: light guides and buttons - When reassembling, note placement of light guides and buttons...
-
Page 38: Replace Pcb57, Button Board
4.18 Replacement of modules Replace PCB57, Button Board + 4.2 BeoPlay A9 in service position Placement of PCB57, Button Board - Remove screws 10mm TX10 - Disconnect cable 48J101... - Page 39 Replacement of modules 4.19 - Remove screws 10mm TX10...
-
Page 40: Replace Pcb82.1, Wireless Antenna
4.20 Replacement of modules Replace PCB82.1, Wireless Antenna + 4.2 BeoPlay A9 in service position - Disconnect antenna wire with the special tool, Extraction jig, U.Fl. Series. Pull gently perpendicular to the PCB01 via the chain ! Attention: When disconnecting, be careful not to damage the antenna plug or wire From PCB82.1 Grey - Gently release PCB82.1, Wireless Antenna from... -
Page 41: Replace Pcb82.2, Wireless - Bluetooth Antenna
Replacement of modules 4.21 Replace PCB82.2, Wireless - Bluetooth Antenna + 4.2 BeoPlay A9 in service position - Disconnect antenna wire with the special tool, Extraction jig, U.Fl. Series. Pull gently perpendicular to the PCB01 via the chain ! Attention: When disconnecting, be careful not to damage the antenna plug or wire From PCB82.2 Black - Gently release PCB82.2, Wireless - Bluetooth... -
Page 42: Replace Tweeter
4.22 Replacement of modules Replace Tweeter + 4.2 BeoPlay A9 in service position - Remove screws 10mm TX10 - Disconnect cables... -
Page 43: Replace Midrange
Replacement of modules 4.23 Replace Midrange + 4.2 BeoPlay A9 in service position - Remove screws 12mm TX20 - Disconnect cables 48P1 - Remove screw and move PCB48, NTC to the new speaker TX10... -
Page 44: Replace Full Range Left
4.24 Replacement of modules Replace Full range left + 4.2 BeoPlay A9 in service position + 4.12 Remove PCB04, Power Supply - Disconnect cable 35J3 - Remove screws 10mm TX10 - Remove screws - Replace Full range with NTC and wire 10mm TX10... -
Page 45: Replace Full Range Right
Replacement of modules 4.25 Replace Full range right + 4.2 BeoPlay A9 in service position + 4.6 Remove 999module, Chassis - Remove screws 10mm TX10 - Remove screws - Replace Full range with NTC and wire 10mm TX10... -
Page 46: Replace Woofer
4.26 Replacement of modules Replace Woofer + 4.2 BeoPlay A9 in service position + 4.6 Remove 999module, Chassis - Remove damping foam - Disconnect cables 48J101 - Remove standoff in the middle of Woofer and move it to the new Woofer... - Page 47 Replacement of modules 4.27 - Remove screws - Gently remove Woofer 16mm TX20...
- Page 48 4.28 Replacement of modules...
-
Page 49: Specification Guidelines For Service Use
Specification guidelines for service use SPECIFICATION GUIDELINES FOR SERVICE USE Beoplay A9 3 generation For technical specifications, refer to BeoWise or www.bang-olufsen.com Markets Variant WiFi Type Austria, Belgium, Cyprus, Czech Republic, Denmark, Faroe Islands, Finland, France, Germany, Greece, Greenland, Hungary, Iceland, Italy, Latvia, Lithuania, Luxembourg, Monaco, Netherlands, Norway, Poland, Portugal, Russian Fed., Saudi Arabia, Slovenia, Spain, Sweden, Switzerland, Ukraine WiFi 2... -
Page 51: Block Diagram
Block diagram Block diagram Block diagram PCB48.1, NTC PCB35, Amplifier - DSP PCB01, Audio Streaming Engine PCB82.2, Wireless Antenna PCB82.1, Wireless - Bluetooth Antenna PCB48.1, NTC PCB02.1, Connector - Ethernet PCB48.2, NTC PCB48.3, NTC PCB48.4, NTC PCB48.5, NTC PCB57, Button board PCB02.2, Connector - Line In Standby Configuration... -
Page 53: Wiring Diagram
Wiring diagram Wiring diagram Wiring diagram 48.1 48.4 48.5 Full Range Left Full Range Right NTC Woofer NTC Full Range NTC Full Range Left Right 9011 9020 CON103 CN406A NP B _I N AS E_NP B GPIO1_11 MCU_UP GR _R DY LED_DA TA3 GOOGLE_TW D SYS R ES ET_I NP U... - Page 54 Available parts Available parts Available parts 9002 BeoPlay A9 3rd generation See Cabinet 9002 9016 9015 9016 9001 9003 9014 9013 9012 9004 9005...
- Page 55 Available parts Available parts BeoPlay A9 3 gen 9001 1605526 Cover, black 1605524 Cover, red 1605525 Cover, white 1605558 Cover, Parisian night 1605539 Cover, light grey 1605549 Cover, dark grey 1605553 Cover, dusty blue 1605554 Cover, dark rose 1605557 Cover, warm taupe 3450750 Cover, stardust 9002 2776896 Button, set...
- Page 56 Available parts Available parts Cabinet Remember also to order pos. no. 9006 - Set of sealings Not for sale 9025 9024 48.2 9023 9008 9011 9009 48.4 82.1 9022 Incl. PCB48.1 9017 9010 9021 9019 82.2 48.1 9006 9024 9007 02.1 9026 9006...
-
Page 57: Available Parts
Available parts Availlable parts Cabinet Wall Bracket type 2108 9006 3340752 Set of sealings 9007 2954057 Aluminium profile, silver 2954058 Aluminium profile, black 2954062 Aluminium profile, brass tone 2954082 Aluminium profile, bronze tone Not for sale 2954076 Aluminium profile, golden (stardust) 9008 8480539 Midrange 9009 8480621 Tweeter 9010 8480623 Woofer 9011 8480624 Full range left incl. NTC and wire 9017 2938385 Damping foam 9018... - Page 60 Bang & Olufsen DK-7600 Struer Denmark 3538275 19-05...
Need help?
Do you have a question about the Beoplay A9 3rd generation and is the answer not in the manual?
Questions and answers