Advertisement
Quick Links
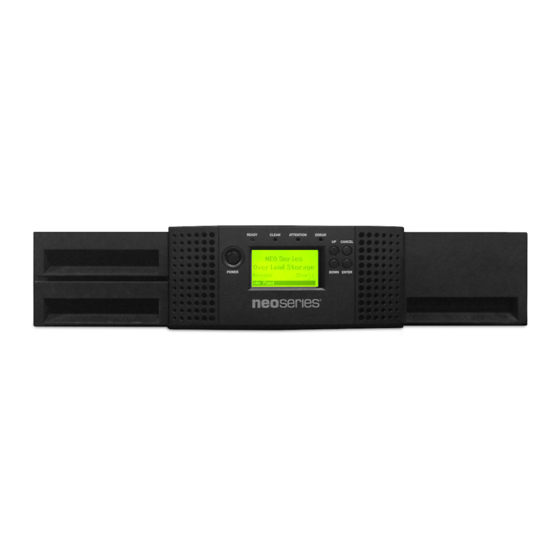
Quick Start Guide
NEOs
™
T24
2U Tape Library
Step 1
It is essential that you activate your warranty. Technical and warranty support are
not available until the warranty is active.
The serial number is located on the pull-out tab at the rear.
Enter only the core characters skipping the
parenthesis, "PN:", and "SN:" components
.
Example: 11S00V7150Y1N1B78X9938
For an existing customer:
1. Go to
http://support.overlandstorage.com/
support page.
2. Enter your e-mail address and password in the
appropriate fields, and then press Enter or click
the right arrow (
>
).
3. At the Support Home page, click Register New.
4. Enter the requested information and click Submit.
Your warranty certificate will be emailed to you. Follow the instructions in the
email to complete the process.
For a new customer:
Go to the
New User Registration
page and follow the instructions.
You'll receive a confirmation e-mail from Overland with instructions on how to
complete the registration process.
Step 2
WARNING:
Due to the weight of the appliance, it is recommended that at least two
people be used to lift the unit out of the box to prevent injury.
WARNUNG:
Um Verletzungen zu vermeiden, empfehlen wir aufgrund des Gewichts
des Geräts, dass mindestens zwei Personen das Gerät aus der Verpackung heben.
AVERTISSEMENT:
En raison du poids de l'appareil, il est recommande d'utiliser deux
personnes au moins pour soulever l'appareil hors de la boîte pour éviter les blessures.
–1–
IMPORTANT: The shipping lock, which prevents the library accessor from moving during
shipment, must be removed before the library is powered ON.
NOTE: If the temperature in the room where the library will be installed varies by 15º C
(30º F) from the room where the library was stored, allow the library to acclimate to the
surrounding environment for at least 12 hours before unpacking it.
*10400894*
The shipping lock is held in place with a label and is
10400894
located in the top center of the library. After the
shipping lock is removed, store it on the right side of
the back panel for future use.
1. Using two people, remove the library from its
box and set it on a secure surface.
2. Remove blue securing label (
3. Lift and remove the shipping lock (
4. Store the shipping lock and blue label at the top
right (
) of the rear panel of the library.
Slide the lock into the slot with the bottom of the
lock showing below the slot. Press the label over
the flat part of the lock.
Step 3
The NEOs T24 libraries each come with a rack shelf kit for easy installation and
securing of the library into a 19-inch (EIA-310) rack.
IMPORTANT: Two-post telco-style or other racks less than 29 inches in depth will NOT
support this unit.
WARNING:
It is recommended that a mechanical lifter (or at least two people) be
used to raise and align the unit to prevent injury during installation. Use care when
inserting or removing a unit into or out of a rack to prevent the accidental tipping of
the rack, causing damage or personal injury.
WARNUNG:
Um Verletzungen zu vermeiden, empfehlen wir zur Rack-Installation oder
-Deinstallation die Nutzung einer mechanischen Hebehilfe (oder mindestens zwei
Personen). Seien Sie vorsichtig bei der Rack-Installation oder -Entnahme, um ein
versehentliches Kippen des Racks zu vermeiden und das Rack nicht zu beschädigen
bzw. sich selbst zu verletzen.
AVERTISSEMENT:
recommande d'utiliser un monte-charge (ou au moins deux personnes) pour élever ou
aligner l'appareil. Faites attention lorsque vous insérez ou retirez l'appareil d'un
support, pour empêcher le déversement accidentel de la crémaillère causant des
dommages et des blessures.
Install the Rack Rails
2U (3.5 in.)
).
).
Afin d'éviter des blessures pendant l'installation, il est
Square-hole Rack
Two EIA units (2U) needed
&
for the rail kit installation
Wide Gaps between EIA
unit holes
Narrow Gaps between EIA
units holes
Round-hole Rack
–2–
1. Determine the location in your rack for your library to be installed and, using a
pencil, mark the location on each vertical rail in your rack, front and rear.
NOTE: A 2U library requires 2U (3.5 in.) of rack space. A 4U library requires 4U (7 in.) of
rack space. Both units use the same rail kit.
2. Ensuring that the shelf flange on each rail points toward the rack center to form a
shelf, secure one rail to each side of the rack at the bottom of your chosen rack
location.
NOTE: The rail kit front and rear end brackets should face outward. The rails must be
fastened with the bottom of the shelf flanges parallel to floor and at the same level.
a. Extend the rails to fit your particular rack depth.
Align the rail kit brackets at the bottom of the 2U space. The extension sections
should be at the rear.
b. Using either the square-hole or round-hole eight screws, secure the front and
back of each rail to the rack.
The screws go into the holes with the wide gaps above and below them.
Front View
Attach the Rail Brackets to Library
NOTE: The rail brackets attach at the bottom on both the T24 and the T48 libraries.
1. Position the right bracket on the right side with the notch in the library indent
at the bottom and the two-holed flange to the front.
2. Use the flat-head screw in the top hole.
3. Use the round-head screw in the bottom hole.
4. Repeat these steps for the left bracket.
Insert the Library in Rack
1. Using the mechanical lifter, position the library in front of the rack, aligned with
and slightly above the shelf flanges.
2. Slide the library onto the shelves until the mounting brackets are up against the
vertical rack rails.
3. Secure it to the rack with the two provided screws.
–3–
Extension Section
Rear View
Advertisement

Related Manuals for Overland Tandberg NEOs T24


Summary of Contents for Overland Tandberg NEOs T24
- Page 1 The serial number is located on the pull-out tab at the rear. Step 3 The NEOs T24 libraries each come with a rack shelf kit for easy installation and securing of the library into a 19-inch (EIA-310) rack. Front View...
- Page 2 11, 12). Refer to the NEO S-Series Tape Library User Guide for complete details. index.aspx All cabling, power connections, and cooling are located on the NEOs T24 rear panel. For information on contacting Overland-Tandberg technical Remote Management Interface support, see our Contact Support web page: http://docs.overlandstorage.com/support...
Need help?
Do you have a question about the NEOs T24 and is the answer not in the manual?
Questions and answers