Table of Contents
Advertisement
Quick Links
Advertisement
Table of Contents

Related Manuals for KITO CX003


Summary of Contents for KITO CX003
- Page 1 AS-CX1ZZZ-MGE-00 /005...
-
Page 2: Table Of Contents
Table of Contents Safety Precautions ................. 3 Disassembly/reassembly tools and Lubricant ..........5 Before Disassembly/reassembly ..............5 Part Name ................... 6 Disassembly Procedure ................7 Disassembly of Brake ................. 7 Removal of the Load Chain ................ 8 Disassembly of Gear ................... 9 Disassembly of Latch................ -
Page 3: Safety Precautions
Do not use parts beyond their discard limit or criteria and unauthorized parts for the KITO Chain Hoist Model CX003/005. Even if the part is an authorized part for KITO Chain Hoist, it may not be used for a different model. Prohibited Use parts correctly in accordance with the Disassembly/reassembly Manual. - Page 4 When assembling the braking unit, clean the Friction Disc, Friction Plate, Ratchet Disc and Bushing. Oil, dust or foreign objects on the braking surface may result in death or severe injury, due to insufficient braking. Mandatory When assembly is completed, perform a functional test (Preoperational check) to ensure that the hoist is operating properly.
-
Page 5: Disassembly/Reassembly Tools And Lubricant
Do not use parts beyond their discard limit or criteria and unauthorized parts for the KITO Chain Hoist Model CX003/005. Even if the part is an authorized part for KITO Chain Hoist, it may not be used for a different model. Prohibited Use parts correctly in accordance with the Disassembly/reassembly Manual. -
Page 6: Part Name
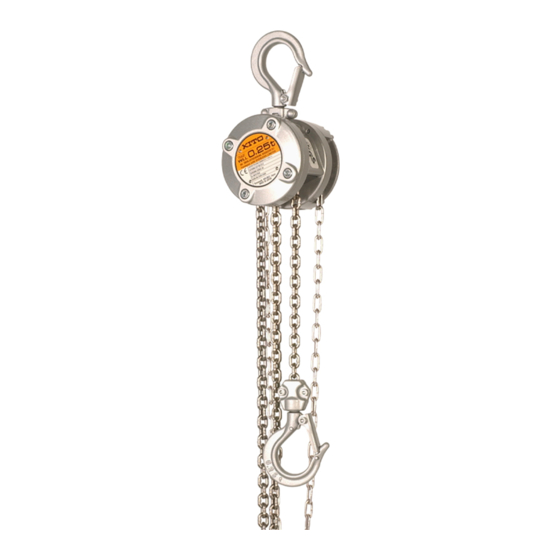
Part Name Top Hook Top Hook Body Assembly Latch Top Pin Pawl Spring (Assembly) Load Sheeve Pawl Frame B Snap Ring Spring Lock Washer Bushing Socket Head Cap Screw Ratchet Disc Load Gear Hand Wheel Assembly Pinion Cam Guide Snap Ring Wheel Cover Conical Lock Washer... -
Page 7: Disassembly Procedure
Disassembly Procedure Disassembly of Brake (1) R e m o v e t h r e e s e t s o f S o c k e t Wheel Cover Head Cap Screws and Conical Lock Washers from Wheel Cover. Conical Lock Washer Socket Head Remove the Cover and Hand Chain. -
Page 8: Removal Of The Load Chain
(4) Remove the Snap Ring of the Pawl Shaft and pull out the Pawl and two Pawl Shaft Pawl Springs. Pawl Spring (2 pcs) Pawl Snap Ring Do not disassemble the Pawl Shaft. Carefully remove the Snap Ring. If it is loosened, replace the Body Assembly Failure to do so may result in injury. -
Page 9: Disassembly Of Gear
Disassembly Procedure (continued from the previous page) Disassembly of Gear (1) Turn the Body as shown in the right figure. Remove four sets of Socket Gear Case Assembly Conical Lock Washer Head Cap Screws and Conical Lock Washers, and then remove the Gear Socket Head Cap Screw Case Assembly. -
Page 10: Disassembly Of Latch
(5) Remove the two Socket Head Cap Screws on the upper side, and then remove Frame B and Load Sheave. Frame B Spring Lock Washer Load Sheave Socket Head Cap Screw 4 mm (6) Remove Frame A on the opposite side. Frame A Disassembly of the Latch (1) L o o s e n t h e S o c k e t H e a d C a p... -
Page 11: Assembly Procedure
Assembly Procedure Remove the grease, oil and dust on each part. Assembly of Gear (1) A p p l y g r e a s e o v e r t h e e n t i r e Whole circumference Whole circumference circumference of the specified part Grease... - Page 12 (4) Align the projecting part of the Chain Guide with the notch of the Body, and assemble the Chain Guide to the bottom of the Body Assembly. Chain Guide Protrution and notch (5) Insert two sets of Spring Lock Washers and Socket Head Cap Screws on the lower side of Frame A/B and tighten temporarily them, Spring Lock Washer...
-
Page 13: Assembly Of Load Chain
Assembly Procedure (continued from the previous page) (8) A p p l y g r e a s e o v e r t h e e n t i r e circumference on the Gear #2, the Top Hook Set Load Gear and the Top Pin. -
Page 14: Assembly Of Brake
(3) Insert the End Pin to fix the End Link at the no-load side, and then apply a thread locker to the Hexagon End Pin Socket Set Screw and fix the End Pin with the Socket Set Screw. Hexagon Socket Set Screw 2.5 mm Lock... - Page 15 Assembly Procedure (continued from the previous page) (3) Fix the Pawl with a new Snap Ring. As shown in the figure, check that Snap Ring the lower part of the Pawl Spring comes under the step of the Pawl Shaft and that the Snap Ring is firmly installed into the groove of the Pawl Shaft, and furthermore, that the Snap Ring can rotate smoothly.
- Page 16 (5) Apply grease to the thread at the center of the Hand Wheel Assembly, up to the root of thread. Hand Wheel Assembly Attach a Hand Wheel Assembly to the Friction Disc, and turn it Cam Guide clockwise. (Assemble the Hand Snap Ring Wheel Assembly turning until it clicks.)
-
Page 17: Bottom Hook Set
Assembly Procedure (continued from the previous page) Bottom Hook Set (without chain) Load Chain For CX003 Bottom Yoke (1) Set the Load Chain and Bottom Hook to one side of the Bottom Yoke. Bottom Hook (2) Attach the other side of the Bottom... -
Page 18: Preoperational Check
(2) Align the Latch with the hole of the hook for the Latch fitting, and fasten it with a Socket Head Cap Screw and a Hexagon Nut. Ensure that the Latch can move Hexagon Nut smoothly. 7 mm Socket Head Cap Screw Latch 3 mm... - Page 19 <MEMO>...
- Page 20 Global Website: kito.com...
Need help?
Do you have a question about the CX003 and is the answer not in the manual?
Questions and answers