Advertisement
Quick Links
SonicWave / SonicPoint Mounting Kit
Instructions
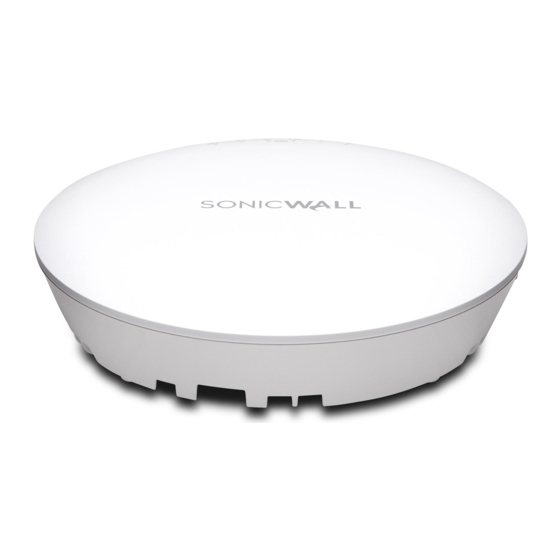
The SonicWall SonicWave/SonicPoint mounting kit supports multiple
SonicWall Access Points, including SonicWave 432e/432i and SonicPoint
ACe/ACi/N2. The kit includes two types of ceiling brackets and a pair of T-
bar mounting clips along with screws and drywall anchors. The underside
of the Access Point has one of two possible slot configurations for
mounting the device. Use the mounting hardware that matches the slots
on your Access Point. See the following sections:
•
Mounting Access Points with Horizontal Slots
•
Mounting Access Points with Crossed Slots
Mounting Access Points with Horizontal Slots
Access Point Underside with Horizontal Slots:
An Access Point with horizontal slots can be mounted to a drop-ceiling
T-bar or to a flat surface with the multi-purpose bracket. The bracket
provides two pairs of T-bar locking tabs that support two ceiling T-bar
widths: 15/16 inch and 9/16 inch.
Mounting Bracket Top:
Mounting Bracket Bottom:
The mounting bracket must first be securely attached to the ceiling or wall.
The bracket can clip onto ceiling T-bars or can be screwed directly into the
wall or ceiling.
To attach the mounting bracket to the ceiling using T-bar clips:
1
Press the top side of the mounting bracket against the ceiling tile
T-bar so that the T-bar locking tabs on the mounting bracket are
depressed.
2
Rotate the mounting bracket until the ceiling T-bar slides into the
T-bar clips on the mounting bracket and the T-bar locking tabs click into
place.
Bracket attached to ceiling T-bar:
For mounting on a flat surface, holes in the T-bar clips on the bracket
provide insertion points for screws. Use the #6 (3.5mm) screws of length
1.25 inches (31.75 mm) included in this mounting kit.
When mounting on drywall or into ceiling tiles, anchors should be used.
Anchors must accommodate the screws and be rated to hold at least 10 lbs
(4.5 kg). The anchors are included in this mounting kit.
Screws and Anchors:
To attach the mounting bracket to the ceiling or to a wall using screws:
1
Place the top side of the mounting bracket against the ceiling or wall
and mark the locations for the two screw insertion points.
2
Drill starter holes at the marked locations. For a wood wall, use a drill
bit that fits the screws. For drywall, use a drill bit that fits the anchors.
3
For drywall or ceiling tile mounting, screw in the anchors.
4
Place the mounting bracket against the surface with the holes lined up
on the marks or anchors.
5
Using the screws and a screwdriver, securely attach the mounting
bracket to the ceiling or wall.
To attach the Access Point to the mounting bracket:
1
Line up the two horizontal slots on the back of the Access Point with
the mounting tabs on the mounting bracket.
2
Insert the mounting tabs into the Access Point and slide the Access
Point down until the locking tab on the bracket clicks into place on the
Access Point.
NOTE:
To detach the Access Point from the bracket, press on the
locking tab to release it, then slide the Access Point in the reverse
direction to free the mounting tabs.
Mounting Access Points with Crossed Slots
Access Point Underside with Crossed Slots:
The underside of an Access Point with the crossed "plus" slots has two
screw insertion points in the slot centers for attaching the mounting
bracket or mounting clips.
Advertisement

Summary of Contents for SonicWALL SonicWave
- Page 1 Instructions The SonicWall SonicWave/SonicPoint mounting kit supports multiple SonicWall Access Points, including SonicWave 432e/432i and SonicPoint ACe/ACi/N2. The kit includes two types of ceiling brackets and a pair of T- bar mounting clips along with screws and drywall anchors. The underside of the Access Point has one of two possible slot configurations for mounting the device.
- Page 2 T-bar before releasing it. Copyright © 2020 SonicWall Inc. All rights reserved. SonicWall is a trademark or registered trademark of SonicWall Inc. and/or its affiliates in the U.S.A. and/or other countries. All other trademarks are property of their respective owners.


Need help?
Do you have a question about the SonicWave and is the answer not in the manual?
Questions and answers