2VV DAPHNE Installation Manual
Hide thumbs
Also See for DAPHNE:
- Installation, operation and handling (26 pages) ,
- Installation manual (26 pages) ,
- Installation manual (21 pages)
Table of Contents
Advertisement
Quick Links
Advertisement
Table of Contents

Related Manuals for 2VV DAPHNE


Summary of Contents for 2VV DAPHNE
- Page 1 DAPHNE INSTALLATION...
-
Page 2: Before Starting
The assessment was conducted pursuant to harmonized European standards included in the relevant EC Declaration of Conformity. The current and full version of the EC Declaration of Conformity can be found at www.2vv.cz 2VV.Creating innovative solutions for you and your business since 1995. - Page 3 If the unit was shipped at below 0°C temperatures, let it rest • for at least 2 hours, without turning it on, so that its inner tem- perature can match the surroundings. 2VV.Creating innovative solutions for you and your business since 1995.
-
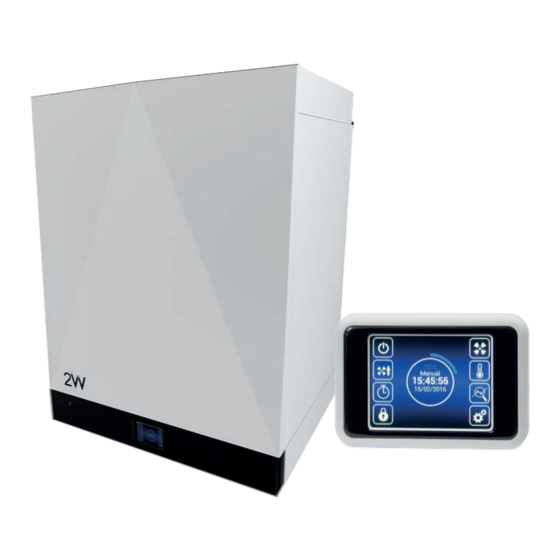
Page 4: Main Parts
6.Removable cover for filter replacement 7. Fan. 8. Exchanger 9. Condensate drain 10.Filter G4 (intake), Filter G4 (exhaust) + prefilter G2 (selection). 11.Control panel 12. Regulation unit - Connecting power and accessories 2VV.Creating innovative solutions for you and your business since 1995. - Page 5 4. DIMENSIONS HRDA2-020 + HRDA2-030 HRDA2-050 2VV.Creating innovative solutions for you and your business since 1995.
-
Page 6: Technical Parameters
HRDA2-020... EE1C HRDA2-030... ES0C HRDA2-030... EE1C HRDA2-050... ES0C HRDA2-050... EE1C HRDA2-070... ES0C HRDA2-070... EE1C HRDA2-090... ES0C HRDA2-090... EE1C Other technical data can be found in the technical catalog - www.2vv.cz 2VV.Creating innovative solutions for you and your business since 1995. -
Page 7: Installation
If condensation occurs outside the unit, increase the ventilation in the surroundings of the unit. +40 °C -20 °C 20 °C max. 90% +40°C +5°C 2VV.Creating innovative solutions for you and your business since 1995. -
Page 8: Installing The Unit
200 mm washers. lid. (non included) 2VV.Creating innovative solutions for you and your business since 1995. 200 mm 200 mm - The unit is fixed using suspension holders located on both - Das Gerät wird mit Anhängehaltern an beiden Seiten des... - Page 9 6. INSTALLATION Level de unit horizontally with the adjustment screws on the • back. Hang the unit on the bracket • YOU WILL NEED Water level • No. 13 wrench • 2VV.Creating innovative solutions for you and your business since 1995.
- Page 10 80 cm from the wall during installation. Install the back cover on the unit. Check the locking. +/- 15mm 2VV.Creating innovative solutions for you and your business since 1995.
- Page 11 HRDA2-BASE-200-300 HRDA2-BASE-500 HRDA2-BASE-700-900 2VV.Creating innovative solutions for you and your business since 1995.
- Page 12 (the original unit delivered will have the sink on the right side, per the figure above). Joint Daphne unit is equipped with the ability to connect a second condensate drain in places where summer conditions require it. This second condensate drain must be connected when the dew point temperature of the inside air is lower than the out- door air coming into the building.
-
Page 13: Electronic Accessories
PLEASE NOTE! The accessories must be powered with their with their • own external supply. For details on the power supply, refer to the documenta- • tion of the given accessory. 2VV.Creating innovative solutions for you and your business since 1995. -
Page 14: Changing Door Position
6. INSTALLATION Changing door position * When rotating the regulator it is necessary to disconnect the grounding of the regulator and reconnect it once rotation is complete 2VV.Creating innovative solutions for you and your business since 1995. - Page 15 6. INSTALLATION 2VV.Creating innovative solutions for you and your business since 1995.
- Page 16 SENSOR SENSOR SENSOR SENSOR Capteur CO /HR SENSOR Capteur CO /HR Capteur CO /HR Capteur CO /HR SENSOR Capteur CO /HR Capteur CO /HR 2VV.Creating innovative solutions for you and your business since 1995. 230VAC 230VAC 230VAC 230VAC 230VAC 230VAC...
- Page 17 Alterations and changes to the internal connections of the unit are forbidden and may result in the loss of warranty. • We recommend the use of accessories provided by our company. Contact your supplier in case of doubts with the use of non-original • accessories. 2VV.Creating innovative solutions for you and your business since 1995.
-
Page 18: Maintenance
After checking or replacing filters, the fouled filter control must be restarted; see the chapter MENU FILTER TIMER. ATTENTION! Failure to properly clean (change) the filters may reduce the perfor- mance of the unit and damage the fan. 2VV.Creating innovative solutions for you and your business since 1995. -
Page 19: Troubleshooting
Removing the boards from the plastic frame – pliers for precision mechanics Releasing the printed circuit – Philips screw no. 0 Plastic parts Ceiling insulation of front panels – box cutter 2VV.Creating innovative solutions for you and your business since 1995. - Page 20 Once the it has been installed, read carefully the safe operation manual of the unit. That manual includes examples of possible problems and recommended solutions. In case of any requests or inquiries, contact our sales or technical department. Contact Address 2VV, s.r.o., Fáblovka 568, 533 52 Pardubice, Czech Republic Website: http://www.2vv.cz/ 2VV.Creating innovative solutions for you and your business since 1995.
Need help?
Do you have a question about the DAPHNE and is the answer not in the manual?
Questions and answers