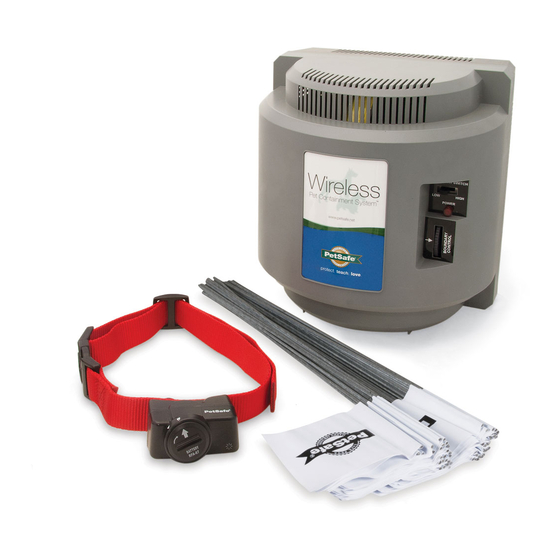
Petsafe PIF-300 Quick Start Quide
Hide thumbs
Also See for PIF-300:
- User manual ,
- Operating and training manual (24 pages) ,
- Product manual (20 pages)
Advertisement
Drywall installation for PIF-300, PIF-300-21, IF-100
• Using the template provided, mark and drill 2 (6 mm) diameter holes
• Push the #8 plastic screw-anchors into the holes until flush with the wall.
• Rotate #8 pan head screws into the anchors until the bottom of the head is
approximately 3 mm from the wall. The screw head must not be flush with the wall.
• Align the wall hang keyways on the back of the unit with the screws and place the back
of the unit flush against the wall
• Slide the unit down slightly until the wall hang keyways engage with the screws.
Trockenwand-installation für PIF-300, PIF-300-21, IF-100
• Mit Hilfe der mitgelieferten Schablone markieren und bohren Sie 2 Löcher mit einem
Durchmesser von 6 mm
• Drücken Sie die Kunststoff-schraubenanker Nr. 8 in die Löcher, bis sie bündig mit der
Wand sind.
• Drehen Sie die Flachkopf-schrauben Nr. 8 in die Anker, bis die Unterseite des Kopfes
ungefähr 3 mm von der Wand entfernt ist. Der Schraubenkopf darf nicht bündig mit der
Wand sein.
• Richten Sie die Keilnuten an der Rückseite des Geräts mit den Schrauben aus und
platzieren Sie die Rückseite der Einheit bündig an die Wand
• Schieben Sie das Gerät etwas nach unten, bis die Keilnuten mit den Schrauben
einrasten.
Instalación en paneles de yeso del PIF-300, PIF-300-21, IF-100
• Con la plantilla suministrada, marque y taladre 2 agujeros de 6 mm de diámetro
• Empuje los tacos de plástico n.º 8 en los agujeros hasta que estén al ras de la pared.
• Gire los tornillos de cabeza troncónica n.º 8 en los tacos hasta que la parte inferior de la
cabeza esté a aproximadamente 3 mm de la pared. La cabeza del tornillo no debe estar al
ras de la pared.
• Alinee las ranuras para colgar en la pared situadas en la parte posterior de la unidad con
los tornillos y coloque la parte posterior de la unidad al ras de la pared
• Deslice un poco la unidad hacia abajo hasta que las ranuras se enganchen con los
tornillos.
Advertisement
Table of Contents

Related Manuals for Petsafe PIF-300


Summary of Contents for Petsafe PIF-300
- Page 1 • Schieben Sie das Gerät etwas nach unten, bis die Keilnuten mit den Schrauben einrasten. Instalación en paneles de yeso del PIF-300, PIF-300-21, IF-100 • Con la plantilla suministrada, marque y taladre 2 agujeros de 6 mm de diámetro • Empuje los tacos de plástico n.º 8 en los agujeros hasta que estén al ras de la pared.
- Page 2 Installation sur cloison sèche pour PIF-300, PIF-300-21, IF-100 • À l'aide du gabarit fourni, marquez et percez 2 trous de 6 mm de diameter • Insérez la cheville en plastique à 8 pans dans le trou et enfoncez-la jusqu'à ce qu'elle soit parfaitement encastrée.
Need help?
Do you have a question about the PIF-300 and is the answer not in the manual?
Questions and answers