Table of Contents
Advertisement
Quick Links
Advertisement
Table of Contents

Related Manuals for Fein Optic RB20


Summary of Contents for Fein Optic RB20
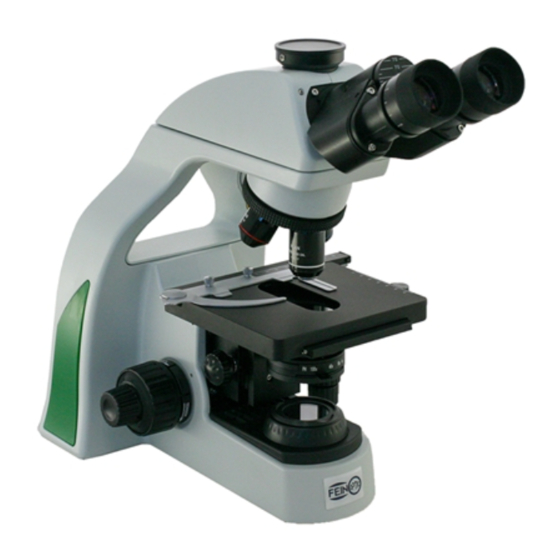
- Page 1 RB20 Biological Microscope User’s Manual Fein info@feinoptic.com...
-
Page 2: Microscope Components
Microscope Components Eyepieces Microscope Frame / Carrying Handle Objective Lens Tension Adjustment Condenser Coarse Adjustment Condenser Adjustment Fine Adjustment Knob Fein... - Page 3 Microscope Components Trinocular Head Lock Screw Nosepiece Focus Arm Mechanical Stage Fixed Koehler Illumination Vertical Adjustment Light Knob Horizontal Adjustment Adjustment Knob Power Switch Knob Fein...
-
Page 4: Before Use
Before Use Do not shake or drop the microscope. Do not expose the microscope to direct sun, high temperatures, high humidity, dust, or damp environments. Use a flat work surface. When moving the microscope use both hands, holding the handle at the back (1) and the frame at the front (2) as shown in the image at right. - Page 5 Microscope Assembly Follow the numbers below when assembling the microscope. Eyepiece Objectives Condenser Power Cord Fein...
- Page 6 Microscope Assembly Assemble the Condenser: Rotate the coarse focus knob (1) to raise the stage to its highest position. Fully loosen the condenser lock-screw (2). Insert the condenser into the hole of base according to the arrowhead pointed (3), until the condenser is aligned with the base, and rotate the condenser to make the handle face forward.
- Page 7 Microscope Assembly Assemble the Eyepiece: Take off the eyepiece tube cover (1). Insert the eyepiece (2) into the eyepiece tube, until the eyepiece is flush with the eyepiece tube. Tighten the eyepiece with M2.5 inner hexagon lock-screw (3). Assemble the Eyepiece: Take off the eyepiece tube cover (1).
-
Page 8: Microscope Operation
Microscope Operation Turning the Lamp ON: Set the power switch to the ON position “-” (1). Adjust the illumination knob rotating clockwise to increase the light intensity and rotating counterclockwise to decrease the light intensity. Placing the Specimen Slide: Push the spring lever (1) of the specimen holder backwards. - Page 9 Microscope Operation Adjust the Focusing Tension: If it becomes hard to move the coarse focus knob, or the stage drifts and the sample falls out of focus the tension needs to be adjusted. Tighten the tension by adjusting the tension adjustment ring (1) in the direction of the arrow shown at right.
- Page 10 Using Filters: Filters can increase the contrast in microscopy images. The filter sits on top of the light as shown at the right. The RB20 accepts a 34mm diameter filter. C-Mount assembly: Loosen the trinocular head set screw (1) and remove the trinocular port dust cap (2).
- Page 11 Microscope Operation Using the Storage Box: When the microscope is not in use, the power cord can be placed in the storage box. Press the position (1) of the storage box cover with thumb. When you hear a click, push up and put the power cord into the storage box.
-
Page 12: Troubleshooting
Troubleshooting TROUBLE POSSIBLE CAUSE SOLUTION The field diaphragm is not large enough. Enlarge the field diaphragm Field of view is dark even when light is on Condenser is too low. Adjust the position of condenser. Turn the nosepiece into the right The nosepiece is not in the right position. - Page 13 IRB20 Inverted Microscope Bulb & Fuse Replacement Troubleshooting TROUBLE POSSIBLE CAUSE SOLUTION Coarse focusing knob Tension knob is too loose. Tighten it a little. is too tight. Stage declines itself, cannot stay on the Tension knob is too loose. Tighten it a little. focal plane when observing.
-
Page 14: Bulb Replacement
Bulb Replacement: Before performing any of these steps the microscope MUST be turned off and unplugged. With the microscope powered off and unplugged, gently lay the microscope down on a sturdy surface ensuring the carrying handle side is down. Gently lay microscope on carrying handle. - Page 15 IRB20 Inverted Microscope Bulb & Fuse Replacement Bulb Replacement: With all 4 screws removed, carefully remove the bottom plate exposing the internal components of the microscope. The electrical components are mounted onto the internal side of the bottom plate. Locate the 2 screws securing the LED bulb in place.
- Page 16 Bulb Replacement: Place the new LED bulb (part# RB20-001) on to the LED bulb platform and attach using the small set screws that were previously removed. LED replacement bulb part #RB20-001 Insert the black plastic wire plug back into the wire housing.
Need help?
Do you have a question about the RB20 and is the answer not in the manual?
Questions and answers