Advertisement
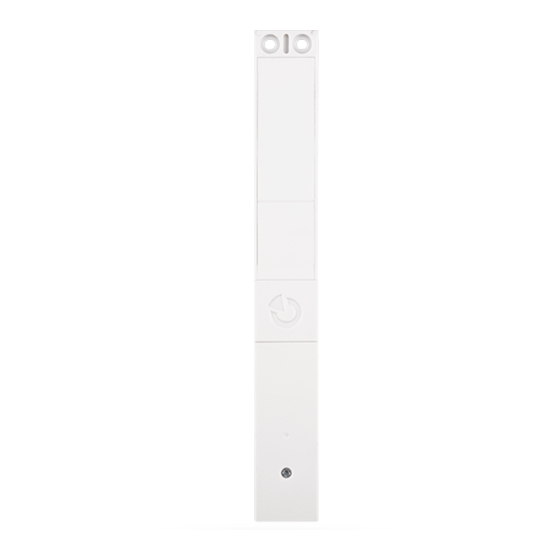
The JA-152M Wireless hidden magnetic detector
The JA-152M is a wireless component of the JABLOTRON 100
system. It is used to detect the opening of doors and windows and
is designed for hidden installation (between a frame and a wing).
The detector has a status reaction that can be switched to a pulse
reaction if necessary. The detector takes one position in the system and
it should be installed by a trained technician with a valid certificate
issued by an authorized distributor.
the JA-103K, JA-107K and subsequent control panels.
Installation
The detector should be placed into the gap between the frame (non-
moving part) and the wing (moving part) of a door or window. There are
various door/window frames, therefore it is wise to verify before
installation that the detector fits the given door/window type. In the case
of a wooden frame with too narrow a profile it is usually possible to mill
out a groove for detector insertion.
The detector electronics should be installed onto the non-moving part
and the magnet onto the moving part. The detector reacts to the
removal of its magnet. If the supplied magnet does not exactly match
the door/window construction you can ask the window/door supplier for
a magnet of a suitable type. Alternatively, you can adjust the magnet's
position using a suitable back-plate.
4
7
24
2
3
4
Figure: 1 – magnet; 2 – tear-removal mechanism for removal detection (on the back side
of the detector); 3 – cover tamper sensor; 4 – batteries (2x CR 2032);
5 – hidden LED indicators (under the logo); 6 – adjustment line; 7 – fixing holes
1. Find a suitable place for the detector's location so that the magnet
is aligned with the adjustment line (6) when the door/window
is closed. After opening the door/window, the magnet's distance
from the detector should increase by at least 2 cm.
Basic installation conditions:
a) Avoid installing the detector in the area of the metal fitting
mechanism (there shouldn't be any metal close to the detector
due to interference to radio communication),
b) We do not recommend installing the detector onto the bottom
part of the door/window frame due to possible water
condensation,
c) There are two 2mm and one 3mm back-plates designed
to compensate for possible unevenness on the frame (e.g.
frame grooves); the detector must always lie with its whole
surface on the mounting surface.
2.
Screw the magnet onto the moving part of the door/window
according to the following picture.
3. Unscrew the battery cover and screw the detector on with four
screws so that the magnet is aligned with the adjustment line (6)
when the door/window is closed. Be careful not to use too much
force while tightening the screws, otherwise the tear-removal
mechanism (2) could be damaged.
4. Try out if the detector or the magnet makes no obstruction when
closing the door/window.
5. Follow the instructions stated in the control panel installation
manual. Basic procedure:
a) Open the F-Link software, select an unused position
in the Devices tab and click on the Enroll button to enter
the Enrollment mode.
The JA-152M Wireless hidden magnetic detector
This product is compatible with
1
0-10
5
6
7
b) Insert both batteries (4) into the detector. Mind the correct
polarity (for both batteries the positive terminal points
upwards). After the second battery is inserted into the detector
the enrollment signal is transmitted and the detector
is enrolled into the selected position. The enrollment
is confirmed by the yellow LED (5) turning off.
c) Close and screw the detector cover on.
Note:
The detector can also be enrolled into the system by entering its
production code in the F-Link software. You can find the production
code on the sticker placed on the back side of the detector.
All numbers under the bar code shall be entered (1400-00-0000-0001).
−
If you want to remove the device from the system, erase it from its
position in the F-Link software.
Detector communication with the system
The
detector
is
equipped
communication with the JA-11xR radio module which enables changing
the internal settings with ease (just as it is with BUS detectors) while
taking into account battery life time in normal operational mode.
When the detector is enrolled to the control panel it works in the so-
called
accelerated
90-second
is terminated (up to 24h). The detector performs a check every 90s
to monitor whether the control panel remains in the Service mode,
whether it should apply new settings or should the LED light indicate
opening of the door/window.
In the normal operational mode, the detector communicates
periodically with the control panel 1x every 20 minutes. Therefore,
it may take the detector up to 20 minutes to realize the control panel
was switched to the Service mode or to save changes made
in the internal settings. This period of time can be shorten by triggering
the detector which will switch it to the accelerated 90-second mode
immediately (increasing the magnet's distance from the detector
by at least 2 cm, opening it = triggering the tamper contact).
Important:
It is not necessary to wait for 90s (or 20 minutes) for the detector
to confirm a request to save the changes made in the internal settings.
The control panel remembers such changes and transfers them
to the detector the next time a periodical communication session
occurs.
Setting the detector properties
Impulse behaviour: (*OFF) If set ON, the detector generates
an
activation,
but
does
of the door/window. If set to OFF, standard status behaviour is enabled,
meaning the system knows about the status of the door/window
the whole time a door/window is open and the detector remains active.
Disabled rear tamper sensor: (*OFF) The parameter enables/disables
the rear tamper sensors which monitor detector removal from the surface.
Detector testing
When in Service mode, the LED indicators (5) in the detector indicate
every
activation
when
of the detector can also be monitored in the Diagnostics tab
in the F-Link software.
The LED indicators, including the yellow fault indicator, are disabled
in normal operating mode.
Battery replacement
The system automatically reports a low battery status. Remember
to switch the system to Service mode before changing the batteries
(otherwise a tamper alarm will be triggered). Use only high-quality
lithium batteries, type CR2032. Always replace both batteries
at the same time.
1 / 2
with
bi-directional
asynchronous
mode
until
the
Service
not
detect
the
status/position
opening/closing.
Individual
activations
MKC55101
mode
Advertisement
Table of Contents

Related Manuals for jablotron JA-152M


Summary of Contents for jablotron JA-152M
- Page 1 The JA-152M Wireless hidden magnetic detector The JA-152M is a wireless component of the JABLOTRON 100 b) Insert both batteries (4) into the detector. Mind the correct system. It is used to detect the opening of doors and windows and polarity (for both batteries the positive terminal points is designed for hidden installation (between a frame and a wing).
- Page 2 EN 50131-5-3+A1, EN 50131-6 ed. 2+A1, ETSI EN 300 220-1-2, EN 50130-4 ed. 2+A1, EN 55032, EN 62368-1, EN 50581 Can be operated according to ERC REC 70-30 JABLOTRON ALARMS a.s. hereby declares that the JA-152M compliance with relevant European...
Need help?
Do you have a question about the JA-152M and is the answer not in the manual?
Questions and answers