Jablotron JA-60P - Wireless P.I.R. Motion Detector Instructions For Use
- Manual (2 pages)
Advertisement
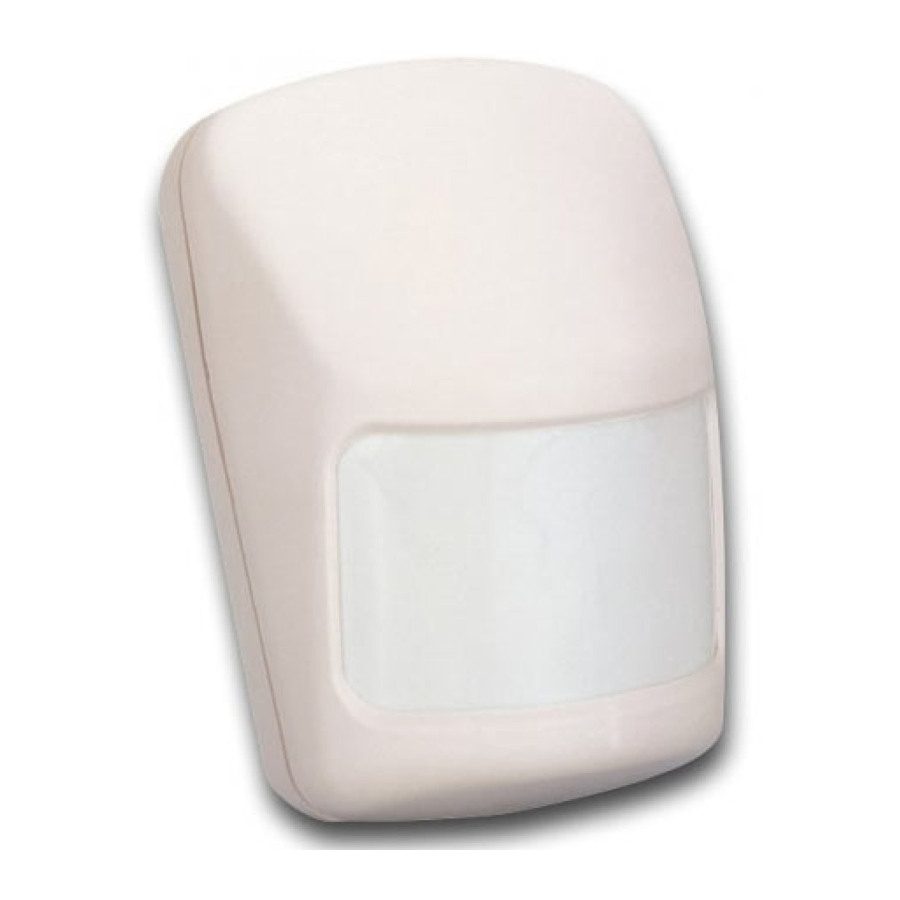
The JA-60P is an intruder detector designed to detect human body movement in a protected area. Digital processing insures a high immunity to false alarms and outstanding stability. The JA-60P uses a sophisticated radio communication protocol with a high level of data safety. The detector makes regular auto testing and reports its conditions regularly to the system for full supervision.
Built in tamper sensors trigger an alarm if there is any attempt to tamper with the detector. An automatic testing mode makes testing an ease.
Specifications
| detection method | dual PIR sensor with digital processing |
| power | 3 V - 2 x AAA battery 1.5V |
| battery life time | about 1 year |
| installation height | from 2 to 2.5 meters |
| coverage | 12m / 120° (with basic lens) |
| detection speed | from 0,1 m/s to 4 m/s |
| start up time | 60 seconds |
| working range | max. 100 m (open area) |
| working frequency | 433,92 MHz |
| complies with | EN 50131-1 grade 2 |
| environmental class | II indoor general, -10 to +40°C |
| can be operated according to ERC REC 70-03 | |

Hereby, Jablotron Ltd., declares that this JA-60P is in compliance with the essential requirements and other relevant provisions of Directive 1999/5/EC.
Original of the conformity assessment can be found at the web page www.jablotron.cz, section Technical support.
Installation
Using the provided bracket, the JA-60P detector can be installed on the wall or in a corner. The recommended installation height is from 2 to 2.5 meters above the floor. The detector covers a distance of up to 12 meters and it has a detection angle of 120°. Do not place the detector close to any heating/cooling vents or near any other object that often changes temperature. The JA-60P should not be placed near any item that generates a strong electromagnetic signal (transmitters, electronic regulators etc.). Avoid locations that have intense air circulation.


- Attach the bracket with the two provided screws, being sure that the arrow inside the bracket is pointing up. We recommend to install one screw in the pre-cut hole on the lever of the tampering sensor. The second hole can be easily punched out from the preformed holes. Tighten the screws firmly, being sure that the bracket is not crooked.
- Click on the complete detector (including cover). Both tabs must click. Check that the detector is fixed firmly.
- Open the cover of the detector (press in on both sides of the front cover 1/3 from the top)
Select Instant or Delayed reaction of the system to the detector's triggering by using DIP switch #2
DIP switches in the detectors

- rate of digital signal analysis
OFF – standard rate of analysis, fast reaction and good immunity
ON – higher rate of immunity, slower reaction. This setting is suitable for problematic locations with temperature changes or electromagnetic interference. - reaction of the system to the detector's triggering:
OFF – system will provide an exit and entrance delay
ON – it will trigger an instant reaction.
Enrollment of the detector to the system
Study the installation manual of the receiver unit (control panel) to learn how to enter the enrolling mode to enroll the detector. Install the two provided AAA batteries into the detector (polarity is marked in the detector) and leave it uncovered. The detector will generate an enrollment signal after the batteries are installed. The LED in the detector will remain on for about 60 seconds, indicating that it is in its warm up mode.
Detector testing
Attach the detector's cover and wait until the LED goes out. From this moment the detector will be in a testing mode for 5 minutes and each detected movement will be indicated by detector's LED.
Confirm that the detector covers the protected area as you expected (see diagram). If you need another coverage pattern (long corridor, pet zone), you can get an optional detector lens from your distributor.
Five minutes after the cover was closed, the detector will automatically enter the normal mode and its LED indicator will be switched off (battery energy saving). Open and close the detector's cover to reset the testing mode for an additional 5 minutes if needed.

Normal operating mode of the detector
The motion detector in normal operating mode conserves battery energy. It will not indicate triggering with its LED. It will also block the movement sensor for a period of 5 minutes after a movement is detected. This means that when users are in the protected area and they move frequently in front of the detector, it will transmit information about the movement only once every 5 minutes. But when the users leave the area, the detector will be ready for instant detection 5 minutes after the last triggering. This system significantly prolongs the life time of the batteries.
To change the period, for which the sensor is blocked after triggering from 5 min. to 1 min., press and hold the detector's tamper switch when you install the batteries into it. This mode is suitable when you prefer more frequent transmission of the signal. However, the lifetime of the batteries is usually shorter, depending on how frequently the detector is triggered.
Note: the detector is ready to send signal about tampering anytime
Battery testing and replacement
The detector automatically checks the condition of its batteries. If it is necessary to replace the batteries, the detector will inform the system about the need of new batteries. In this mode the detector works as normal, but each triggering is indicated with a flash of its LED. This way is possible to recognize, that the replacement of the batteries is requested. If a low battery is indicated, it should be replaced as soon as possible (in a week).
Before replacing the batteries, the receiver (control panel) must be put into the mode, which allows opening of the detectors (User mode or Programming mode).
Use only high quality alkaline AAA batteries for replacement. After installation of the new batteries the LED will light for about 60 seconds (self testing).
Attach the detector's cover and wait until the LED goes out. From this moment the detector will be in the testing mode and each detected movement will be indicated by detector's LED. Five minutes after the cover was closed, the detector will enter the normal mode and its LED indicator will be switched off (battery energy saving function).
Note: Dispose of batteries safely depending on the type of the batteries and local regulation. Although this product does not contain any harmful materials we suggest you to return the product to the dealer or directly to the producer after usage.
Pod Skalkou 33
466 01 Jablonec nad Nisou
Czech Republic
tel.: 420-483-559999
fax: 420-483-559993
export@jablotron.cz
www.jablotron.cz

Documents / Resources
References
Download manual
Here you can download full pdf version of manual, it may contain additional safety instructions, warranty information, FCC rules, etc.
Download Jablotron JA-60P - Wireless P.I.R. Motion Detector Instructions For Use
Advertisement


Need help?
Do you have a question about the JA-60P and is the answer not in the manual?
Questions and answers