Advertisement
Coaxlink
Coaxlink Installation Guide (PCIe bus type)
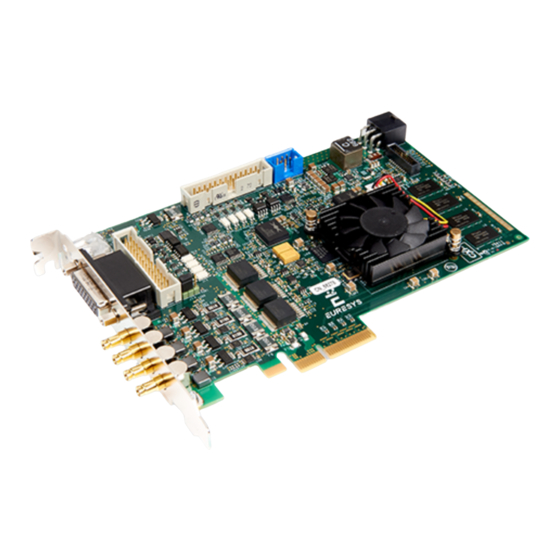
1630 Coaxlink Mono
1631 Coaxlink Duo
1632 Coaxlink Quad
1633 Coaxlink Quad G3
1633-LH Coaxlink Quad G3 LH
1635 Coaxlink Quad G3 DF
1637 Coaxlink Quad 3D-LLE
© EURESYS s.a.2021 - Document D220ET-Coaxlink PCIe Installation Guide-eGrabber-16.0.2.2126 built on 2021-04-06
INSTALLATION GUIDE
3602 Coaxlink Octo
3603 Coaxlink Quad CXP-12
3603-4 Coaxlink Quad CXP-12
3620 Coaxlink Quad CXP-12 JPEG
3620-4 Coaxlink Quad CXP-12 JPEG
3621-LH Coaxlink Mono CXP-12 LH
3622 Coaxlink Duo CXP-12
Advertisement
Table of Contents

Subscribe to Our Youtube Channel
Summary of Contents for Euresys Coaxlink Mono
- Page 1 1633-LH Coaxlink Quad G3 LH 3620-4 Coaxlink Quad CXP-12 JPEG 1635 Coaxlink Quad G3 DF 3621-LH Coaxlink Mono CXP-12 LH 1637 Coaxlink Quad 3D-LLE 3622 Coaxlink Duo CXP-12 © EURESYS s.a.2021 - Document D220ET-Coaxlink PCIe Installation Guide-eGrabber-16.0.2.2126 built on 2021-04-06...
- Page 2 3614 HD26F I/O Extension Module - Standard I/O Set R-R-EUr-PC3622 3621-LH Coaxlink Mono CXP-12 LH, 3622 Coaxlink Duo CXP-12 This product is in conformity with the European Union 2015/863 (ROHS3) Directive, that stands for "the restriction of the use of certain hazardous substances in electrical and electronic equipment".
- Page 3 PCI Express Gen 3 card connector providing at least four active lanes. □ 3621-LH Coaxlink Mono CXP-12 LH and 3622 Coaxlink Duo CXP-12 must be plugged into a x4, x8 or x16 PCI Express Gen 3 card connector providing at least four active lanes.
- Page 4 Close the computer enclosure according to the manufacturer instructions. 5. Low-Profile Bracket Installation 3621-LH Coaxlink Mono CXP-12 LH and 3622 Coaxlink Duo CXP-12 boards can also be installed in a low-profile computer. Therefore: Remove the original standard-profile bracket by unscrewing the screw locks Install the low-profile bracket and secure it on the board with the screw locks 6.


Need help?
Do you have a question about the Coaxlink Mono and is the answer not in the manual?
Questions and answers