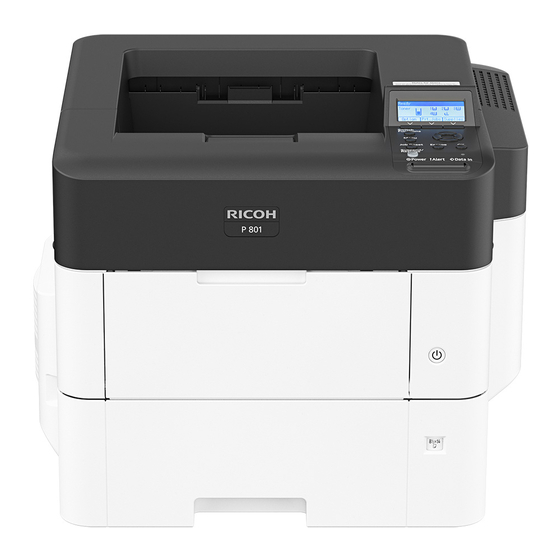
Ricoh P801 Instructions
Electronic license system (els)
Hide thumbs
Also See for P801:
- Field service manual (1110 pages) ,
- User manual (164 pages) ,
- Setup manual (32 pages)
Advertisement
Electronic License System (ELS)
P801 Printer Instructions
TROUBLESHOOTING
Paper advances but nothing prints:
Open printer cover.
Press Feed Pause button twice.
If paper advances but ink ribbon does not, replace the ink ribbon.
Paper advances but stops partway:
Open cover to P801 printer.
Remove ink ribbon
Clean unit with alcohol swabs.
Poor print quality: Replace the ink ribbon.
If the previous fixes do not work, you can do a partial download of software to your POS terminal.
At your POS terminal:
Press the SETUP button
Enter your password. Press ENTER button.
Select MORE
Select Download and then Partial. Note: This will take approximately 2 minutes.
If a partial download does not work, do a Full Download (see instructions below).
Note: A full download will take approximately 30 minutes.
Always conduct a print test: Turn off P801 (power light is off, On/Off switch is in back lower left
on machine). When light goes out:
Hold feed/pause button down, turn on printer. Once it prints out halfway release then it
should print after that. Afterward make sure printer is off for 30 seconds (to reset it), then do
transaction again.
Printer feeds halfway and flashes: Check tension on green dials, located to the left of the Print
Head, (springs should be loose) To loosen, hold spindle, with other hand turn knob until spring is
tight and it clicks. Then turn dial the other way until it can go no further.
Ink ribbon not advancing: Replace ink ribbon.
Ribbon on incorrectly: Make sure it is all the way to the left. Once the ribbon is installed, take a
piece of license paper and gently touch the ribbon on the front roller. This is the roller closest to the
opening of the printer. If the paper picks up a small amount of ink, then the ribbon has been installed
correctly. If the paper does not pick up any ink from the ribbon, check the installation of the ribbon.
No ink should release from the back spindle but ink should release from the front spindle.
License paper and ribbon not lined up together: All should be pushed to the left.
Check green knob tension: Should be loose.
The terminal says "printing", but nothing prints and the printer light does not blink:
The terminal has not sent the initial startup string to the printer:
Unplug terminal, make sure the printer light has gone out
1
updated January 22, 2009
Advertisement
Table of Contents

Summary of Contents for Ricoh P801
- Page 1 If a partial download does not work, do a Full Download (see instructions below). Note: A full download will take approximately 30 minutes. Always conduct a print test: Turn off P801 (power light is off, On/Off switch is in back lower left on machine). When light goes out: Hold feed/pause button down, turn on printer.
- Page 2 Adjust tension Replace ink ribbon BASIC SETTINGS FOR THE P801 Set green dial (on right side of print head) on numeral 6. Turn the dial where the numbers are descending, 10, 9, 8, etc. until the green dial stops. It should be around the numeral 2.
- Page 3 Electronic License System (ELS) P801 Printer Instructions CLEANING THE P801 PRINTER Printhead: After removing the used ribbon spindle, Release the large green lever on the right side of the printer. The print head will become visible. This is where heat transfers the ink from the ribbon to the label.
- Page 4 Electronic License System (ELS) P801 Printer Instructions Another common area on the print head that gets dirty is the front edge of the heat sensor (in front of print head, white part of the heat sensor, see Figures 3 & 4 below).
- Page 5 Electronic License System (ELS) P801 Printer Instructions PARTIAL DOWNLOAD At your POS terminal, push the button labeled SETUP. Enter you password. Press ENTER button From the Menu select MORE, DOWNLOAD TERMINAL and then PARTIAL. Note: This will take approximately 1-2 minutes.


Need help?
Do you have a question about the P801 and is the answer not in the manual?
Questions and answers