Sign In
Upload
Download
Table of Contents
Contents
Add to my manuals
Delete from my manuals
Share
URL of this page:
HTML Link:
Bookmark this page
Add
Manual will be automatically added to "My Manuals"
Print this page
×
Bookmark added
×
Added to my manuals
Manuals
Brands
Fluke Manuals
Measuring Instruments
PLS 3X360R
User manual
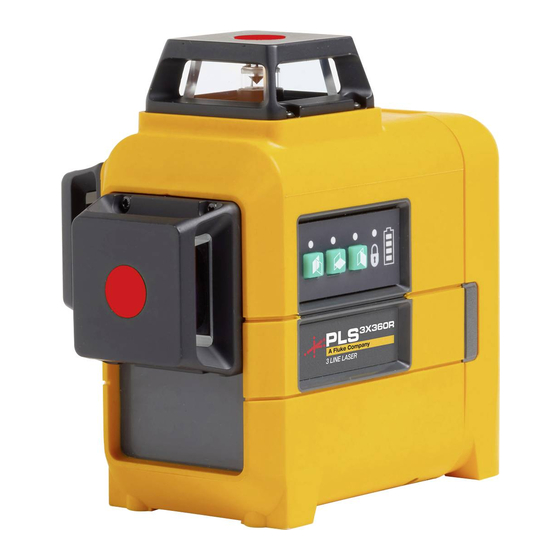
Fluke PLS 3X360R User Manual
Three plane lasers
Hide thumbs
1
2
Table Of Contents
3
4
5
6
7
8
9
10
11
12
13
14
15
16
17
18
19
20
21
page
of
21
Go
/
21
Contents
Table of Contents
Bookmarks
Table of Contents
Table of Contents
Introduction
How to Contact Fluke
Safety Information
Product Familiarization
Features
Lasers and Optical Glass
Controls
Check Product Accuracy
Cone Accuracy
Horizontal Leveling Accuracy
Vertical Accuracy
90 Degree Accuracy
Accessories
3X360 Magnetic L-Bracket
Maintenance
Clean the Product
Replacing Battery
RBP5 Rechargeable Battery
Housing Glass Insert
Specifications
Advertisement
Quick Links
Download this manual
3X360R, 3X360G
Three Plane Lasers
Users Manual
09/2020
© 2020 Fluke Corporation. All rights reserved. Specifications are subject to change without notice.
All product names are trademarks of their respective companies.
Table of
Contents
Previous
Page
Next
Page
1
2
3
4
5
Advertisement
Table of Contents
Need help?
Do you have a question about the PLS 3X360R and is the answer not in the manual?
Ask a question
Questions and answers
Related Manuals for Fluke PLS 3X360R
Measuring Instruments FLUKE PG7607 Operation And Maintenance Manual
Piston gauge (22 pages)
Measuring Instruments Fluke PM6681 Service Manual
Timer/counter/analyzers (153 pages)
Measuring Instruments Fluke PM6669 Operator's Manual
Frequency counter (48 pages)
Measuring Instruments Fluke PM6690 Operator's Manual
Timer / counter / analyzer (120 pages)
Measuring Instruments Fluke PM6690 Service Manual
Timer/counter/analyzer (200 pages)
Measuring Instruments Fluke IntelliTone Pro 200 LAN Quick Reference Manual
(2 pages)
Measuring Instruments Fluke PRO3000 User Manual
Toner and probe (21 pages)
Measuring Instruments Fluke PLS 6R User Manual
Point and line lasers line laser levels (23 pages)
Measuring Instruments Fluke PQ Window Instructions Manual
Voltage / current measurement feed-through device for electrical enclosures (16 pages)
Measuring Instruments Fluke PQ400 Instructions Manual
Voltage / current measurement feed-through device for electrical enclosures (16 pages)
Measuring Instruments Fluke PG9000 Series Operation And Maintenance Manual
Piston gauges (202 pages)
Measuring Instruments Fluke PLS 3X360G User Manual
Three plane lasers (21 pages)
Measuring Instruments Fluke FiberInspector Pro FI-3000 Getting Started Manual
(12 pages)
Measuring Instruments Fluke PRV240 Instruction Sheet
Proving unit (2 pages)
Measuring Instruments Fluke Primalert 10 Operator's Manual
Nuclear associates 05-433 teletherapy radiation monitor (16 pages)
Measuring Instruments Fluke PM6304 User Manual
Programmable automatic rcl meter (160 pages)
This manual is also suitable for:
Pls 3x360g
Table of Contents
Print
Rename the bookmark
Delete bookmark?
Delete from my manuals?
Login
Sign In
OR
Sign in with Facebook
Sign in with Google
Upload manual
Upload from disk
Upload from URL


Need help?
Do you have a question about the PLS 3X360R and is the answer not in the manual?
Questions and answers