
Related Manuals for Eachine E160


Summary of Contents for Eachine E160
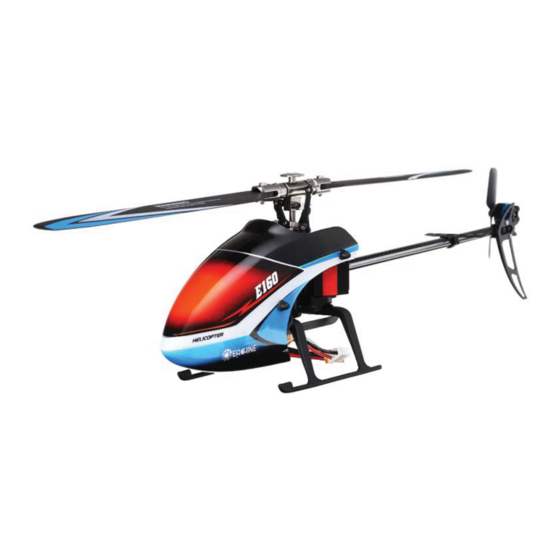
- Page 1 User Manual This product is compatible with FUTABA 2.4GHZ S-FHSS regulations. Brushless motor, super power, compatible with 3-axis gyroscope and 6-axis gyroscope modes, 3-axis for ultra-stable flight and 6-axis for beginners.
- Page 2 ITEM LIST PARTS QUANTITY Gift Box Sports backpack User Manual Helicopter Transmitter Charger Battery 7.4v 700mah 25C Cross Screwdriver / Hex Wrench Main Blade Tail Blade Main Gear - 1 -...
- Page 3 TABLE OF CONTENTS NOTICE All instructions, warranties and other collateral documents are subject to change at the sole Item List discretion of our company. For up-to-date product literature, please visit www.eachine.com Notice Warning WARNING Aditional Safety Precautions and Wamings Read the ENTIRE user manual to become familiar with the features of the product before Introduction operating.
- Page 4 HELICOPTER PARAMETERS Warning 1. To ensure safety, please charge under the supervision of someone. 2. Children cannot charge alone, they should charge with the assistance of an adult. Length 345 MM 3. Please use the original standard charger of this product for charging. The charger of Height 108MM unknown origin may cause a fire and explosion accident.
- Page 5 1. When the remote control is turned on, the throttle hold switch is in the ON state, and If you are not familiar with the control of the E160 , take a few minutes to get familiar the remote control beeps . The switch should be turned back to the OFF position.
- Page 6 ABOUT REMOTE CONTROLLER FLIGHT BATTERY INSTALLMENT 1. Put the throttle joystick to the bottom position. 2. Turn on the transmitter. 3. Install the battery into the rack and connect it properly with the receiving power. 4. Once the battery is connected, the signal starts to blink. Keep it still and wait until the signal light stops blinking, which means the receiver has completed self-inspection and gets ready for flight.
- Page 7 EXPLODED VIEW Problem Cause Solution Turn on the helicopter after Low charge in aircraft Replace and charge the binding successfully, the batteries or main batteries ; press the propeller rotate constantly gear loose. spindle with gear tightly. but the helicopter can not take off.
- Page 8 ACCESSORIES LIST ACCESSORY LIST 2.E160.001 2.E160.002 2.E160.003 2.E160.004 PARA NAME QUANTITY Rotor Head Set Horizontal Axis Group Rotor Clip Set Paddle Group Link Group 2.E160.005 2.E160.006 2.E160.007 2.E160.008 Swash Plate Group Lower Link Group Rudder Unit Spindle Group Servo Pressure Plate Group 2.E160.009...
Need help?
Do you have a question about the E160 and is the answer not in the manual?
Questions and answers
My tail motor is pulling to hard and causing my helicopter E160 to spin when giving a lot of pitch in 3d mode. How do I change this setting. I have my rc connected to a tx16s transmitter. It flew properly but after a crash, and fixed it. Then it started this.
To adjust the tail motor settings on your Eachine E160 helicopter and prevent it from spinning in 3D mode when using a TX16S transmitter, follow these steps:
1. Check the Tail Rotor Blades – Inspect them for damage or deformation and replace them if necessary.
2. Verify Tail Motor Power – Ensure the tail motor is functioning properly and not experiencing power shortages.
3. Adjust the Swashplate Servos – Make sure the length adjustment rod is set correctly so that the vertical spindle is in the mid-position.
4. Reconfigure 6G Mode Settings – If the helicopter yaws in 6G mode, adjust the settings accordingly before switching to 3D mode.
5. Rebind the Helicopter – Ensure proper binding between the helicopter and the TX16S transmitter while keeping the helicopter level during the process.
Following these steps should help stabilize the tail and prevent unwanted spinning.
This answer is automatically generated