MikroTik RouterBOARD Series Quick Setup Manual And Warranty Information
Hide thumbs
Also See for RouterBOARD Series:
- Quick setup manual and warranty information (2 pages) ,
- Quick manual (27 pages)
Advertisement
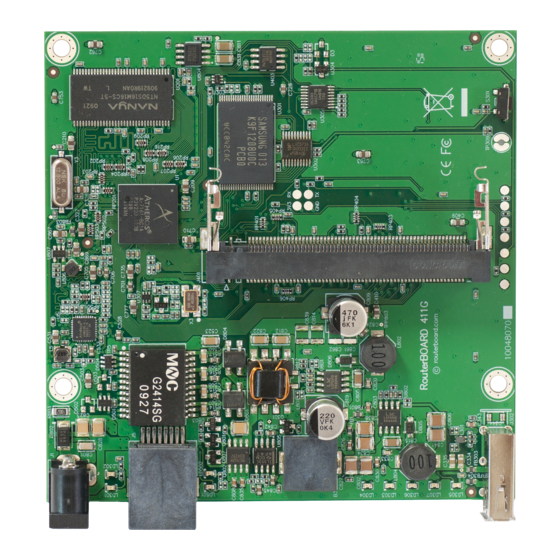
RouterBOARD 411UAHL
Quick Setup Guide and Warranty Information
The RB411UAHL has one miniPCI slot and one Ethernet port. It has a
Level4 RouterOS which allows it to be used as a wireless CPE or AP
device.
Assembling the Hardware
First use of the board:
Insert the miniPCI card. There is one miniPCI slot available
Connect antenna cables to the miniPCI card
Install the board in a case
Plug in power cable or a passive PoE powered Ethernet cable to
turn on the device
Powering
The board accepts powering from Ether1 Ethernet port:
Eter1 port accepts 8-30V DC input (at the board; higher voltage needed to compensate for power loss on
long cables; at least 18V suggested) from non-standard (passive) Power over Ethernet injectors (no power
over datalines). The board does not work with IEEE802.3af compliant 48V power injectors.
DC power jack (5.5mm outside and 2mm inside diameter, female, pin positive plug) accepts 8-30V DC
Booting process
RouterOS is the operating system of all RouterBOARD routers. Please see detailed configuration guide here:
http://wiki.mikrotik.com/wiki/Category:Manual#list
This device doesn't come fitted with a Serial Port connector, so initial connection has to be done via the Ethernet
cable, using the MikroTik Winbox utility. Winbox should be used to connect to the default IP address of
192.168.88.1 with the username admin and no password.
In case you wish to boot the device from network, for example to use MikroTik Netinstall, hold the RESET button
of the device when starting it until the LED light turns off, and Groove will start to look for Netinstall servers.
In case IP connection is not available, Winbox can also be used to connect to the MAC address of the device. More
information here:
http://wiki.mikrotik.com/wiki/First_time_startup
Extension Slots and Ports
One Ethernet port, supporting automatic cross/straight cable correction (Auto MDI/X), so you can use ei-
ther straight or cross-over cables for connecting to other network devices. The Ethernet port accepts 8-30V
DC powering from a passive PoE injector.
One MiniPCI Type IIIA/IIIB port with 3.3V power signaling.
See www.routerboard.com for more information. Contact support@mikrotik.com for support questions.
27-Jul-2011
Advertisement
Table of Contents

Related Manuals for MikroTik RouterBOARD Series


Summary of Contents for MikroTik RouterBOARD Series
- Page 1 192.168.88.1 with the username admin and no password. In case you wish to boot the device from network, for example to use MikroTik Netinstall, hold the RESET button of the device when starting it until the LED light turns off, and Groove will start to look for Netinstall servers.
- Page 2 Hardware. MikroTikls SIA warrants all RouterBOARD series equipment for the term of fifteen (15) months from the shipping date to be free of defects in materials and workmanship under normal use and service, except in case of damage caused by mechanical, electrical or other accidental or intended damages caused by improper use or due to wind, rain, fire or other acts of nature.
Need help?
Do you have a question about the RouterBOARD Series and is the answer not in the manual?
Questions and answers