Advertisement
Quick Links
PK-93602-10-00-0A-X0
WARNINGS AND CAUTIONS:
• To be installed and/or used in accordance with appropriate electrical codes
and regulations.
• If you are unsure about any part of these instructions, consult a qualified
electrician.
• Disconnect power at circuit breaker or fuse when servicing, installing or
removing device.
Tools needed to install your Receptacle:
Slotted/Phillips Screwdriver
Pliers
Cutters
INSTALLING YOUR RECEPTACLE
√
NOTE: Use check boxes
when Steps are completed.
WARNING:
TO AVOID FIRE, SHOCK, OR DEATH; TURN OFF
Step 1
POWER at circuit breaker or fuse and test that power is off before wiring!
OFF
ON
OFF
ON
OFF
ON
OFF
ON
OFF
ON
OFF
ON
OFF
ON
OFF
ON
OFF
ON
OFF
ON
OFF
ON
OFF
ON
Preparing wires:
Step 2
This receptacle can be wired using side wire terminal screws or
back wire clamps. Choose appropriate wire stripping specifications
accordingly.
For Side Wire Stripping
(measure bare wire here)
3/4"
(1.9 cm)
• Make sure that the ends of the wires from the wall box are straight (cut if necessary) .
• Remove insulation from each wire in the wall box as shown.
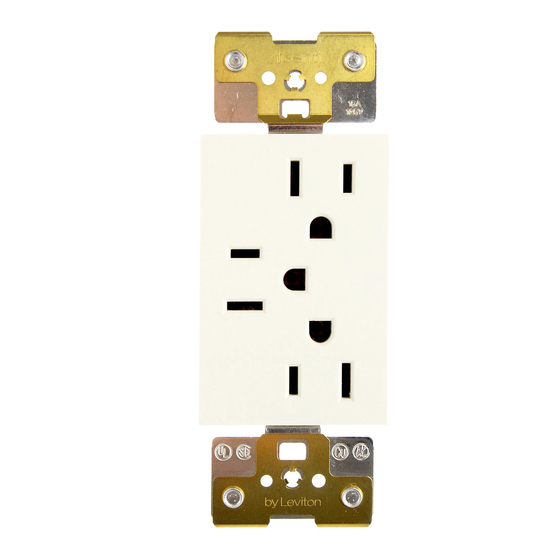
Triplex Receptacle
INSTALLATION INSTRUCTIONS
Cut
(if necessary)
For Back Wire Stripping
(measure bare wire here)
5/8"
(1.6 cm)
Cat. No. AC315
15A-125V
Cat. No. AC320
20A-125V
WARNINGS AND CAUTIONS:
• The Acenti™ Triplex Receptacle uses a multi-function self-grounding clip
that provides an automatic ground connection in a properly grounded metal
wall box.
• Use this device only with copper or copper clad wire. With aluminum wire
use only devices marked CO/ALR or CU/AL.
Installing your Alignment Plate:
Step 3
To achieve proper aesthetic installation of the Acenti products, the wall
surface surrounding the wall box opening must be fairly flat and free of
irregularities. The wall box must be level and recessed or flush to the wall
surface. The Acenti installation system allows for adjustments that will
correct minor flaws that may be present in the installation area.
This device must be installed with the Acenti™ Alignment Plate. The
Alignment Plate is packaged with the Acenti™ Wallplate, which is sold
separately from this device.
The Alignment Plate will function properly only if it is mounted to a flat
wall surface as described above.
• Leviton recommends to temporarily position the Alignment Plate prior
to wiring the device. If the wall box wires extend at least 6 inches out
of the wall box, it is also possible to install the Alignment Plate after
the device has been wired (refer to Wallplate instruction sheet).
• The Alignment Plate must be installed with the tab towards the
bottom.
• Leviton recommends the following 3 methods to temporarily hold the
Alignment Plate – use of device mounting screw, use of wall box wires,
or use of electrical tape (refer to the following figures):
Alignment Plate Held
By Mounting Screw
Mounting
Screw
Alignment
Plate
Important Notice for Installer
Alignment Plate
Alignment Plate
Held By Wires
Held By Tape
Electrical
Tape
Advertisement

Subscribe to Our Youtube Channel
Related Manuals for Leviton Acenti AC315


Summary of Contents for Leviton Acenti AC315
- Page 1 This receptacle can be wired using side wire terminal screws or bottom. back wire clamps. Choose appropriate wire stripping specifications • Leviton recommends the following 3 methods to temporarily hold the accordingly. Alignment Plate – use of device mounting screw, use of wall box wires,...
- Page 2 Leviton’s only obligation is to correct such defects by repair or replacement, at its option, if within such five year period the product is returned prepaid, with proof of purchase date, and a description of the...
Need help?
Do you have a question about the Acenti AC315 and is the answer not in the manual?
Questions and answers