
Related Manuals for Electrolux GT1 Push


Summary of Contents for Electrolux GT1 Push
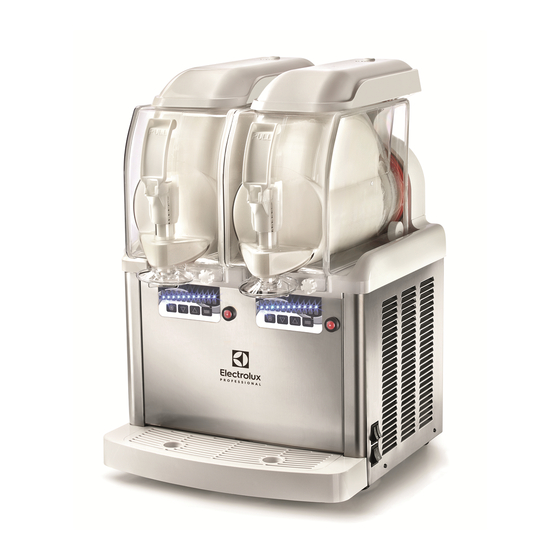
- Page 1 GT1 e GT2 Push Operator’s manual Data di emissione: Febbraio, 2019 Revisione: 6 Pag. : 1/28...
- Page 2 In case of loss or damage, it’s possible to ask for a copy to Electrolux Professional SPA, pointing out the information stated on the identification label;...
-
Page 3: Table Of Contents
INDEX 1. SAFETY INSTRUCTIONS......4 Cleaning and daily sanitizing procedures ..5 2. EQUIPMENT KIT ........11 3. TRANPORT TIPS ........11 4. LIFTING TIPS ..........11 5. TECHNICAL SPECIFICATIONS ....12 6. POSITIONING ..........13 7. CONNECTION TO THE POWER SUPPLY MAINS ............14 8. START-UP PROCEDURES .......15 9. -
Page 4: Safety Instructions
his appliance must be installed in places 1. SAFETY INSTRUCTIONS where it can be checked by qualified personnel. his installation and operation manual is an integral part of the equipment and must o not store explosive substances such as be kept for future consultation. aerosol cans with a flammable propellant in this appliance. -
Page 5: Cleaning And Daily Sanitizing Procedures
WARNING : do not locate multiple ote: it is responsibility of the operator to be portable socket-outlets or portable power aware of and conform to the requirements of supplies at the rear of the appliance. current local, state and federal laws concerning the frequency of cleaning and conservation of products used. - Page 6 top the freezing system (by switching off the snowflake or the waves button) and let the machine run with the only auger activated (all LED switched off) for ten minutes. rovide yourself with a sanitizer suitable for plastic, rubber and stainless steel objects Fig.
- Page 7 !Caution! o avoid electrical shock or contact with moving parts, before proceeding with the disassembling operations, make sure all switches are in “OFF” position and that the main power supply is disconnected. witch off the machine and disconnect the power cable. Fig.
- Page 8 nscrew the security knob in the direction of the arrow (threading on left), then pull out the mixing unit, the bell shaped seal and the bowl gasket on the back (fig.9). emove the drip tray by rotating it upward and pulling it outward (fig.10). horoughly wash all the removed components with hot water and dishwashing, but do not use abrasive detergents or powders that can...
- Page 9 nce performed all these cleaning and sanitizing procedures, it’s possible to reassemble all the components. he correct assembly of the device is essential to prevent leakage of product and damage of the machine. o assemble the machine you will need an approved lubricant (such as vaseline). ake sure all parts have been washed and sanitized before assembling.
- Page 10 ubricate the rear of the tank where it meets with the seal to facilitate the reassembling procedures (see fig.15); eassemble the bowl by positioning it back into its seat, verifying that it faces in the correct direction and it is held in place by its seal (see fig.16).
-
Page 11: Equipment Kit
3. TRANPORT TIPS SANITIZING prevent held hermetic compressor running into the cooling circuit, the device must be carried, stored and handled in henever the machine has remained unused the upright position, following the direction for some days after been cleaned and sanitized instructions on the packing. -
Page 12: Technical Specifications
Noise emissions 5. TECHNICAL SPECIFICATIONS The continuous, equivalent, weighted level of acoustic pressure is below 70 dB. Technical and electrical specifications In the event of breakdown: machine’s technical electrical specifications are stated on the identification In most cases, any technical problem can be plate, positioned in the internal part of the settled with slight interventions (please see the equipment;... -
Page 13: Positioning
6. POSITIONING FOR MAINTENANCE WORKER ONLY The installation and subsequent servicing operations must be carried out by skilled members who have been trained to use the device compliance with regulations in force. a) Remove the packing (fig.19) and preserve it in order to reuse for winter storage. - Page 14 7. CONNECTION POWER SUPPLY MAINS FOR SERVICEMAN ONLY Before fitting the plug in the power supply socket, your safety, already mentioned in the previous paragraph, please read the following precautions. machine’s electrical safety only guaranteed when it is connected to a suitable earth system, structured as provided by the national safety current...
-
Page 15: Start-Up Procedures
8. START-UP PROCEDURES !IMPORTANT! BEFORE STARTING THE MACHINE, CARRY OUT THE CLEANING AND SANITISING PROCEDURES DESCRIBED IN CHAPTER 10. - Dilute and mix the product in a separate container according to the manufacturer’s instructions (see fig.22). NOTE: “mix” is the result of the blending between water or milk with the powder to make soft serve ice cream, ice milk, frozen yogurt, smoothies and similar frozen dairy... - Page 16 - Activate the FROZEN mode by switching on the snowflake button (LED activated), and regulate the product consistency by setting its ▼ ▲ value with the buttons (fig.24). - In order to modify the product consistency, ▼ ▲ regulate it using the buttons on the ▲...
-
Page 17: Operating Instructions
!WARNING! 9. OPERATING INSTRUCTIONS Every time the cover is removed during the unit functioning, it is necessary to wait one minute before repositioning it; failure to do so could Activating the main switch A on the right side of damage the unit the machine and, in case of double bowls machine, also the small ones B and C, the augers will start rotating and mixing (fig.26). -
Page 18: Special Maintentance
10. SPECIAL MAINTENTANCE Caution Before proceeding with any maintenance operation, it is compulsory to switch off the machine and unplug it from the mains. Condenser cleaning Fig. 28 In order to guarantee good cooling system performance, condenser must well cleaned every month. How to reach it: - Switch off the power supply and disconnect the power cable;... -
Page 19: Control And Replacement Of Seals
Control and replacement of seals Winter storage BOWL GASKET (LOCATED AT THE REAR OF To protect the unit during seasonal shutdown, BOWL) it’s important to properly store the machine Replace it every 12 months according to the using the following procedures: conditions of use and level of maintenance. -
Page 20: Soft Serve Ice Cream Information
11. SOFT SERVE ICE CREAM 12. DISCLAIMER INFORMATION The manufacturer declines all responsibility for any damage that directly or indirectly might be OVERRUN brought on to people, things, animals, as a consequence of failure to comply with all While the product is frozen in the bowl, its instructions given in this manual with the volume increase;... -
Page 21: Troubleshooting Guide
13. TROUBLESHOOTING GUIDE NOTE: the following procedures must be performed by a qualified service technician. Problem Possible cause Solution The machine does not cool, space around machine Allow at least 20cm between the • • or cools only partially and inadequate for ventilation machine and anything next to it;... -
Page 22: Wiring Diagram
14. WIRING DIAGRAM Data di emissione: Febbraio, 2019 Revisione: 6 Pag. : 22/28... - Page 23 Data di emissione: Febbraio, 2019 Revisione: 6 Pag. : 23/28...
- Page 24 Data di emissione: Febbraio, 2019 Revisione: 6 Pag. : 24/28...
- Page 25 Data di emissione: Febbraio, 2019 Revisione: 6 Pag. : 25/28...
- Page 26 Data di emissione: Febbraio, 2019 Revisione: 6 Pag. : 26/28...
- Page 27 Data di emissione: Febbraio, 2019 Revisione: 6 Pag. : 27/28...
- Page 28 Electrolux Professional SPA Viale Treviso 15 33170 Pordenone www.electrolux.com/professional Data di emissione: Febbraio, 2019 Revisione: 6 Pag. : 28/28...
Need help?
Do you have a question about the GT1 Push and is the answer not in the manual?
Questions and answers