
Related Manuals for Miniature Scenery Elven Sanctuary of Souls


Summary of Contents for Miniature Scenery Elven Sanctuary of Souls
- Page 2 INSTRUCTIONS Elven Sanctuary of Souls Preparation Getting Started Once you clear some table space you will need a I. Parts should remove easily from the board by hobby knife and glue (PVA, wood glue, hobby glue) pressing through and popping them out. It’s a and a file or small piece of sandpaper to be used for good idea to cut through the tiny joins first cleaning up any tiny imperfections.
- Page 3 Use a Straight edge or square to make sure these parts are as ver- tical as possible. (it will make for a better model later on. Trust me).
- Page 4 These parts can be sanded and filed to shape for a more gem-like appearance. It’s also not important where you put them. I’ve been fairly random on the test model.
- Page 5 Once again, these parts way cooler if you sand them to shape a bit. Just sayin’.
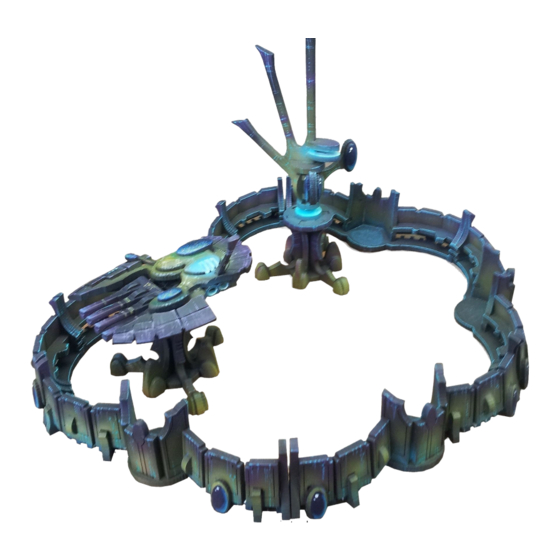
- Page 6 The central hole can be used with a toothpick to help align the assembly.
- Page 7 Sanding to shape. You know the drill.
- Page 8 CAREFUL. Quite weak here.
- Page 9 This part is supplied with the parts lightly joined so that if the follow- ing step is a bit scary, you can just glue some paper on the back to re- inforce it and leave well alone. It will, of course, look WAY niftier if you remove the pieces and re- glue them at an angle and sand/file...
- Page 11 The Happy green bits mentioned earlier. Again with the sanding. Really, it WILL make your model look much better.
- Page 12 Alternate Gun. (can be left swappable with the other weapon. It’s a bit of a wiggle, but it does go in without glue).
Need help?
Do you have a question about the Elven Sanctuary of Souls and is the answer not in the manual?
Questions and answers