
Related Manuals for Miniature Scenery Zephyr Penguin


Summary of Contents for Miniature Scenery Zephyr Penguin
- Page 2 INSTRUCTIONS Zephyr Penguin Preparation Getting Started Once you clear some table space you will need a I. Parts should remove easily from the board by hobby knife and glue (PVA, wood glue, hobby glue) pressing through and popping them out. It’s a...
- Page 5 ERRATA!!! I goofed. Eaerly kits will have a piece which will need these bits removed. Sorry about that.
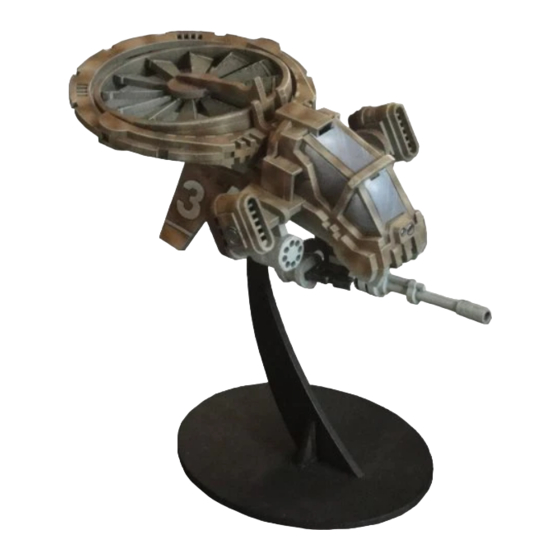
- Page 9 This part Replaces these parts (the top ring with the indents and the Central notched hub. This Kit Provides alternative parts for the rotor assembly. A simple, one piece , flat part and a more complex option that al- lows for angled blades. A Jig is also provided to help align the individual rotor blades (green)
- Page 10 Choose the angle you want to place the rotor blades at and carefully glue them in place, work- ing alternately from opposite sides. Superglue is useful here. Position the part first, a place a drop of superglue where the parts con- nect.
- Page 12 Choose an angle that you like for the rotor and glue into position.
- Page 13 Make sure when you build the two thrusters that you make two opposites.
- Page 15 You are going to need a piece of plastic rod/ brass/tubing about 4mm in diameter and 60mm long for this bit. If all else fails, wrapping some paper around a wood BBQ skewer will work just fine.
- Page 16 Toothpick. 2mm diameter. Space these about a millimetre apart. If you like.
- Page 17 A toothpick can be used to help align the parts here.
Need help?
Do you have a question about the Zephyr Penguin and is the answer not in the manual?
Questions and answers