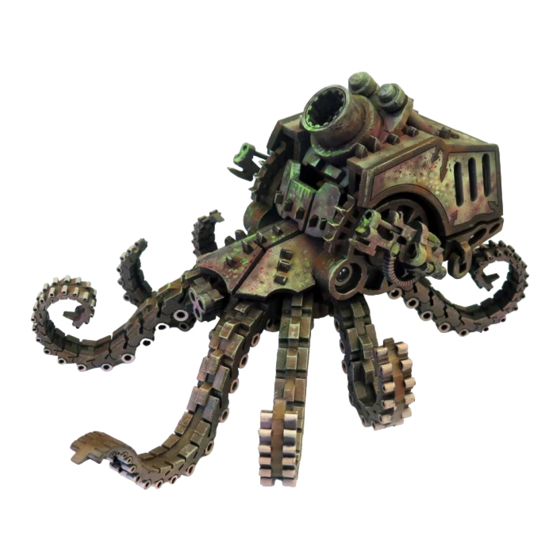
Summary of Contents for Miniature Scenery Ursula Heavy Mortar
- Page 2 INSTRUCTIONS URSULA SEIGE MOTAR Preparation Getting Started Once you clear some table space you will need a I. Parts should remove easily from the board by pressing through and popping them out. It’s a hobby knife and glue (PVA, wood glue, hobby glue) and a file or small piece of sandpaper to be used for good idea to cut through the tiny joins first cleaning up any tiny imperfections.
- Page 3 Assemble All legs from three parts provided. (they will be next to each other on the parts sheet).
- Page 6 Note Carefully the differences between parts!!!
- Page 9 Insert tab into slot at back and tilt forward.
- Page 10 Cut Supplied 5mm dowel to approx 28mm lengths.
- Page 11 The Gun may be a very tight fit. Enthusiastic wiggling may be required.
- Page 12 Use 2mm diameter tubing/ rod/ or toothpicks for Barrel, cut to approxi- mately 14mm long.
- Page 13 Alternate parts. With or Without Guns.


Need help?
Do you have a question about the Ursula Heavy Mortar and is the answer not in the manual?
Questions and answers