Advertisement
Quick Links
Preparation
Once you clear some table space you will need a
hobby knife and glue (PVA, wood glue, hobby glue)
and a file or small piece of sandpaper to be used for
cleaning up any tiny imperfections.
It's a good idea to familiarise yourself with how the
pieces fit together before gluing.
The exclusive copyright on the model designs are the property of CNC Workshop Ltd. © Copyright CNC Workshop Ltd., 2006. All rights reserved. Made in Australia
Getting Started
I. Parts should remove easily from the board by
pressing through and popping them out. It's a
good idea to cut through the tiny joins first
though, and some parts (particularly smaller,
more detailed parts) may need more careful
persuasion.
II. Use a file or sand paper last to completely
remove the tabs that might remain.
III. Parts may be a very tight fit, slight trimming
or sanding of parts may be needed for ease of
assembly.
INSTRUCTIONS
Construction
Slot the parts together as shown by the pic-
tures below, applying glue wherever there is
a connection.
Allow the model to completely dry before
painting it. This is a complex kit with many
small parts. Allowing each section to dry
thoroughly before heading to the next is
strongly recommended.
Some parts of this kit are very fine, or
have engraving very close to edges.
Make sure you cut through any tabs
carefully with a hobby knife first to
avoid damage.
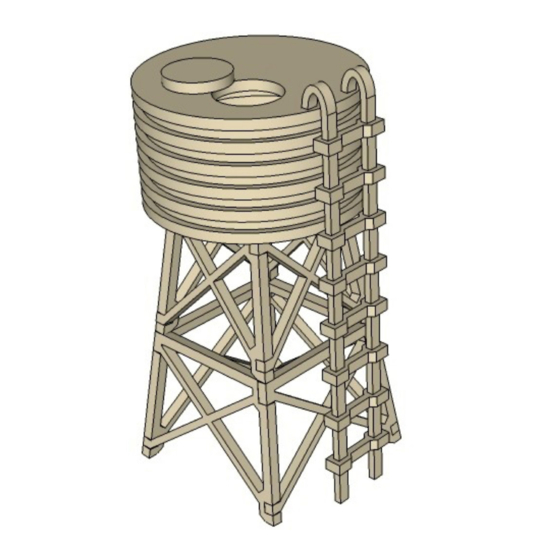
Water Tank
Advertisement

Related Manuals for Miniature Scenery Water Tank


Summary of Contents for Miniature Scenery Water Tank
- Page 1 INSTRUCTIONS Water Tank Preparation Getting Started Once you clear some table space you will need a I. Parts should remove easily from the board by hobby knife and glue (PVA, wood glue, hobby glue) pressing through and popping them out. It’s a...
- Page 4 Make sure these holes are perpendicular to the stand.
Need help?
Do you have a question about the Water Tank and is the answer not in the manual?
Questions and answers