Advertisement
Quick Links
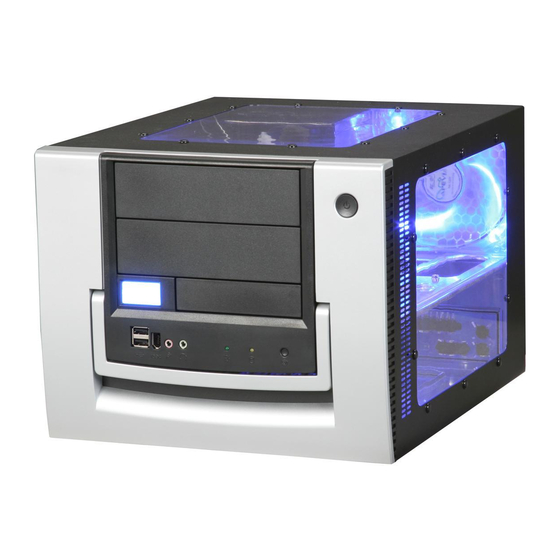
X-Qpack Series Installation Guide
View of X-Qpack from different angles
1.Unscrew U-Shape cover.
4.Pull out the motherboard tray.
7.Screw the motherboard on
motherboard tray
2.Take out the U-Shape cover.
5.If your motherboard size and layout
is not universal standard, then you need
to remove the I/O bracket and replace with
the one that comes with your motherboard.
11.Push motherboard tray back to
the case.
3.Unscrew the motherboard
tray.
6.Install motherboard.
12.Remove 5.25" drive plate.
It's easier to use a screw
driver to pull it out a little.
Advertisement

Related Manuals for Apevia X-Qpack


Summary of Contents for Apevia X-Qpack
- Page 1 X-Qpack Series Installation Guide View of X-Qpack from different angles 1.Unscrew U-Shape cover. 4.Pull out the motherboard tray. 7.Screw the motherboard on motherboard tray 2.Take out the U-Shape cover. 5.If your motherboard size and layout is not universal standard, then you need to remove the I/O bracket and replace with the one that comes with your motherboard.
- Page 2 10.Then bend it up and down to detach it. 13.Pull up and take out the HDD cage. 16.Install 3.5” drives. 19.Screw it up. 11.Once you detach the plate, Use a screw driver to knock it out. 14.Install 5.25 drives. 17.Screw them in place. 20.LCD sensors: You can tape temperature sensor on HDD to get more accurate temperature...
- Page 3 Note: For front USB, Firewire and Audio ports installation, please refer to your motherboard user’s manual. 22.Put the U-Shape cover back and screw up. X-Qpack Series USB/1394/Audio cable pin assignment Cable USB 2.0 1394 AUDIO 23.You can carry it with the Front handle.
- Page 4 System Guidelines: 1. Your CPU cooler should not exceed 76mm in height. 2. The X-QPack can accommodate graphics cards up to 254mm in length. 3. The power supply dimensions are:114mm x 148mm x 84mm. The PSU can be replaced with most standard ATX power supplies provided that your optical drives do not exceed 172mm in length.
Need help?
Do you have a question about the X-Qpack and is the answer not in the manual?
Questions and answers