Table of Contents
Advertisement
Quick Links
WARRANTY
Within 30 days of purchase: Return to retailer
from which you purchased for repair or replacement.
Within 5 years of purchase: Return to Olight for
repair or replacement.
This warranty does not cover normal wear and tear,
modifications, misuse, disintegrations, negligence,
accidents, improper maintenance, or repair by anyone
other than an Authorized retailer or Olight itself.
BATTERY INSTALLATION
Unscrew the tail cap counter-clockwise and remove
the battery magazine. Place the batteries in the
magazine and put it in the light. Make sure that
the positive contact
is facing the head of
flashlight. Tighten the
tail cap clockwise as
far as it can go.
Battery magazine is designed for CR123A battery.
If with 18650 batteries, battery magazine is
unnecessary.
SUPPORTED BATTERIES
• 1 x 18650
• 2 x CR123A
• 2 x RCR123A
Technical Support Inquiries
techsupport@olightworld.com
Customer Service
cs@olightworld.com
Visit www.olightworld.com to see our
complete product line of portable
illumination tools.
APR 15, 2015
www.DrMemory.com
TWIST TO REMOVE
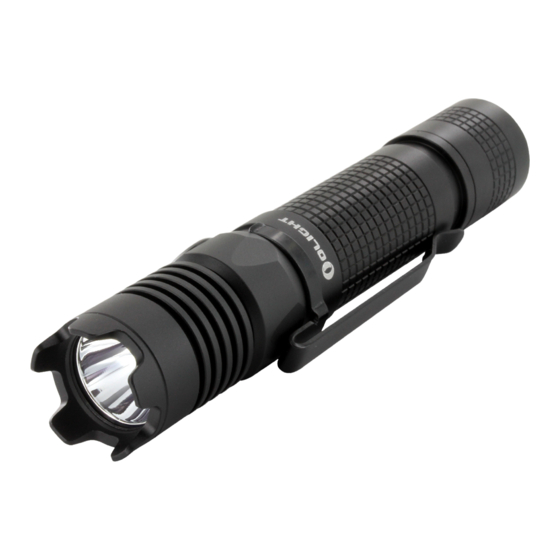
M1X STRIKER
VARIABLE-OUTPUT DUAL-SWITCH LED FLASHLIGHT
USER MANUAL
Thank you for purchasing the Olight M1X Striker
flashlight! Please read this manual carefully before
using this product.
INSIDE THE BOX
M1X Striker, lanyard, battery magazine, (2) o-rings,
user manual,
MADE IN CHINA
WARNING:
• Do not mix rechargeable and non-rechargeable
batteries.
• Do not mix batteries of different types/brands.
• Do not use unsupported batteries with
this flashlight.
• Use caution on high outputs or long runtimes as
flashlight may get hot.
Advertisement
Table of Contents

Subscribe to Our Youtube Channel
Related Manuals for OLIGHT M1X STRIKER


Summary of Contents for OLIGHT M1X STRIKER
- Page 1 M1X STRIKER Customer Service VARIABLE-OUTPUT DUAL-SWITCH LED FLASHLIGHT Within 5 years of purchase: Return to Olight for cs@olightworld.com USER MANUAL repair or replacement. Visit www.olightworld.com to see our This warranty does not cover normal wear and tear,...
- Page 2 HOW TO OPERATE (FIG A) SPECIFICATIONS (FIG A) ON/OFF: 1000 lumens / 5 min+550 lumens / 55 min TURBO Click the tailcap switch. HIGH 350 lumens / 2 hours 1 x CLICK MEMORIZED MOMENTARY ON: BRIGHTNESS LEVEL 60 lumens / 12 hours Half press the tailcap switch.
Need help?
Do you have a question about the M1X STRIKER and is the answer not in the manual?
Questions and answers