Table of Contents
Advertisement
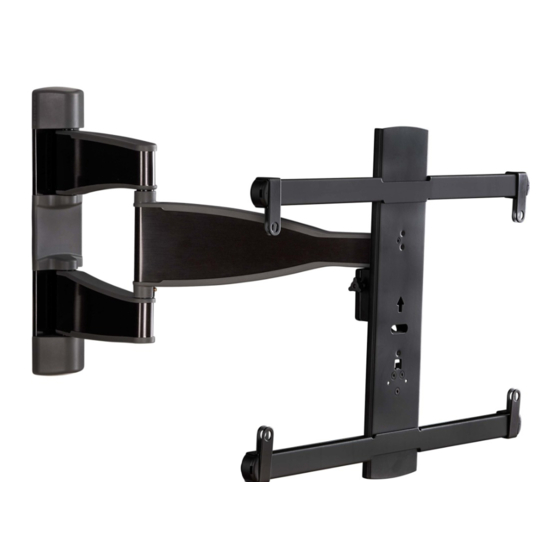
BMF 320
INSTRUCTION MANUAL
Texto en español, página 13
WE'RE HERE TO HELP
Want to watch a video that
shows how easy this DIY
project will be?
Watch it now at:
SANUS.com/2782
GET IT
RIGHT
THE FIRST TIME
Follow this step-by-step
instruction manual to
speed up your installation.
Get it right the first time.
HeightFinder™ shows you
where to drill.
Check it out at:
SANUS.com/1172
Our US-based install experts
are standing by to help.
Call us at:
800-359-5520
Or, chat at:
SANUS.com/chatSP
Advertisement
Table of Contents

Related Manuals for Sanus BMF320


Summary of Contents for Sanus BMF320
- Page 1 Our US-based install experts shows how easy this DIY HeightFinder™ shows you are standing by to help. project will be? where to drill. Call us at: Watch it now at: Check it out at: 800-359-5520 SANUS.com/2782 SANUS.com/1172 Or, chat at: SANUS.com/chatSP...
- Page 2 ● Manufacturer is not responsible for damage or injury caused by incorrect assembly or use. If your TV (including accessories) exceeds this weight, this mount is NOT compatible. TV Weight Limit Visit SANUS.com or call customer service to 55 lbs. (including accessories) find a compatible mount.
- Page 3 Dimensions TV INTERFACE 18.03 458.0 3.94 100.0 15.75 16.40 3.94 400.0 416.6 100.0 0.38 16.28 413.4 WALL PLATE TOP VIEW - EXTENDED SIDE VIEW - EXTENDED 2.59 0.33 65.8 20.00 5° 508.1 60.00° 13.03 11.39 331.0 289.3 SIMULATED 49" FLAT SCREEN TV 15°...
- Page 4 Supplied Parts and Hardware WARNING: This product contains small items that could be a choking hazard if swallowed. Before starting assembly, verify all parts are included and undamaged. If any parts are missing or damaged, do not return the damaged item to your dealer; contact Customer Service. Never use damaged parts! NOTE: Not all hardware included will be used.
- Page 5 1.3 Attach TV Brackets to Your TV MEASURE ADJUST TO WIDTH inches inches inches 7 ⅞ 7 ⅞ 11 ¾ 11 ¾ 15 ¾ 15 ¾ 300 mm position illustrated inch dimensions are approximate Measure the WIDTH and HEIGHT of your TV's mounting hole pattern. Adjust mounting tabs on TV brackets to match the width...
- Page 6 CENTER LOOSELY ASSEMBLE NO SPACER SPACER NEEDED Adjust TV brackets to align with your TV hole pattern. Install using the TV bracket must be centered on your TV, but can be offset up or screw /washer /spacer combination you selected for your TV. down to avoid cable interference.
- Page 7 STEP 2 Attach Wall Plate to Wall WARNING: This product contains small items that could be a choking hazard if swallowed. Before starting assembly, verify all parts are included and undamaged. If any parts are missing or damaged, do not return the damaged item to your dealer; contact Customer Service. Never use damaged parts! NOTE: Not all hardware included will be used.
- Page 8 2 ¾ in. (7.0 cm) HeightFinder™ sanus.com /1172 1/8 in. (3 mm) To calculate your precise wall plate location, Be sure you drill into the check out our HeightFinder at sanus.com CAUTION: TIP: CENTER of the stud. [www.sanus.com/1172]. SECURELY TIGHTEN INSERT COVERS CAUTION:...
- Page 9 ● Minimum concrete block size: To calculate your precise wall plate location, check out our HeightFinder at 8 x 8 x 16 in. (20.3 x 20.3 x 40.6 cm) TIP: TIP: sanus.com [www.sanus.com/1172]. DRILL INSERT ANCHORS REMOVE COVERS 3 in. (7.5 cm) 3/8 in.
- Page 10 STEP 3 Attach TV to Wall Plate WARNING: Before starting assembly, verify this part is HANG YOUR TV undamaged. If damaged, do not return the damaged item to your dealer; HEAVY! contact Customer Service. Never use damaged parts! You may need assistance with this step.
- Page 11 Manage Cables ROUTE CABLES ATTACH COVERS IMPORTANT: Pull arm to its full extension, to leave enough slack and prevent stretching the cables when the arms are moved. Remove the cable covers from the arm by sliding to unlock. Reattach cable covers to capture the cables.
- Page 12 EXTEND / RETRACT -- ONLY IF NECESSARY CAUTION: Avoid potential personal injury or property damage! DO NOT remove screws , only turn enough for slight adjustment. TIP: ONLY If needed, adjust the arm tension when you extend or retract your TV, with screw using hex key REMOVE THE TV Disconnect all cables from the TV.
- Page 13 ● El fabricante no se responsabiliza de ningún daño o lesión resultante del montaje incorrecto o el uso indebido Peso máximo Si su TV (incluidos los accesorios) pesa MÁS, esta montura NO es compatible. (incluidos los accesorios) 24,9 kg Visite sanus.com o llame al número 1-800-359-5520 para (55 lbs.) NO EXCEDAS encontrar una montura compatible. La construcción PRECAUCIÓN: Montantes de madera Hormigón macizo o...
- Page 14 LOCALIZAR VERIFICAR MARCAR COLOCAR LA PLANTILLA DE LA PLACA MURAL CONSEJO: Para calcular la ubicación concreta de la placa mural, pruebe nuestra herramienta Height Finder disponible en sanus.com [www.san.us/1172]. TALADRAR LOS ORIFICIOS RETIRAR LAS CUBIERTAS APRETAR CON FIRMEZA PRECAUCIÓN: Evite posibles lesiones físicas y daños materiales. Los dos tornillos...
- Page 15 Tamaño mínimo del bloque de cemento: 203 x 203 x 406 mm (8'' x 8'' x 16'') COLOCAR LA PLANTILLA DE LA PLACA MURAL CONSEJO: Para calcular la ubicación concreta de la placa mural, pruebe nuestra herramienta Height Finder disponible en sanus.com [www.san.us/1172]. TALADRAR LOS ORIFICIOS PRECAUCIÓN: Nunca perfore el cemento que une los bloques.
- Page 16 When you share your handiwork with your friends, tag #sanusspaces for a chance to be featured on SANUS.com SanusSystems @sanussystems pinterest.com/SANUS SanusSystems 800-359-5520 • info@sanus.com • SANUS.com SANUS • 6436 City West Parkway • Eden Prairie, MN 55344 USA ©Legrand AV, Inc 6901-602559 00...
Need help?
Do you have a question about the BMF320 and is the answer not in the manual?
Questions and answers