
Related Manuals for Aqua-Marina BT-UD250


Summary of Contents for Aqua-Marina BT-UD250
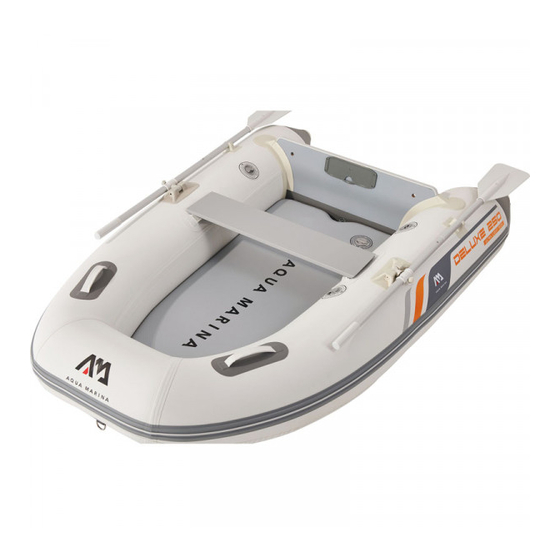
- Page 1 INFLATABLE AIR-DECK SPORT BOATS User’s Guide BT-UD250 / BT-UD298 / BT-UD350 w w w . a q u a m a r i n a . c o m...
-
Page 2: General Information
THANK YOU FOR CHOOSING AQUA MARINA DELUXE SPORT BOATS Compact and lightweight, these economical inflatable boats are great ship to shore tender crafts or a highly portable pleasure boat for the boater on the go. Bring your roll-up boat with you to the lake, the beach or wherever! With a set-up time of just minutes, no trailers and no special equipment, these boats will allow easy access to some of those places you've only seen from the shore. -
Page 3: Specifications
1. As per Directive 2013/53/EU boat Design Category C - Inshore: Designed for voyages in coastal waters,large bays, estuaries, lakes and rivers where conditionsup to, and including, wind force 6 and significant wave heights up to, and including, 2m may be experienced. 2. -
Page 4: Part List
PART LIST BT-UD250 BT-UD298 BT-UD350 DWF air deck floor Wooden bench seat High pressure recessed valve Seat connector Rotation oarlock (except BT-UD350) Safety grab handle Aluminum oar PVC lift handle (only for BT-UD350) Oar holder (except BT-UD350) Drain valve Velcro oar holder (only for BT-UD350) Carry bag Transom (Height15”/38.1cm) - Page 5 INSTRUCTION FOR ASSEMBLING AND DISASSEMBLING UNFOLD THE BOAT Clear a clean and flat space that is free of any sharp objects and unroll the boat hull so that it is laid out flat. Pump Set Up And Inflation Connect the pump hose to the gauge housing and secure it tightly.
- Page 6 Inflate Faster With Less Effort • Use full range of the pump cylinder while keeping your arms extended. • Bend your knees and use the body weight. LIQUID AIR V1 SINGLE DOUBLE ACTION ACTION The pump can be switched between double action mode and single action mode.
- Page 7 HIGH PRESSURE VALVE Step 1 Step 1 Step 1 Step 3 Step 3 Step 2 Step 3 INFLATE THE BOAT 1. Inflate the tube chambers until the surface is free of wrinkles. By partially inflating the boat, the floor and the bench seat will be easier to install. 2.
- Page 8 5. Insert the plug into the drain valve beneath the transom. IMPORTANT! Make sure that the drain valve is always in the closed position as shown in picture (5) while on the water. When you are motoring is the only time that the drain valve can be in the opened position.
- Page 9 NOTE: Remember to remove the DWF air deck floor before folding. BOAT FOLDING STEPS 1. Remove all the accessories from the boat: oars, wooden seat and the DWF air deck floor. NOTE: Remember to remove the DWF air deck floor before folding. 2.
-
Page 10: Accessory Assembly
ACCESSORY ASSEMBLY 1. OAR ASSEMBLY 1) Join the two shafts of the oars by snapping them together. 2) There are pre-drilled holes in the middle of the oars so you can slide it over the oar holder and then secure the oar in place by using the rotation oarlock. NOTE: When the oars are not in use, leave the oars in the oar holders to avoid damage and loss. -
Page 11: Product Care And Storage
PRODUCT CARE AND STORAGE The boat is made of the high quality materials and complies with ISO 6185 standards. Altering the construction of the boat will endanger your own safety, safety of the occupants and void the limited warranty! There is very little that you have to do to keep your boat in good condition for many years. -
Page 12: Small Repairs
LEAK DETECTION AND REPAIR AIR LEAK DETECTION If your boat appears a bit soft, it might not be because of a leak. If the boat was inflated late in the day with 32°C (90°F) air, that air might cool down to 25°C (77°F) overnight. The cooler air exerts less pressure on the hull, so it could appear soft the next morning. - Page 13 HOW TO FIX A LEAKING VALVE A. Try to tighten the valve 1. Inflate your DWF air deck floor up to the max air pressure. 2. Stick your valve wrench down inside of valve and turn clockwise to tighten the valve back down onto the DWF air deck floor.
- Page 14 5. Ensure there are no strings from the drop stitching material. 6. Note the bottom piece of the valve is not attached to anything. 7. Fit the valve back into your DWF air deck floor. 8. Align all the threads and twist to tighten. 9.
-
Page 15: Warranty
WARRANTY AM warrants this product to be free from major defects in material or workmanship to the original purchaser for a period of ONE (1) Year from the date of purchase. This warranty is subject to the following limitations: 1. The warranty is valid only when this product is used for normal recreational activities and does not cover products used in rental or school operations.
Need help?
Do you have a question about the BT-UD250 and is the answer not in the manual?
Questions and answers