Advertisement
Quick Links
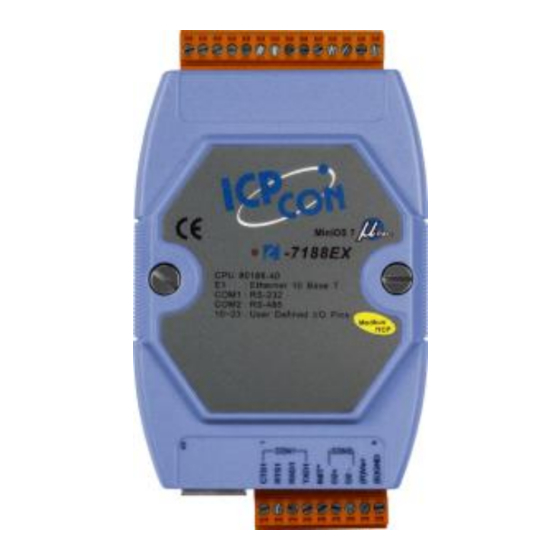
Congratulations!
Congratulations on purchasing I-7188E - the most popular automation solution for remote
monitoring and control application. This Quick Start Guide will provide information needed to
get started. Please also consult the User Manual for detailed information on the setup and use
of I-7188E. This guide covers the following models:
I-71881, I-7188E2, I-7188E3, I-7188E3-232, I-7188E4, I-7188E5, I-7188E5-485, I-7188E8
What's in the Box?
In addition to this guide, the package includes the following items:
I-7188E Converter
Technical Support
●
I-7188E Reference Document
CD:\NAPDOS\7188e\Document\
ftp://ftp.icpdas.com/pub/cd/8000cd/napdos/7188e/document/
●
I-7188E Website
http://www.icpdas.com/products/PAC/i-7188_7186/7188EN_converter.htm
Copyright © 2012 ICP DAS Co., Ltd. All Rights Reserved.
Quick Start Guide for
Software Utility CD
I-7188E Converter
September 2012, Version 1.0.1
RS-232 Cable
(CA-0910)
E-mail: service@icpdas.com
Screw Driver
(1C016)
1
Advertisement

Related Manuals for ICP DAS USA I-7188E


Summary of Contents for ICP DAS USA I-7188E
- Page 1 September 2012, Version 1.0.1 Congratulations! Congratulations on purchasing I-7188E - the most popular automation solution for remote monitoring and control application. This Quick Start Guide will provide information needed to get started. Please also consult the User Manual for detailed information on the setup and use of I-7188E.
- Page 2 GND of the I-7188E should be connected to the negative of the power supply. Step 2: Connect to a PC Ethernet port of the I-7188E should be connected to a PC via a hub by using an Ethernet cable. Copyright © 2012 ICP DAS Co., Ltd. All Rights Reserved.
- Page 3 Using MiniOS7 Utility to Assign an IP Address MiniOS7 Utility can be used to configure the IP address. Before starting the configuration process, make sure that the I-7188E are used to connect to your network. The default IP addresses are as follows:...
- Page 4 Step 1: Run the MiniOS7 Utility, and then search the I-7188E i. Double-click the MiniOS7 Utility shortcut on your desktop. ii. Press F12 or choose Search from the Connection menu. ii. Press F12 or choose Search iii. Check the status bar of the MiniOS7 Scan dialog, waiting for the search to be done.
- Page 5 Step 2: Configure the IP Address i. Choose the module name from the column. ii. Press the IP setting from the toolbar, and then assign the new IP address ii. Press the IP setting i. Choose the module name iii. Configure the IP setting iv.
- Page 6 Step 1: Run the VxComm Utility and search the I-7188E i. Double-click the VxComm Utility shortcut on your desktop. ii. Press the Search Servers button from the toolbar. Press Search Servers Step 2: Add the I-7188E server i. Choose the module name from the column.
- Page 7 iii. Assign a valid COM port, and then press OK button Step 3: Restart the driver to take effect i. Choose Restart Driver from the Tools menu. Copyright © 2012 ICP DAS Co., Ltd. All Rights Reserved. E-mail: service@icpdas.com...
- Page 8 After you have finished add the virtual Com port to your system, then you can start using it to connect remote RS-232/RS-422/RS-485 device via Ethernet. Here are some guideline and tips related to the I-7188E. ● 7188E series Software User Manual CD:\Napdos\7188e\Document\7188Ess.pdf...