Table of Contents
Advertisement
Advertisement
Table of Contents

Related Manuals for Commercial Electric MB-50901


Summary of Contents for Commercial Electric MB-50901
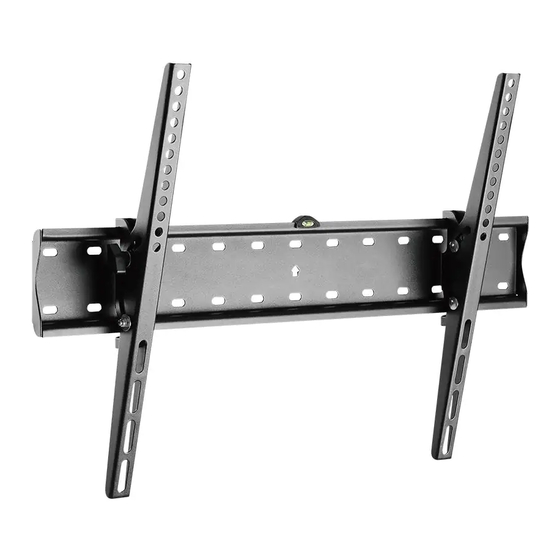
- Page 1 ******** MB-50901 Tilting Wall Mount for Flat Panel TVs 200/300/400/600)
- Page 2 Before you begin, carefully read and understand the instructions in this manual. Please follow the instructions in the order presented in this manual and observe all warnings and cautions. 100 lbs. three (45.36kgs). 25.3''(643mm) 2.1''(53mm) min3.9~max23.6''(min100~max600mm) 3/16 in. (4.5mm) This mount has been tested to support a television with diagonal screen sizes between 37in.
- Page 3 Pre-Installation 100mm...
- Page 4 Screw ts correctly Screw is too Screw is too long short CAUTION: To avoid potential personal injuries and property damage, make sure that there are adequate threads to secure the brackets to your TV. If you encounter resistance, stop immediately and contact customer service. Use the shortest screw and spacer combination to accommodate your TV.
- Page 5 Installation (continued) Attaching the mounting brackets to the TV Attach the mounting brackets (B, C) to the back of the TV using the screws (DD), washers (EE) and spacers(FF) you identified in step 1. Note: If you use a Samsung TV with deeper VESA holes, please use M8x50 screws and Samsung spacers.
- Page 6 Installation (continued) Installing the mounting plate (concrete/masonry wall) Use the mounting plate (A) as a template to mark the installation holes. Use a level to ensure the plate is level. Use a in. (6 mm) masonry drill bit to slowly drill 2.4 in. (60mm) pilot holes.Then use a 3/8 in. (10 mm) masonry drill bit to expand pilot holes.
- Page 7 Installation (continued) Installing the mounting plate (wood stud) Use a commercially-available stud finder to locate the stud centers in the wall. Studs are usually spaced 16 in. apart. Use the mounting plate (A) as a template to mark the installation holes. Use a level to ensure the plate is level. Use a in.
Need help?
Do you have a question about the MB-50901 and is the answer not in the manual?
Questions and answers