Advertisement
AD1301
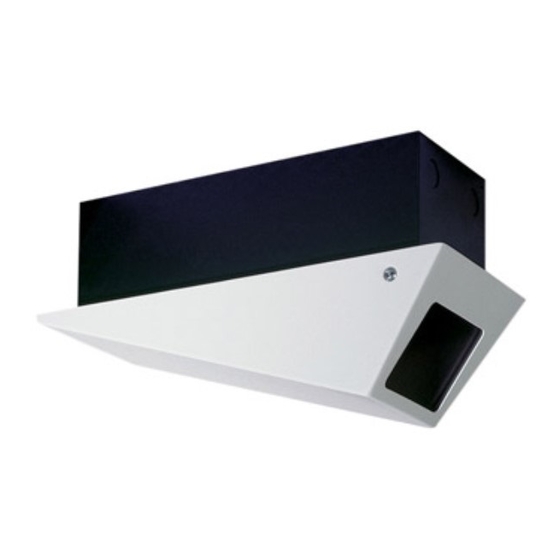
In-Ceiling Camera Housing
Installation Instructions
Contents - Camera Housing, Allen Wrench, and 114 x 20 screw for camera mount
The Tamper Resistant, In-Ceiling Camera Housing has four 7/8-inch electrical knock-outs. Two knwk-out holes are localed on each
end of the box.
General Inform&inn
Locating and Mounting of Housing
1. Select an appropriate location. Make sure no obstructions or obstacles exist above the ceiling, i.e., joists, wiring, pipes, etc.
2. Measure the ceiling area for the housing or place the housing on the ceiling and trace around it for cut out size and location.
3. Slip the housing into the cut out with the cover of the housing open.
4. Mark the mounting holes cm the ceiling.
5. Remove the housing and drill (or punch out) the appropriate holes in the ceiling.
The housing can be located within two types of ceilings suspended or permanent. See related information below.
Once the housing is located in the ceiling:
6. Be sure all mounting hardware is tight.
7. Install the camera on the housing cradle.
8. Close the coyer to check for lens clearance to the fmnt window - adjust to approximately l/4-inch.
9. Make fuxd viewing adjustments.
10. Close and secure the cover with l/4-20 tamper proof screws supplied with the housing.
Suspended Ceilings
1. The T-bar ceiling rail kit must be used when installing this housing within a suspended ceiling.
2. Slip the housing box through the hole in the ceiling tile.
3. Attach the rails to the housing using the ten 32x2-inch screws supplied with the rail kit. The rails should rest on top of the ceiling
grid rail.
Note: The rails can be positioned across the front or along the side of the housing.
Additional Support
There are two additional holes in the end of the rails which can be used to attach wires or chains to the joists or
ceiling above the housiig.
4. Electrical and video cable may now be installed.
Advertisement
Table of Contents

Summary of Contents for American Dynamics AD1301
- Page 1 There are two additional holes in the end of the rails which can be used to attach wires or chains to the joists or ceiling above the housiig. 4. Electrical and video cable may now be installed. In-Ceiling Camera Housing Installation Instructions AD1301...
- Page 2 Permaacnt CeiIImgs (ceilings that are not accessible from behind or above) 1. Electrical and video cable must be pulled through the hole in the ceiling and attached to tbe housing before the housing can be installed into the ceiling. 2. Attach tbe housing to a shuctual member of the ceiling, or supply additional support. 3.


Need help?
Do you have a question about the AD1301 and is the answer not in the manual?
Questions and answers