
Related Manuals for Time Guard ECO Series


Summary of Contents for Time Guard ECO Series
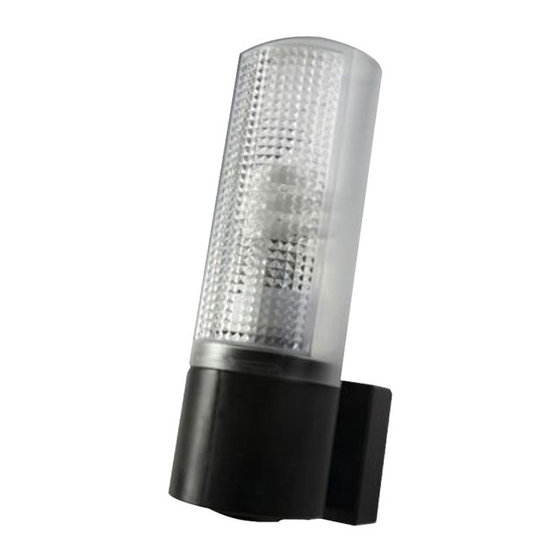
- Page 1 ECO CFL Flood Light ECO CFL with Photocell FLOOD LIGHT Model: ECO1DD WITH PHOTOCELL Model: ECO2DD Model: ECO3DD ECO1DD.1 ECO2DD.1 ECO3DD.1 Instructions...
- Page 2 4 x 32mm 6 x 30mm ø 6mm 60mm 35mm...
- Page 3 Slaving For ECO CFL For ECO1DD & ECO2DD only Flood Light Uncontrolled Unit only 23W Max...
- Page 4 PAN 30º Tilt 60º 23W Max For ECO3DD only For ECO1DD & ECO2DD only Lamp turns Lamp turns ON at night. ON at day & night.
-
Page 5: General Information
1. General Information This fl oodlight features an integral daylight sensing motion which will automatically switch the light on based on environment lux level and at a time set by the user. Unit is for outdoor use only. Unit must be mounted as a fi xed luminaire, and is not suitable for portable use. -
Page 6: Installation
4. Installation IMPORTANT Switch off the electricity at the fuse box by removing the relevant fuse or switching off the circuit breaker before proceeding with the installation (Diagram 2). After choosing a suitable location install the unit as follows: The unit is suitable for connection to a 240 V ac 50Hz electricity supply. It is suggested that 3-core round flexible cable of 1mm²... - Page 7 To connect another unit of floodlight , connect the looping power cable to the terminal block on the master unit as follows ( Diagram 7 ): Neutral (Blue) EARTH (Green/ Yellow) LIVE (Brown) L’ Fit the floodlight to the bracket by inserting the catch in the floodlight into the recess at the top of the wall plate and locating the floodlight securely over the wall plate.
-
Page 8: Operation And Testing
5. Operation and Testing Setting Up For Automatic Operation The Sensor Head can be panned 90 degree to left and 90 degree to the right. (Diagram 10) The adjustment controls on the unit (Diagram 11) should be set as follows. The TIME control determines how long the lamp remains illuminated after activation (1 hour to 12 hours). -
Page 9: Technical Specifications
6. Technical Specifications 230V AC ~ 50Hz Power Supply Number of Slave Unit Maximum External Load Master ECO1FL ECO2FL ECO3FL No other external loads can be used. ECO1DD ECO2DD ECO3DD Lamp Type 230 AC 20W Compact Fluorescent lamp supplied E 27 base 23W compact fluorescent maximum Do not use incandescent or halogen bulbs 1 hour to 12 hours... -
Page 10: Troubleshooting Guide
6. Troubleshooting Guide Solution Problem • Check that the power is switch ON at the Lamp stays OFF wall switch. • Ensure no connections are loose • Ensure that CFL is seated correctly in the lamp holder. • Check the CFL. If the CFL has failed, replace it. If you experience problems refer to Troubleshooting Guide. -
Page 11: Year Guarantee
3 Year Guarantee In the unlikely event of this product becoming faulty due to defective material or manufacture within 3 years of the date of purchase, please return it to your supplier in the first year with proof of purchase and it will be replaced free first year with proof of purchase and it will be replaced free of charge. - Page 12 HELPLINE 020 8450 0515 or email helpline @ timeguard.com For a product brochure please contact: Timeguard Limited. Victory Park, 400 Edgware Road, London NW2 6ND Sales Offi ce: 020 8452 1112 or email csc @ timeguard.com Designed in the U.K. 67-058-423...
Need help?
Do you have a question about the ECO Series and is the answer not in the manual?
Questions and answers