Advertisement
Quick Links
Advertisement

Related Manuals for AEV Roof Rack


Summary of Contents for AEV Roof Rack
- Page 1 R o o f R a c k AEV30209AC Last Updated: 07/02/18...
-
Page 2: Please Read Before You Start
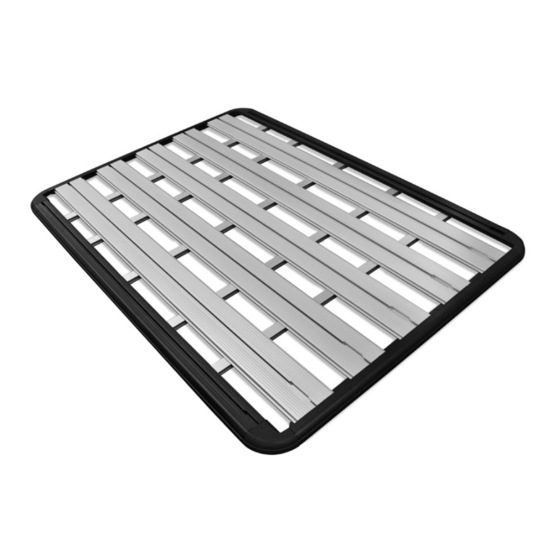
AEV logo Decal Alcohol Swab Hardware Note: The included parts shown below are not necessary for this application and may be discarded. This product is covered under the AEV Parts Limited Warranty, a copy of which can be found at aev-conversions.com/warranty. - Page 3 part i. Platform assembly Fit Corner T Mouldings to the Frame End extrusions. A Fit the Plank Inserts into end of plank at both ends. rubber mallet can be used to carefully tap the Moulding Orientation of inserts is critical. Carefully tap the Inserts in place.
- Page 4 With the assembly still upside down, place the Crossbars in at an angle and rotate under the lip of the Frame Side Extrusions. Note: Be sure to use the correct order of Crossbars for the installation as seen bellow ( the AEV Type 1...
- Page 5 Place channel nut within the crossbar as shown below and rotate 90 degrees. Place M8x15mm Flat Wahers on top of the but do not tighten at this stage. Repeat this process for both ends of each crossbars. M8x20mm Dome Head Screw. M8 Spring Washer.
- Page 6 Install the Alloy Locking Tabs. Be aware of the orientation of the of the Single Alloy Tabs on the sides of the Platform. Note the orientations of the Single Locking Alloy Tabs. M6x20mm Security Head Screw. M6 Spring Washer. M6 OD 16mm Flat Washer.
- Page 7 4. Replace roll bar padding. 5. Position AEV brackets over roll bar padding to align with the corresponding holes in the roll cage from the bolts previously removed. Mark the hole’s position on the padding and cut through the pad using a sharp awl or utility knife to allow access to them.
- Page 8 Figure 7.1 front Figure 7.2 rear 32 1/4 inches (81.92 cm) Front of Vehicle 43 inches (109.22 cm) Figure 8...
- Page 9 Part III. RELOCATING SATELLITE ANTENNA 1. Attach satellite radio antenna, using its original hardware, to the AEV provided bracket. 2. Remove all trim from passenger (right) side B-pillar and floor 3. Locate antenna wiring. and remove from B-pillar at all attachment points.
- Page 10 If your vehicle does not, you will need to drill a 5/16” hole. The remaining hole in the AEV bracket should line up with the existing hole in the A-pillar for the plastic fir-tree that secures the A-pillar trim. You can use this hole to locate the bracket on the A-pillar for drilling location.
- Page 11 Part IV. Attaching platform to hard top a. Marking hard top 1. Reinstall Hard top on Vehicle. Top should be completely secured with all factory fasteners to ensure proper position for drilling holes. 2. Press brackets up flush to the inside of the hard top and tighten all accessible fasteners. 3.
- Page 12 Adhere the AEV Logo Decals to the stantions using the supplied alcohol swab to first clean the surface. 2. Reinstall Hard top on Vehicle. Top must be completely secured with all factory fasteners.
- Page 13 It is essential that all bolt connections are checked after driving a short distance when you first install your AEV Roof Rack. Bolt connections should be checked again at regular intervals (proba- bly once a week is enough, depending on road conditions, usage, loads, and distances travelled).
Need help?
Do you have a question about the Roof Rack and is the answer not in the manual?
Questions and answers