Advertisement
Quick Links
Advertisement

Related Manuals for Walker Edison W58ELL4D


Summary of Contents for Walker Edison W58ELL4D
-
Page 2: General Assembly Guidelines
Concealed hinges are three-way adjustable. Horizontal Vertical In-and-Out by screw adjustment Via slots in the mounting by loosening the hinge-arm mounting screw or via cam plate or via cam adjustment adjustment Copyright 2019 by Walker Edison Furniture Co., LLC. All rights reserved. ©... -
Page 3: Parts List
Parts List Copyright 2019 by Walker Edison Furniture Co., LLC. All rights reserved. ©... -
Page 4: Hardware List
Glue tube Philips head screwdriver required for assembly (not included) The hardware quantities listed above are required for proper assembly. Some extra hardware may also have been included. Copyright 2019 by Walker Edison Furniture Co., LLC. All rights reserved. ©... - Page 5 Step 1 Insert wooden dowel (A) into part (3) ,then secure cam bolt (B) into parts (1,3) with Philips head screwdriver as per diagram. Copyright 2019 by Walker Edison Furniture Co., LLC. All rights reserved. ©...
- Page 6 Step 2 Insert wooden dowel (A) into parts (6,7,14,15) as per diagram. Copyright 2019 by Walker Edison Furniture Co., LLC. All rights reserved. ©...
- Page 7 Step 3 Insert wooden dowel (A) into parts (4,5) ,then secure cam bolt (B) into parts (4,5) with Philips head screwdriver as per diagram. Copyright 2019 by Walker Edison Furniture Co., LLC. All rights reserved. ©...
- Page 8 Step 4 Using screw (E) secure parts(13,14,15) to part (2) with hex key (F) as per diagram. Copyright 2019 by Walker Edison Furniture Co., LLC. All rights reserved. ©...
- Page 9 Step 5 Using screw (E)attach part (7) to part (3) with hex key (F) as per diagram . Copyright 2019 by Walker Edison Furniture Co., LLC. All rights reserved. ©...
- Page 10 Step 6 Using cam lock(C) secure part (5) into part (3) with Philips head screwdriver as per diagram. Copyright 2019 by Walker Edison Furniture Co., LLC. All rights reserved. P.10 ©...
- Page 11 Step 7 Using cam lock(C) secure part (6) into part (3) with Philips head screwdriver as per diagram. Copyright 2019 by Walker Edison Furniture Co., LLC. All rights reserved. P.11 ©...
- Page 12 Step 8 Using cam lock(C) secure part (4) into part (3) with Philips head screwdriver as per diagram. Copyright 2019 by Walker Edison Furniture Co., LLC. All rights reserved. P.12 ©...
- Page 13 Step 9 Put part (9) as per diagram. Copyright 2019 by Walker Edison Furniture Co., LLC. All rights reserved. P.13 ©...
- Page 14 Put part (8) as per diagram and keep part(9) edge in the groove of part (8).
- Page 15 Step 11 Put part (9) as per diagram. Copyright 2019 by Walker Edison Furniture Co., LLC. All rights reserved. P.15 ©...
- Page 16 Step 12 Using screw (E) attach part (2) into parts (4,5,6) with hex key (F) as per diagram . Copyright 2019 by Walker Edison Furniture Co., LLC. All rights reserved. P.16 ©...
- Page 17 Step 13 Put part (10) as per diagram. Copyright 2019 by Walker Edison Furniture Co., LLC. All rights reserved. P.17 ©...
- Page 18 Step 14 Using cam lock(C) secure part (1) to parts (4,5,7) with Philips head screwdriver as per diagram. Copyright 2019 by Walker Edison Furniture Co., LLC. All rights reserved. P.18 ©...
- Page 19 Step 15 Using screw (M) secure plastic wedge (N) with Philips head screwdriver as per diagram. Copyright 2019 by Walker Edison Furniture Co., LLC. All rights reserved. P.19 ©...
- Page 20 Place sticker (D) cover the holes as per diagram .
- Page 21 Step 17 Insert shelf support pin (G) into parts (4,5,6) as per diagram. Copyright 2019 by Walker Edison Furniture Co., LLC. All rights reserved. P.21 ©...
- Page 22 Put (11) into unit as per diagram .Make sure you place the four shelf support pins (G)in the same level .so the shelf is not titled .Tilt and rest the adjustable shelf (11) onto the shelf support pins. Copyright 2019 by Walker Edison Furniture Co., LLC. All rights reserved. P.22 ©...
- Page 23 Using handle bolt (J) with washer (P) secure handle (H) to part (12),and using screw (K) secure Europe hinge (L) into part (12) with Philips head screwdriver as per diagram . Copyright 2019 by Walker Edison Furniture Co., LLC. All rights reserved. P.23 ©...
- Page 24 Step 20 Using screw (K) secure Europe hinge (L) into parts (4,6) with Philips head screwdriver as per diagram. Copyright 2019 by Walker Edison Furniture Co., LLC. All rights reserved. P.24 ©...
- Page 25 Using screw (K) secure Europe hinge (L) into parts (5,6) with Philips head screwdriver as per diagram. Open and close the doors to make sure they are shut correctly .If necessary ,adjust the screws for a good fit . Copyright 2019 by Walker Edison Furniture Co., LLC. All rights reserved. P.25 ©...
- Page 26 Step 22 Position the assembled unit at the desired location .If necessary ,adjust the floor leveler at the bottom of the support leg to level the unit . Copyright 2019 by Walker Edison Furniture Co., LLC. All rights reserved. P.26 ©...
-
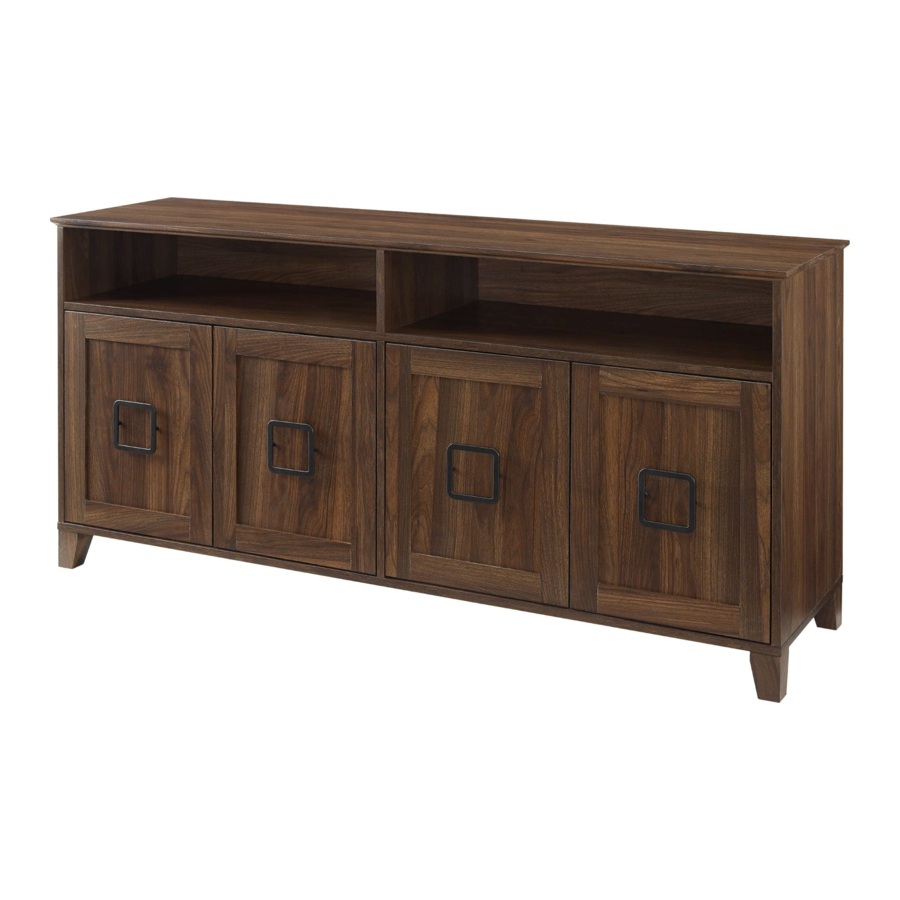
Page 27: Final Assembly
Step 23 Final Assembly Copyright 2019 by Walker Edison Furniture Co., LLC. All rights reserved. P.27 ©...
Need help?
Do you have a question about the W58ELL4D and is the answer not in the manual?
Questions and answers