Advertisement
Quick Links
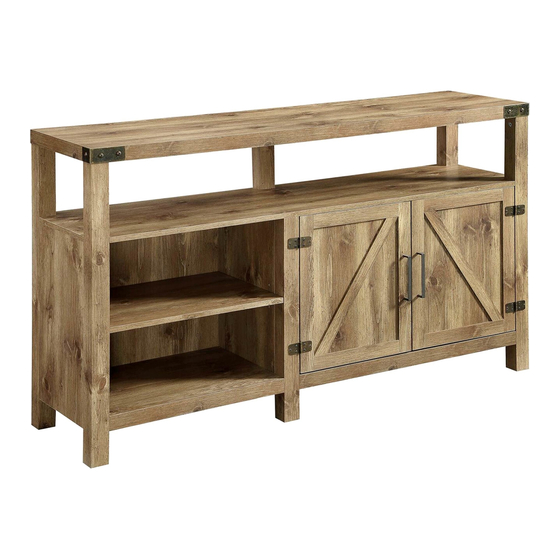
Item # : W58BDHB
Assembly Instructions
Please visit our website for the most current instructions, assembly tips, report damage,
or request parts. www.walkeredison.com
Revised 01/2018
P.1
Copyright © 2017, by Walker Edison Furniture Co., LLC. All rights reserved.
Advertisement

Related Manuals for Walker Edison W58BDHB


Summary of Contents for Walker Edison W58BDHB
- Page 1 Item # : W58BDHB Assembly Instructions Please visit our website for the most current instructions, assembly tips, report damage, or request parts. www.walkeredison.com Revised 01/2018 Copyright © 2017, by Walker Edison Furniture Co., LLC. All rights reserved.
-
Page 2: General Assembly Guidelines
. Wipe away excess glue immediately. A Phillips head screwdriver is required for the assembly of this product . VII. Power tools should not be used to assemble this product . Copyright 2017, by Walker Edison Furniture Co., LLC. All rights reserved. ©... -
Page 3: Parts List
Parts List Copyright 2017, by Walker Edison Furniture Co., LLC. All rights reserved. ©... - Page 5 Step 1 Insert wooden dowels (A) to parts (3). Step 2 Insert wooden dowels (A) to parts (4,5). Copyright 2017, by Walker Edison Furniture Co., LLC. All rights reserved. ©...
- Page 6 Step 3 Insert wooden dowel (A) to parts (9,10,13). Step 4 Attach cam bolts (D) to part (2). Copyright 2017, by Walker Edison Furniture Co., LLC. All rights reserved. ©...
- Page 7 Step 5 Attach cam bolts (D) to part (1). Step 6 Attach cam bolts (D) to parts (14,15,16,17,18,19). Copyright 2017, by Walker Edison Furniture Co., LLC. All rights reserved. ©...
- Page 8 Please note in the diagram that the holes for the adjustable shelf on part (3) are on the same side as the groove for the back panel on parts (14,19). Copyright 2017, by Walker Edison Furniture Co., LLC. All rights reserved. ©...
- Page 9 Step 9 Use cam locks (C) to connect bottom panel (10) to Legs (16,17). Step 10 Use cam locks (C) to connect bottom panel (9) to Legs (16,17). Copyright 2017, by Walker Edison Furniture Co., LLC. All rights reserved. ©...
- Page 10 Use wrench (P) ot secure part (5) to bottom panel (9). Note that the small holes for the doors should be toward the front of the console. Step 12 Slide back panel (11) into part (16) as shown in diagram. P.10 Copyright 2017, by Walker Edison Furniture Co., LLC. All rights reserved. ©...
- Page 11 Step 13 Use cam locks (C) to connect parts (14,15) to bottom panel (10). Step 14 Slide Back panel (12) into part (16) as shown in diagram. P.11 Copyright 2017, by Walker Edison Furniture Co., LLC. All rights reserved. ©...
- Page 12 Use cam locks (C) to connect legs (18,19) to bottom panel (9). Step 16 Use cam locks (C) to connect panel (2) to the frame assembly as showm in diragram. P.12 Copyright 2017, by Walker Edison Furniture Co., LLC. All rights reserved. ©...
- Page 13 Use wrench (P) to secure part (13) to part (2). Step 18 Use cam locks (C) to connect top panel (1) to leg parts (13,14,15,18,19) as shown in diagram. P.13 Copyright 2017, by Walker Edison Furniture Co., LLC. All rights reserved. ©...
- Page 14 H x8 J x8 Attach plastic wedges (H) by using screws (J) as shown in the diagram. Step 20 Place stickers (E) over cam locks as desired. P.14 Copyright 2017, by Walker Edison Furniture Co., LLC. All rights reserved. ©...
- Page 15 Step 21 Insert shelf supports (G) into parts (3)(4)(5) as shown in the diagram. Step 22 Place shelves (6)(7)(8) as shown in the diagram. P.15 Copyright 2017, by Walker Edison Furniture Co., LLC. All rights reserved. ©...
- Page 16 Use screw (T) to secure door stopper (L) to part (5) as per diagram. Step 24 Use screw (T) to secure door stopper (L) to part (5) as per diagram. P.16 Copyright 2017, by Walker Edison Furniture Co., LLC. All rights reserved. ©...
Need help?
Do you have a question about the W58BDHB and is the answer not in the manual?
Questions and answers