Advertisement
Quick Links
Advertisement

Related Manuals for Fortis FSMFEXR200A


Summary of Contents for Fortis FSMFEXR200A
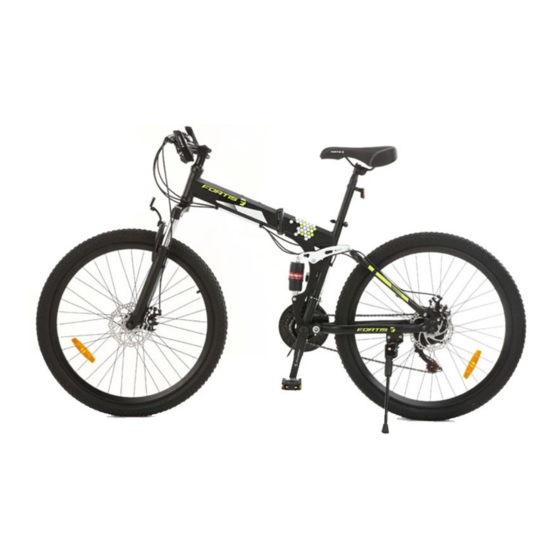
- Page 1 26" FOLDABLE MOUNTAIN BIKE FSMFEXR200A...
-
Page 3: Safety And Warnings
SAFETY & WARNINGS Read all of the instructions in this guide before using this product. Retain this guide for future reference. Do not skip, substitute or modify any steps or procedures in this guide, as doing so could result in personal injury or product damage. Before First Ride •... - Page 4 OVERVIEW...
- Page 5 ASSEMBLY Step 1: Getting started Remove the bike from the packaging. DO NOT dispose of the original packaging until assembly is complete. Check all packaging to ensure all necessary components are found before beginning assembly. Remove all padding and zip ties as you go. Figure 1 Step 2: Front fork Place the front wheel between the fork in the front of the frame (Figure 2a), positioned...
- Page 6 Step 3: Handlebar Loosen 4 bolts on head tube's front cover (Figure 3a), and install the handlebar into the front of the head tube. It will lock into the middle with the brakes angled about 35° downward (Figure 3b). Figure 3a Figure 3b Step 4: Brakes Adjust the brakes: they should be taut with the brake pulled approximately 1/3 of the way to...
- Page 7 Note: If the brake is not easy to adjust, adjust as per the steps below. Figures 4b and 4c are the two adjustment screws in the front of the rear disc brake bracket. Figures 4d and 4e are the adjustment screws behind of the rear disc brake. The distance between the disc brake block and the disc is adjusted by these 2 screws.
- Page 8 Step 5: Seat post Insert the seat post into the body tube (Figure 5a). The safety line should be within the tube. Make sure that the minimum insertion mark is completely covered (with the safety line within the tube) and that the seat is pointing forward in alignment with the bicycle. Secure with the clamp at the base of the post (Figure 5b).
- Page 9 Step 8: Front suspension adjustment The front suspension can be unlocked to provide greater shock absorption for mountain biking and other bumpy road conditions. Figure 8 Step 9: Assembly complete Go through and retighten the fastenings to ensure everything is sturdy and safe before using. Figure 9...
-
Page 10: Folding The Bike
FOLDING THE BIKE Folding Configuration Setup By hand, pull each pedal horizontally away from the frame along the pedal axis (Figure 10a). Fold the pedal up or downward 90° (Figure 10b). Figure 10a Figure 10b Release the clamp on the frame (Figures 11a, 11b). Figure 11a Figure 11b Pull the clamp back and raise it slightly to fold the frame (Figure 12). - Page 11 The bike can now be folded up (Figures 13a, 13b). Figure 13a Figure 13b To unfold the bike: Reverse the folding steps, pulling the clamp back and pulling the front half of the frame back into place. Release the clamp, then lock it back into position to secure (Figure 14a). Ensure the pedals are unfolded before use (Figure 14b).
-
Page 12: Tyre Pressure
TYRE PRESSURE Tires must be properly inflated before riding. Never exceed the maximum pressure (PSI) that is listed on the side of the tire. Your tyres will state a recommended tyre pressure. Use the below as a general guide: BMX bikes 35 - 50 PSI Mountain bikes 40 - 65 PSI... -
Page 13: Troubleshooting
TROUBLESHOOTING PROBLEM POSSIBLE CAUSE SOLUTION Inner tube old or faulty Replace inner tube Tyre tread / casing is worn Replace tyre Tyre unsuited to rim Replace with correct tyre Frequent punctures Tyre not checked after previous Remove sharp object puncture embedded in tyre Tyre pressure too low Inflate tyres to correct pressure... - Page 14 NOTES...
- Page 16 Need more information? We hope that this user guide has given you the assistance needed for a simple set-up. For the most up-to-date guide for your product, as well as any additional assistance you may require, head online to help.kogan.com...
Need help?
Do you have a question about the FSMFEXR200A and is the answer not in the manual?
Questions and answers