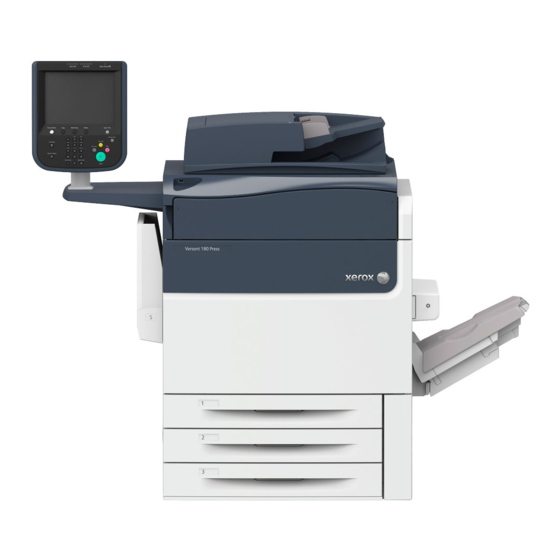
Xerox Versant 180 Press Quick Reference
Quick reference for siqa alignment adjustment
Hide thumbs
Also See for Versant 180 Press:
- User manual (166 pages) ,
- Security manual (45 pages) ,
- Quick reference (2 pages)
Advertisement
®
Xerox
Versant
Quick Reference for SIQA Alignment Adjustment
Simple Image Quality Adjustment (SIQA) is a maintenance tool that adjusts the quality
of the printed images generated by the Xerox
to perform an Alignment Adjustment with the SIQA tool:
1. Print the SIQA targets.
2. Scan the targets using either the Document Feeder or the Platen Glass.
3. Save the adjustment data to a file on the press providing the profile with a unique name.
The adjustment profile is then complete and can be selected by users for print runs, as needed.
Performing SIQA Alignment Adjustment
The Alignment procedure generates an individual alignment profile for each
stock/tray combination selected when performing the procedure. These profiles
ensure that images are placed correctly on the media. You can create up to 50
profiles. Each created profile will then be automatically used each time the
associated stock is used, ensuring optimal print quality.Follow these steps to
perform a Simple Image Quality Adjustment (SIQA) for alignment:
1. If not done already, you will need to print a pattern that is used during this
procedure. Print the PDF file called Black Background Sheet which is located on
www.xerox.com under the Versant 180 Documentation. This file is also in the
Install Nat kit.
The Black Background sheet is needed when creating profiles for media over
220gsm and/or larger than 11x17"/A3. Print the file duplex on either 11x17"
or A3 media – depending on your region.
The weight (gsm) is not important, but a higher gsm will result in a longer sheet life. Once someone at
your site prints this sheet, you can re-use it and do not have to print it again until it gets worn down with use.
2. At the Press UI, select the Login/Logout button.
3. Log-in as a System Administrator by typing admin as the ID (password).
4. Select the Machine Status button on the UI control panel.
5. Touch the Tools tab.
6. Select Setup & Adjustment on the left of the window..
7. Touch the Group button Alignment Adjustment Setup.
®
180 Press
®
Versant™ 180 Press. There are three sets of steps
Advertisement
Table of Contents

Summary of Contents for Xerox Versant 180 Press
- Page 1 1. If not done already, you will need to print a pattern that is used during this procedure. Print the PDF file called Black Background Sheet which is located on www.xerox.com under the Versant 180 Documentation. This file is also in the Install Nat kit.
- Page 2 8. Touch Auto Alignment Adjustment. 9. Touch Print Calibration Chart. 10. Touch Paper Supply. 11. Select the Paper Supply tray for the adjustment/profile needed. 12. Touch the Save button. 13. Set the area coverage if needed Coverage is the amount of toner covering the page.
- Page 3 Follow these steps to use the Platen Glass a. Select the Scan Chart with Document Glass button on the Touch Screen. In the next steps, you will scan the Calibration Chart 4 times – 2 times per side. For each scan you will reposition the chart.
- Page 4 • It is important to preserve a black margin around the Alignment Adjustment Calibration Chart. Align the chart laterally (left to right) so that it is at least 20 mm to the right of the left-hand edge of the glass, and not skewed more than 15 degrees. •...
- Page 5 Close the document cover and touch Scan. Notice that the bottom left of the screen displays: Scan Page(s): 3, indicating that three scans are complete. Slide the Alignment Adjustment Calibration Chart out from under the Background Plate and rotate it clockwise 180 degrees.
- Page 6 5. Touch Save. 6. Touch Save. 7. Touch Confirm. ® ® ® © Copyright 2015 Xerox Corporation. All rights reserved. XEROX , XEROX and Design , FreeFlow ® and Versant are trademarks of Xerox Corporation in the United States and other countries.


Need help?
Do you have a question about the Versant 180 Press and is the answer not in the manual?
Questions and answers