Advertisement
Quick Links
Year of Manufacture: 2014
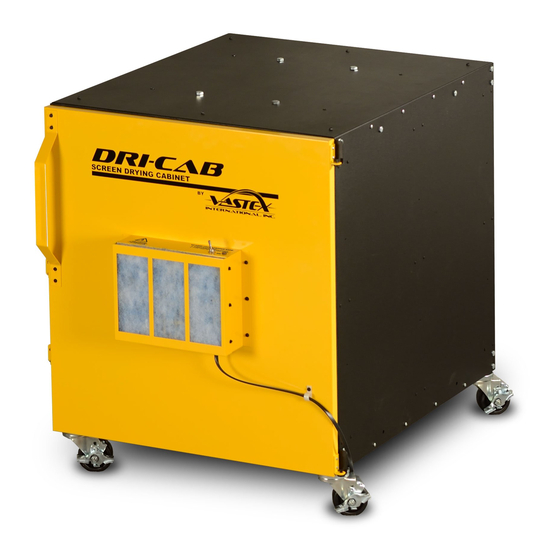
Utility Cart and Dri-Cab
Assembly, Operating, and Maintenance Instructions
Utility Cart Assembly
Dri-Cab Assembly
Safety, Operation, and Maintenance
Warranty
Electrical Drawing #:
Serial Number:
VTX
(Please log your machine's serial number and date of purchase for future reference.)
(Dri-Cab Shown)
Rev:______
Date:____
Vastex International, Inc.
1032 N. Irving St.
Pg #
Allentown, Pa. 18109 USA
Phone# 610 434-6004 Fax# 610 434-6607
2
Web Site www.vastex.com
3-5
Authorized Representative in Europe:
Certification Experts BV
Nieuwstad 100 1381 CE Weesp,
6
The Netherlands
Tel : + 31 (0) 294 – 48 33 55
7
Fax : + 31 (0) 294 – 41 46 87
Vastex E-mail assistance
Purchasing & Product Info:
sales@vastex.com
Electrical Support:
stech@vastex.com
Tech Support, Mechanical Setup, and Operation:
/
/
techsupport@vastex.com
____
______
Screen Printing Issues & Support:
printech@vastex.com
Doc. # 01‐14‐012A
Original Instruc ons
Advertisement

Related Manuals for VASTEX Dri-Cab


Summary of Contents for VASTEX Dri-Cab
- Page 1 Doc. # 01‐14‐012A Year of Manufacture: 2014 Original Instruc ons Utility Cart and Dri-Cab Assembly, Operating, and Maintenance Instructions (Dri-Cab Shown) Vastex International, Inc. 1032 N. Irving St. Pg # Allentown, Pa. 18109 USA Phone# 610 434-6004 Fax# 610 434-6607 Utility Cart Assembly Web Site www.vastex.com ...
- Page 2 1) Install all 4 Casters(A) onto bottom Panel(G). Tighten nuts well with adjustable wrench or 3/4” Socket. 2) Install all other hardware (refer to diagram above) Leave hardware loose for now. 3) *For DRI-CAB Assembly, do not install (4) 1/4-20 x 1/2” Hex bolts (X) yet, save for hinge install.
- Page 3 - Use 7/16 wrenches or sockets to tighten 1/4-20 Hardware. - Use a Phillips head screwdriver for Sheet metal screws 6) Install Screen Shelves as shown below, start from bottom 5) Utility Cart Assembly Finished. Please continue for Dri-Cab Assembly...
- Page 4 Dri-Cab Assembly Hardware List: Parts List: A– #8x3/8” Phillips Sht Metal Screw(24) F– Back Panel B– 4-40 x 5/8” Phillips Pan Head Bolt(4) G– Diffuser C– 4-40 Hex Nut(4) H– Hinge Bracket– Door D– #4 Lock Washer(4) J– Door K– Deep Handle E–...
- Page 5 E– Hinge Bracket (Body) F– Catch G- Seal 7) Hang Door on Hinge Brackets as shown. 8) Adjust Hinge Brackets and Catch until the Dri-Cab Door slightly squishes the seal when the door is closed. If needed, Latches can be adjusted vertically.
-
Page 6: Safety Instructions
VASTEX Screen Drying Cabinet is intended for the drying of emulsion on screen printing screens. Do not use for any other purpose unless authorized by Vastex International, Inc. Use of this equipment for any other purpose can be dangerous and may cause damage to this equipment voiding the warranty. - Page 7 The defec ve part or parts will be repaired or replaced at the discre on of Vastex Interna onal, Inc. If the equipment in ques on is less than one (1) year old, it will be shipped to the customer at no charge, with an RGA issued by Vastex for the defec ve part. The defec ve part must be shipped back to Vastex freight prepaid within 30 days or the account will be billed.
Need help?
Do you have a question about the Dri-Cab and is the answer not in the manual?
Questions and answers