
Related Manuals for PRESIDIUM ARI


Summary of Contents for PRESIDIUM ARI
-
Page 1: Table Of Contents
06 III. About ARI by Presidium pg. 07 1. GETTING STARTED with your ARI by pg. 12 Presidium 2. PERFORMING A TEST with your ARI by pg. 16 Presidium 3. READING TEST RESULTS on your ARI by pg. 21 Presidium 4. -
Page 2: Disclaimers, Exclusions And Limitations
The tester or ARI referred to in this handbook is provided and/or sold on an “as is” basis. Except as required by applicable law, no warranties of any kind, either... -
Page 3: About This Book
II. About this book Thank you for purchasing ARI by Presidium. This handbook is designed to help you set up your tester and describes all you need to know about how to use your tester accurately and take care of it in line with its requirements. -
Page 4: About Ari By Presidium
UV light absorbance ability of diamonds and moissanites. With its touch screen colour LCD display, ARI provides a clear and accurate result of “Diamond”, “CVD/HPHT/Type IIa” and “Moissanite” within 3 seconds. ARI has been subjected to thorough factory quality control, and will generally give a clear and reliable reading of the gemstone being tested under proper use. - Page 5 Power and Battery • DC 1.5V (3) x AAA alkaline batteries • USB port to be used with supplied USB cable and appropriate Presidium Universal USB Power Adaptor (not included in your package) • Minimum Power rating: 5V, 0.5A (2.5W) Dimension and Weight •...
- Page 6 • Provides consistent and reliable test results under proper use and understanding of its functions The capabilities of the ARI by Presidium are as follows: • Test on colorless diamonds (From D to J color) with a minimum table width of 1.30mm (approx. 0.02 carat) •...
- Page 7 • Low battery indicator • Powered either through the use of batteries or electrical power via Presidium Universal USB Adaptor Functions of your ARI by Presidium. Your ARI by Presidium has 4 functional options on the main screen menu as follows: Test Settings...
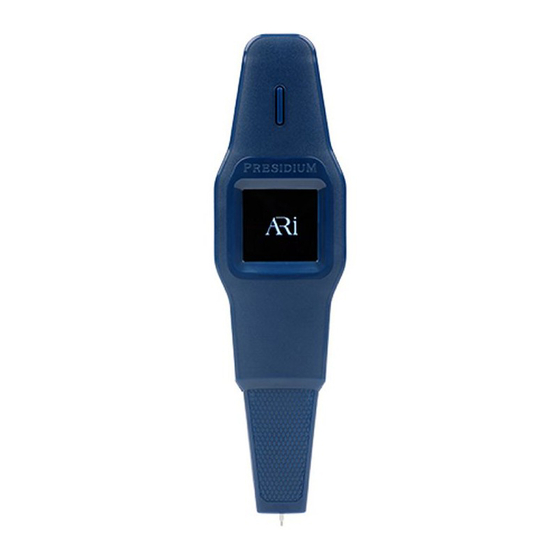
- Page 8 Included in your package: • ARI by Presidium • Protective Carrying Case • Stone rest • Quick Guide • QR Code Card • USB Cable Fig. 1 Protective Cap Replaceable Probe Tip 360° Textured Metal Plated Ergonomic Grip Display Screen with OLED Illumination...
-
Page 9: Getting Started With Your Ari By
1. GETTING STARTED with your ARI by Presidium Powering up your ARI by Presidium This tester can be powered either through electrical power via the Presidium Universal USB Adaptor (not included in your package) or through the use of batteries. - Page 10 Press and hold the button (Fig. 1.4.1) to turn ON/OFF the tester without removing the protective cover. Fig. 1.4.1 “PRESIDIUM” logo will appear on the display screen, followed by Product name. Do not remove the protective cover until the “home” page is being loaded as the tester is being calibrated during this time.
- Page 11 Cleaning of gemstone prior to testing Prepare a clean tissue or jewelry cloth. Carefully retrieve the gemstone with tweezers and place the gemstone face down on its table facet. (Fig 1.5a) Fig. 1.5a Gently rub the table of the gemstone against the tissue/ jewelry cloth (Fig.
- Page 12 Operating Conditions The gemstone should be clean and dry before testing. Elaborate cleaning procedures normally necessary. Low Battery is indicated by the icon at the top right-hand corner of the display screen. Note: The power-saving feature will ensure the tester shuts down automatically after 10 minutes of inactivity.
-
Page 13: Performing A Test With Your Ari By
2. PERFORMING A TEST with your ARI by Presidium Fig. 2.1 To begin testing, press the “Test” icon as indicated. (Fig. 2.1) Fig. 2.2 When prompted, depress the probe tip 90 degree perpendicular to the table of the gemstone. Testing will begin. - Page 14 It is important not to remove the tester from the gemstone during test. As the tester detects ‘lift’ from gemstone and test will have to be reconducted. A result will not be shown. Fig. 2.4 Beeping sound will be used to indicate the type of results: •...
- Page 15 For mounted jewelry or gemstones: Hold the jewelry or mounted gemstone with one hand and the tester with the other hand (Fig. 2.5). For proper operation of the tester, the probe tip should be at a upright position 90 degrees perpendicular to the table of the gemstone.
- Page 16 The probe tip must be placed at a right angle or perpendicular to the facet of the gemstone for an accurate reading. Tests should be conducted on the table of the gemstone only It is advisable to conduct multiple tests on the gemstone as to ensure accuracy.
- Page 17 Removing and Replacing the Optical Probe Tip To remove the optical probe tip, carefully pull out the tip and replace it with a new one. (Fig. 2.8) Fig. 2.8 For optimal tester performance, it is recommended to replace a worn-out optical probe tip when prompted.
-
Page 18: Reading Test Results On Your Ari By
3. READING TEST RESULTS on your ARI by Presidium Testing specification of the tester: Result Description Sound Diamond The tested gemstone Single beep has the characteristic light transmittance ability of a Type Ia diamond, suggesting that this could be a... -
Page 19: Other Functions Of Your Ari By
4. OTHER FUNCTIONS of your ARI by Presidium 4.1 Settings Function Press the gear icon to enter the settings function. (Fig 4.1a) Fig. 4.1a In the Settings function, you may adjust the Volume level and Language selection by pressing on left/right buttons to toggle between selections. - Page 20 4.2 Tutorial Function Fig. 4.2 Press the Tutorial icon to enter tutorial quick guide for proper testing procedures.
- Page 21 Always cap back the protective cap when tester is not in use. Your ARI by Presidium is a product of extensive design and craftsmanship, please treat it with care. Thank you for taking the time to go through the user handbook which will enable you to understand your recent purchase better.
-
Page 22: Important Notice
• Do not paint the tester. Paint can clog the moving parts and prevent proper operation. If the tester is not working properly, kindly contact Presidium customer service at service@presidium. com.sg or: Presidium Instruments Pte Ltd Unit 7, 207 Henderson Road...
Need help?
Do you have a question about the ARI and is the answer not in the manual?
Questions and answers